Automated Email
In Gold-Vision Marketing you can create Automated Email which can be sent after an email recipient has engaged with an earlier email, perhaps by opening the email.
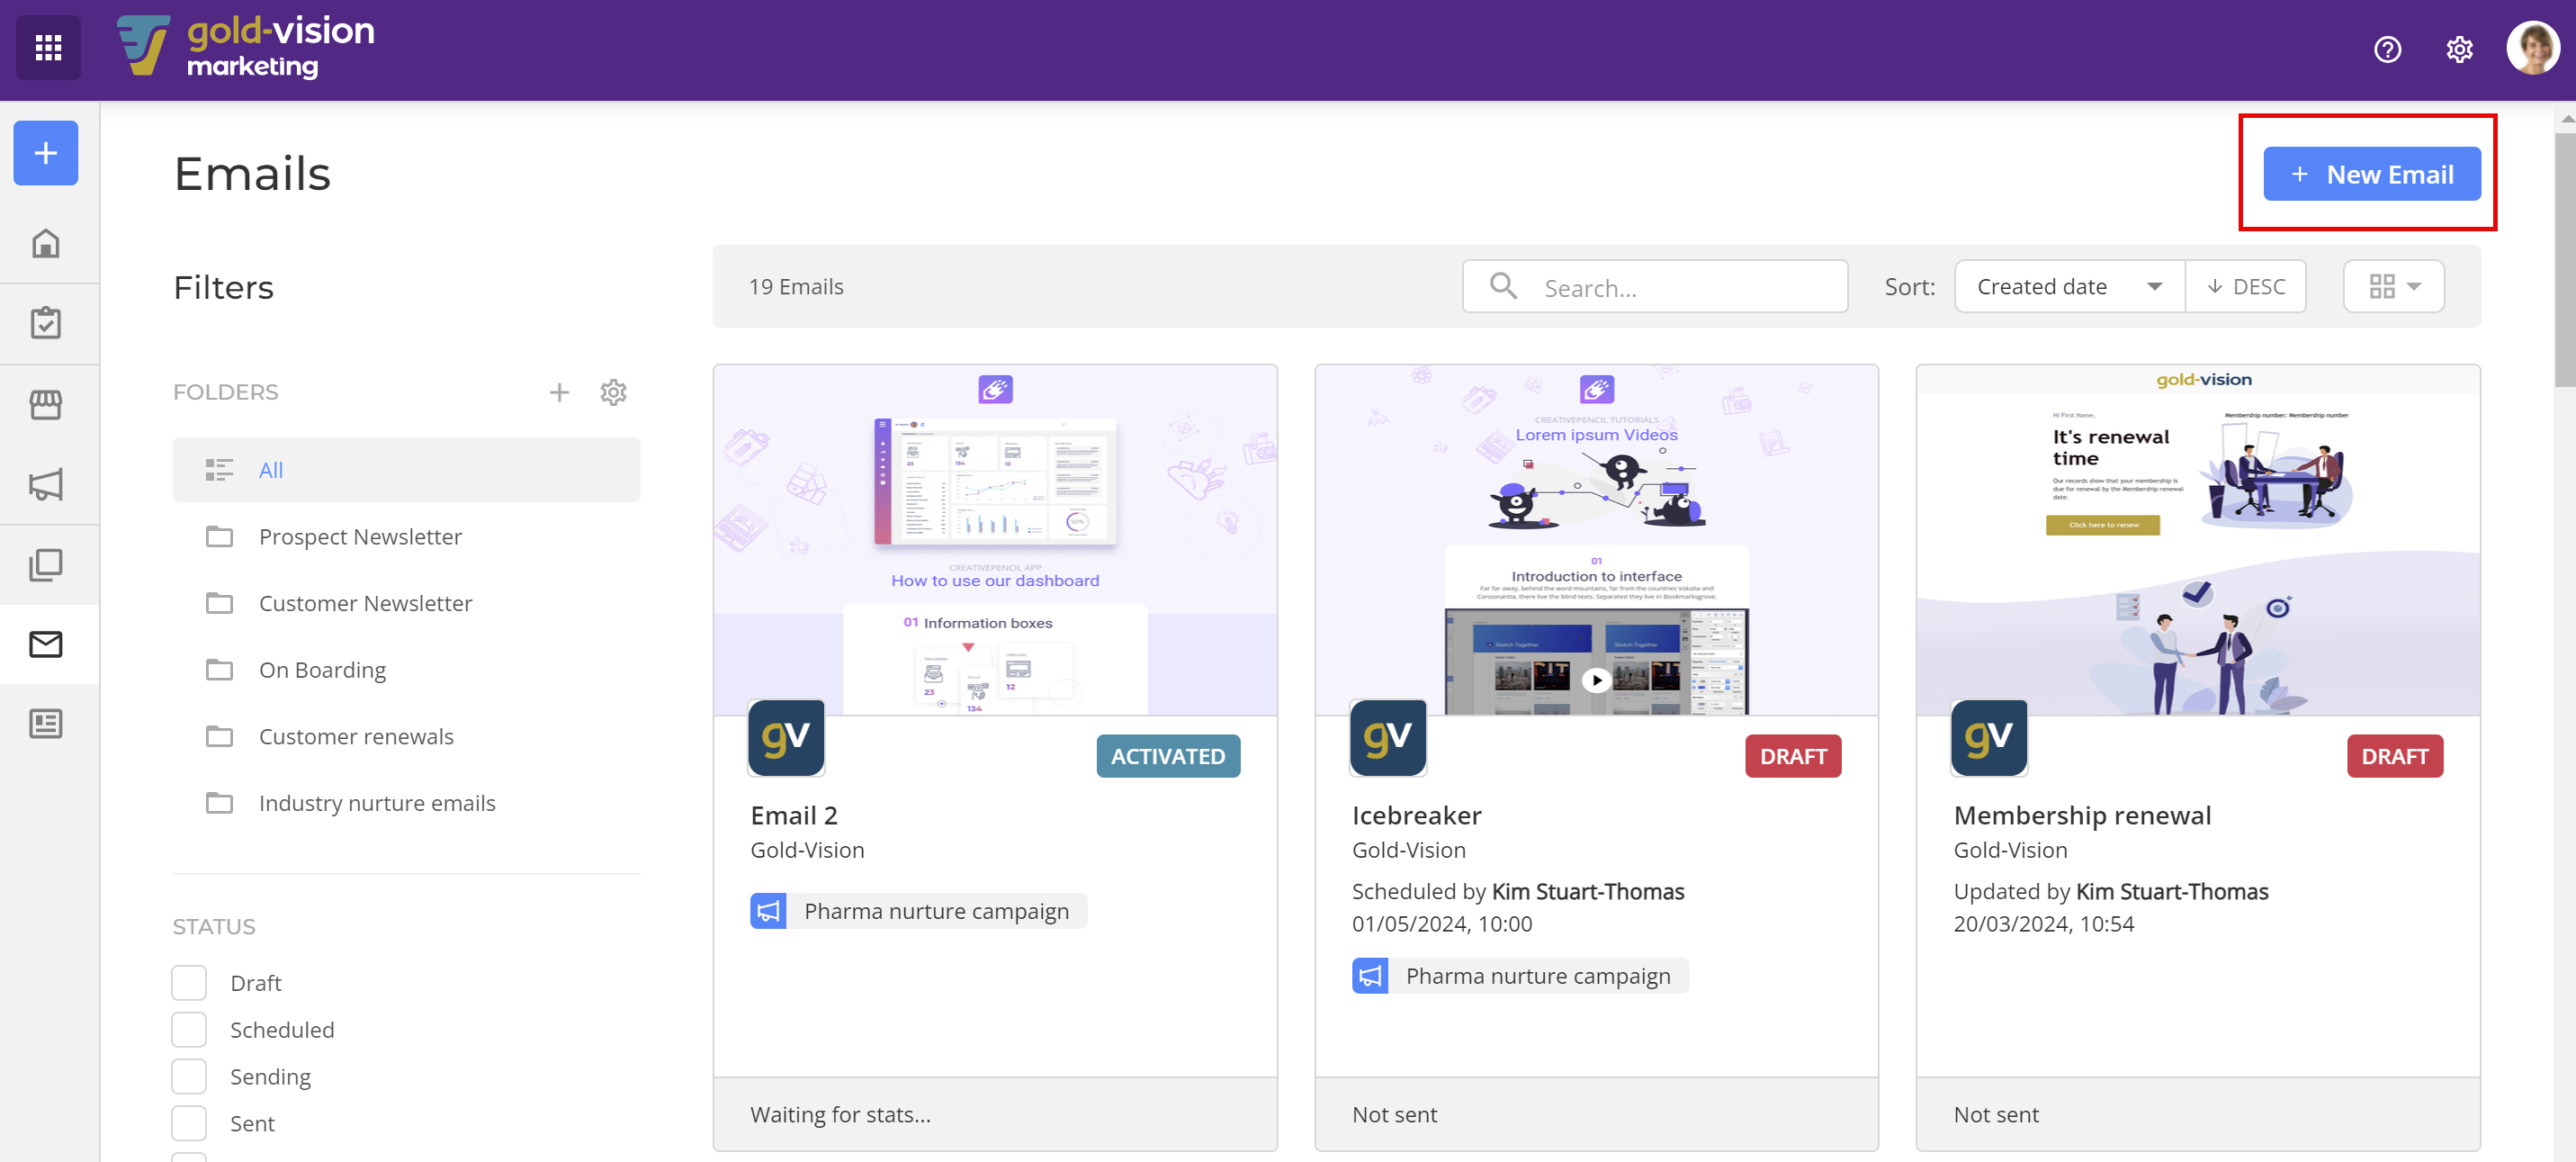
From the Emails list, click on + New Email.
Select a Brand then choose Automated Email as the email type.
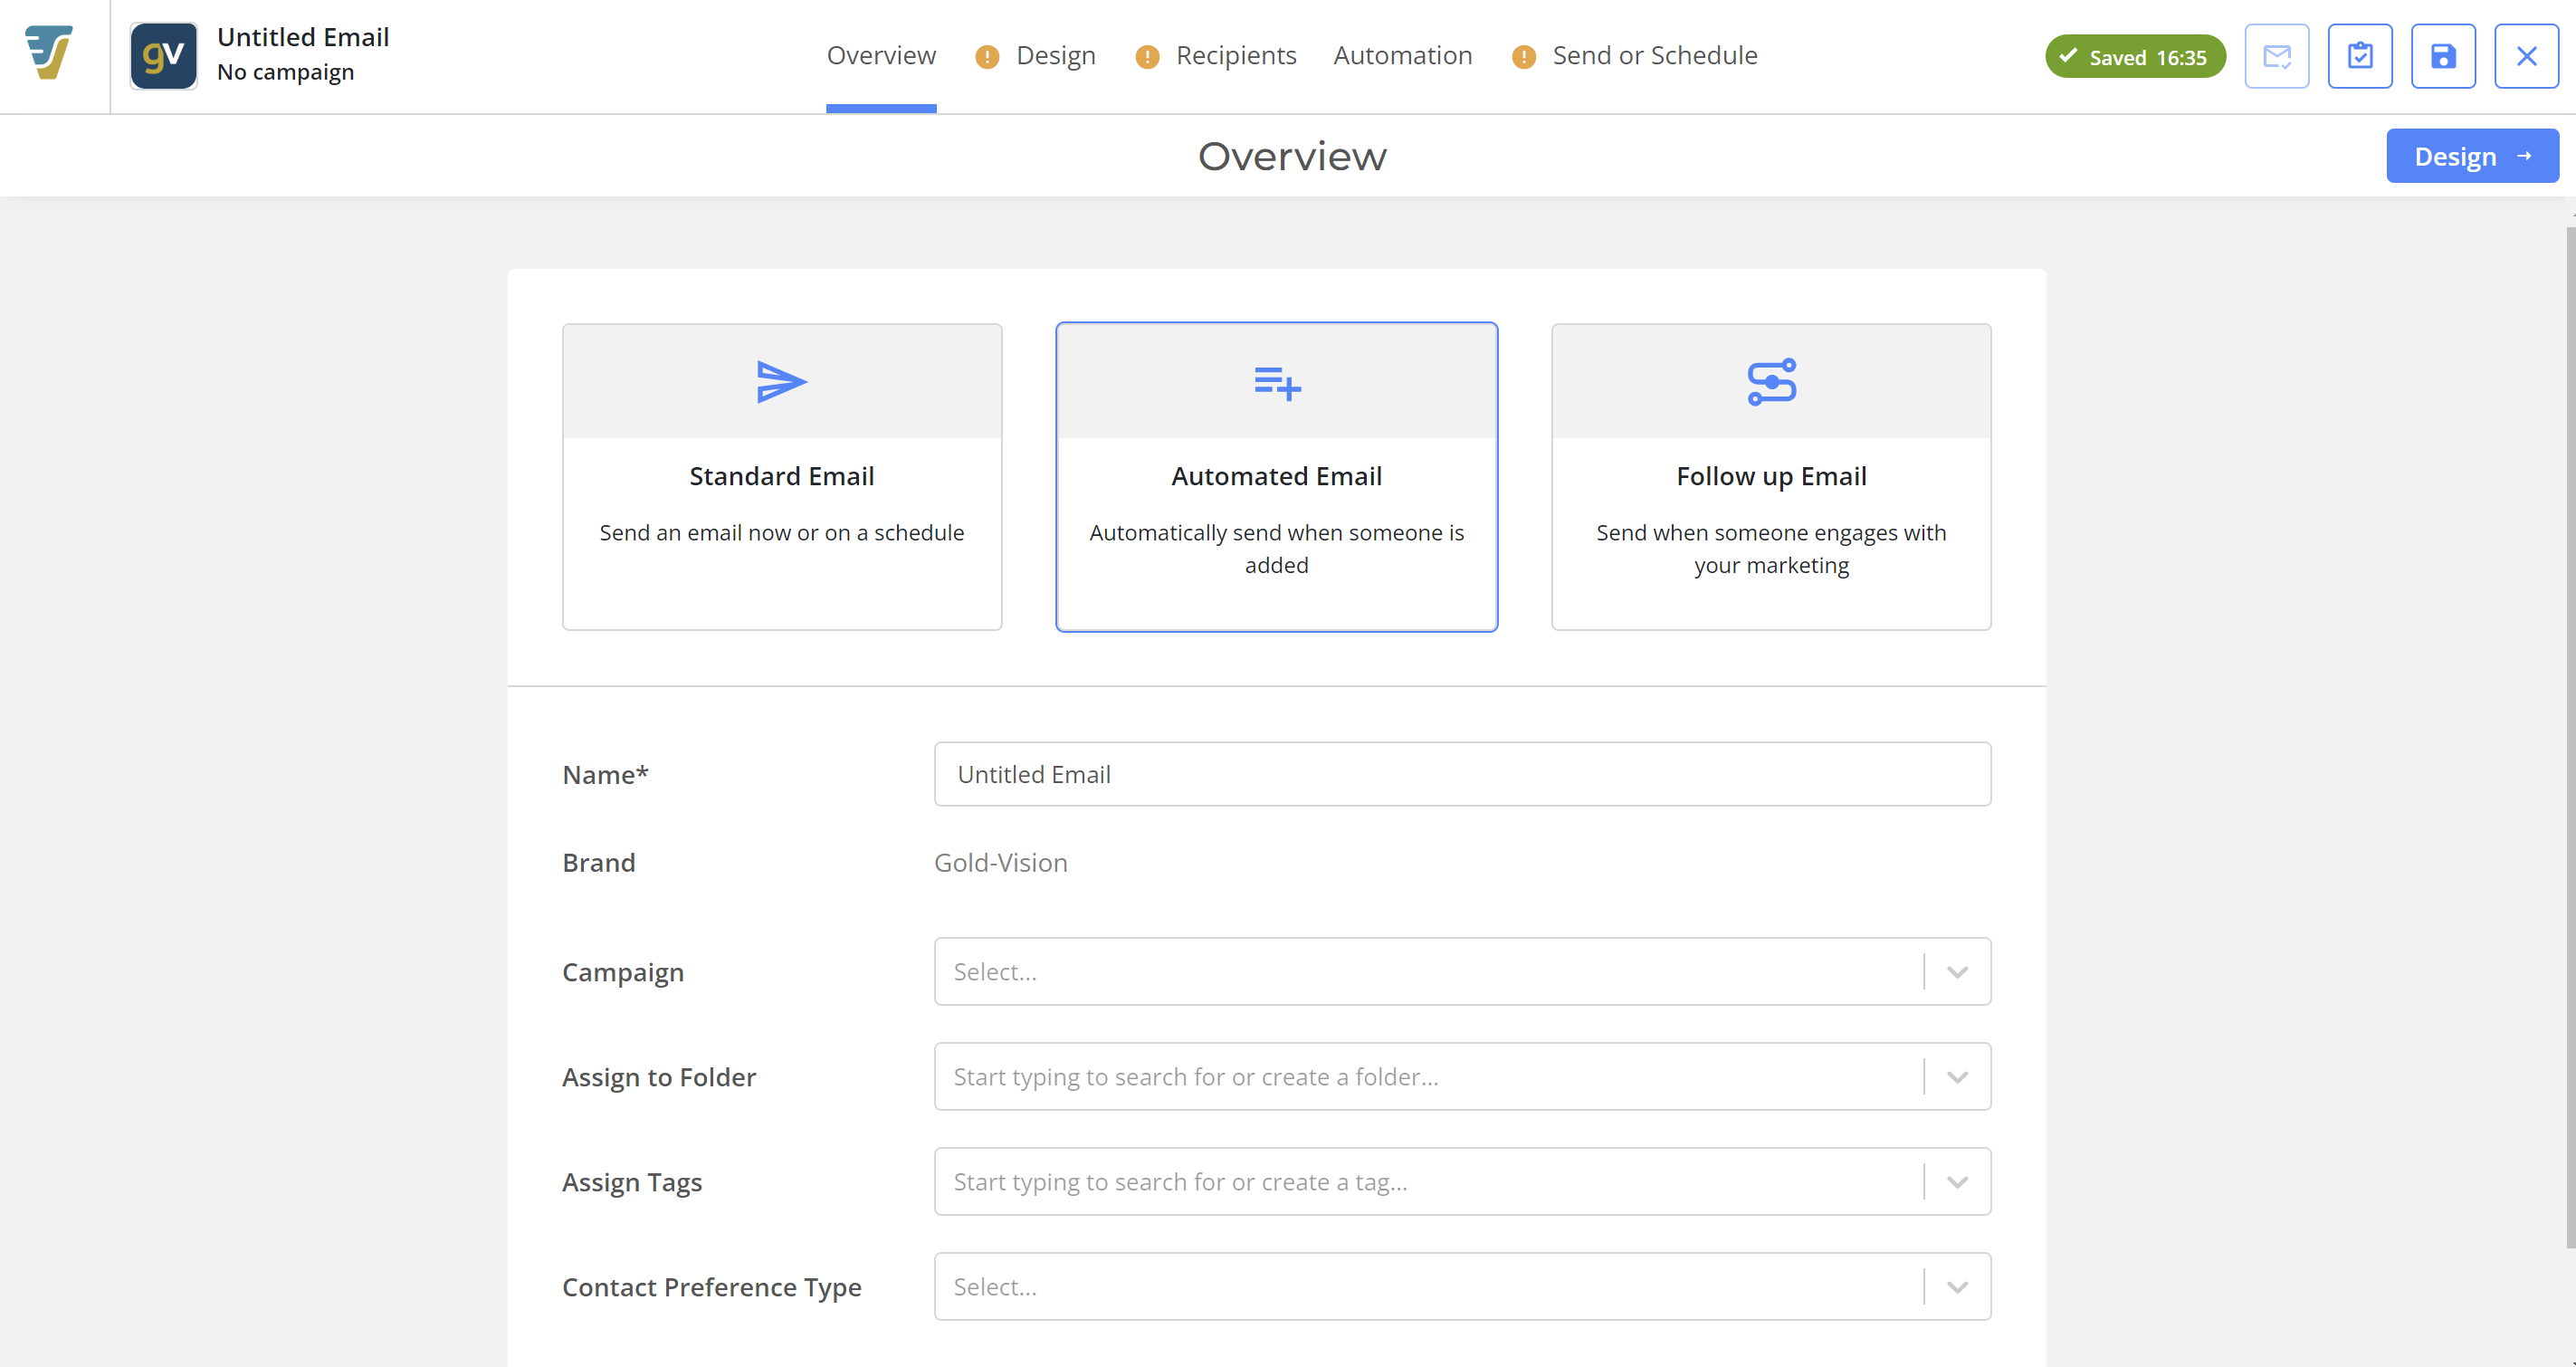
Follow the steps in Email Description to name your email and do your Email Design it as you would for any other kind of email.
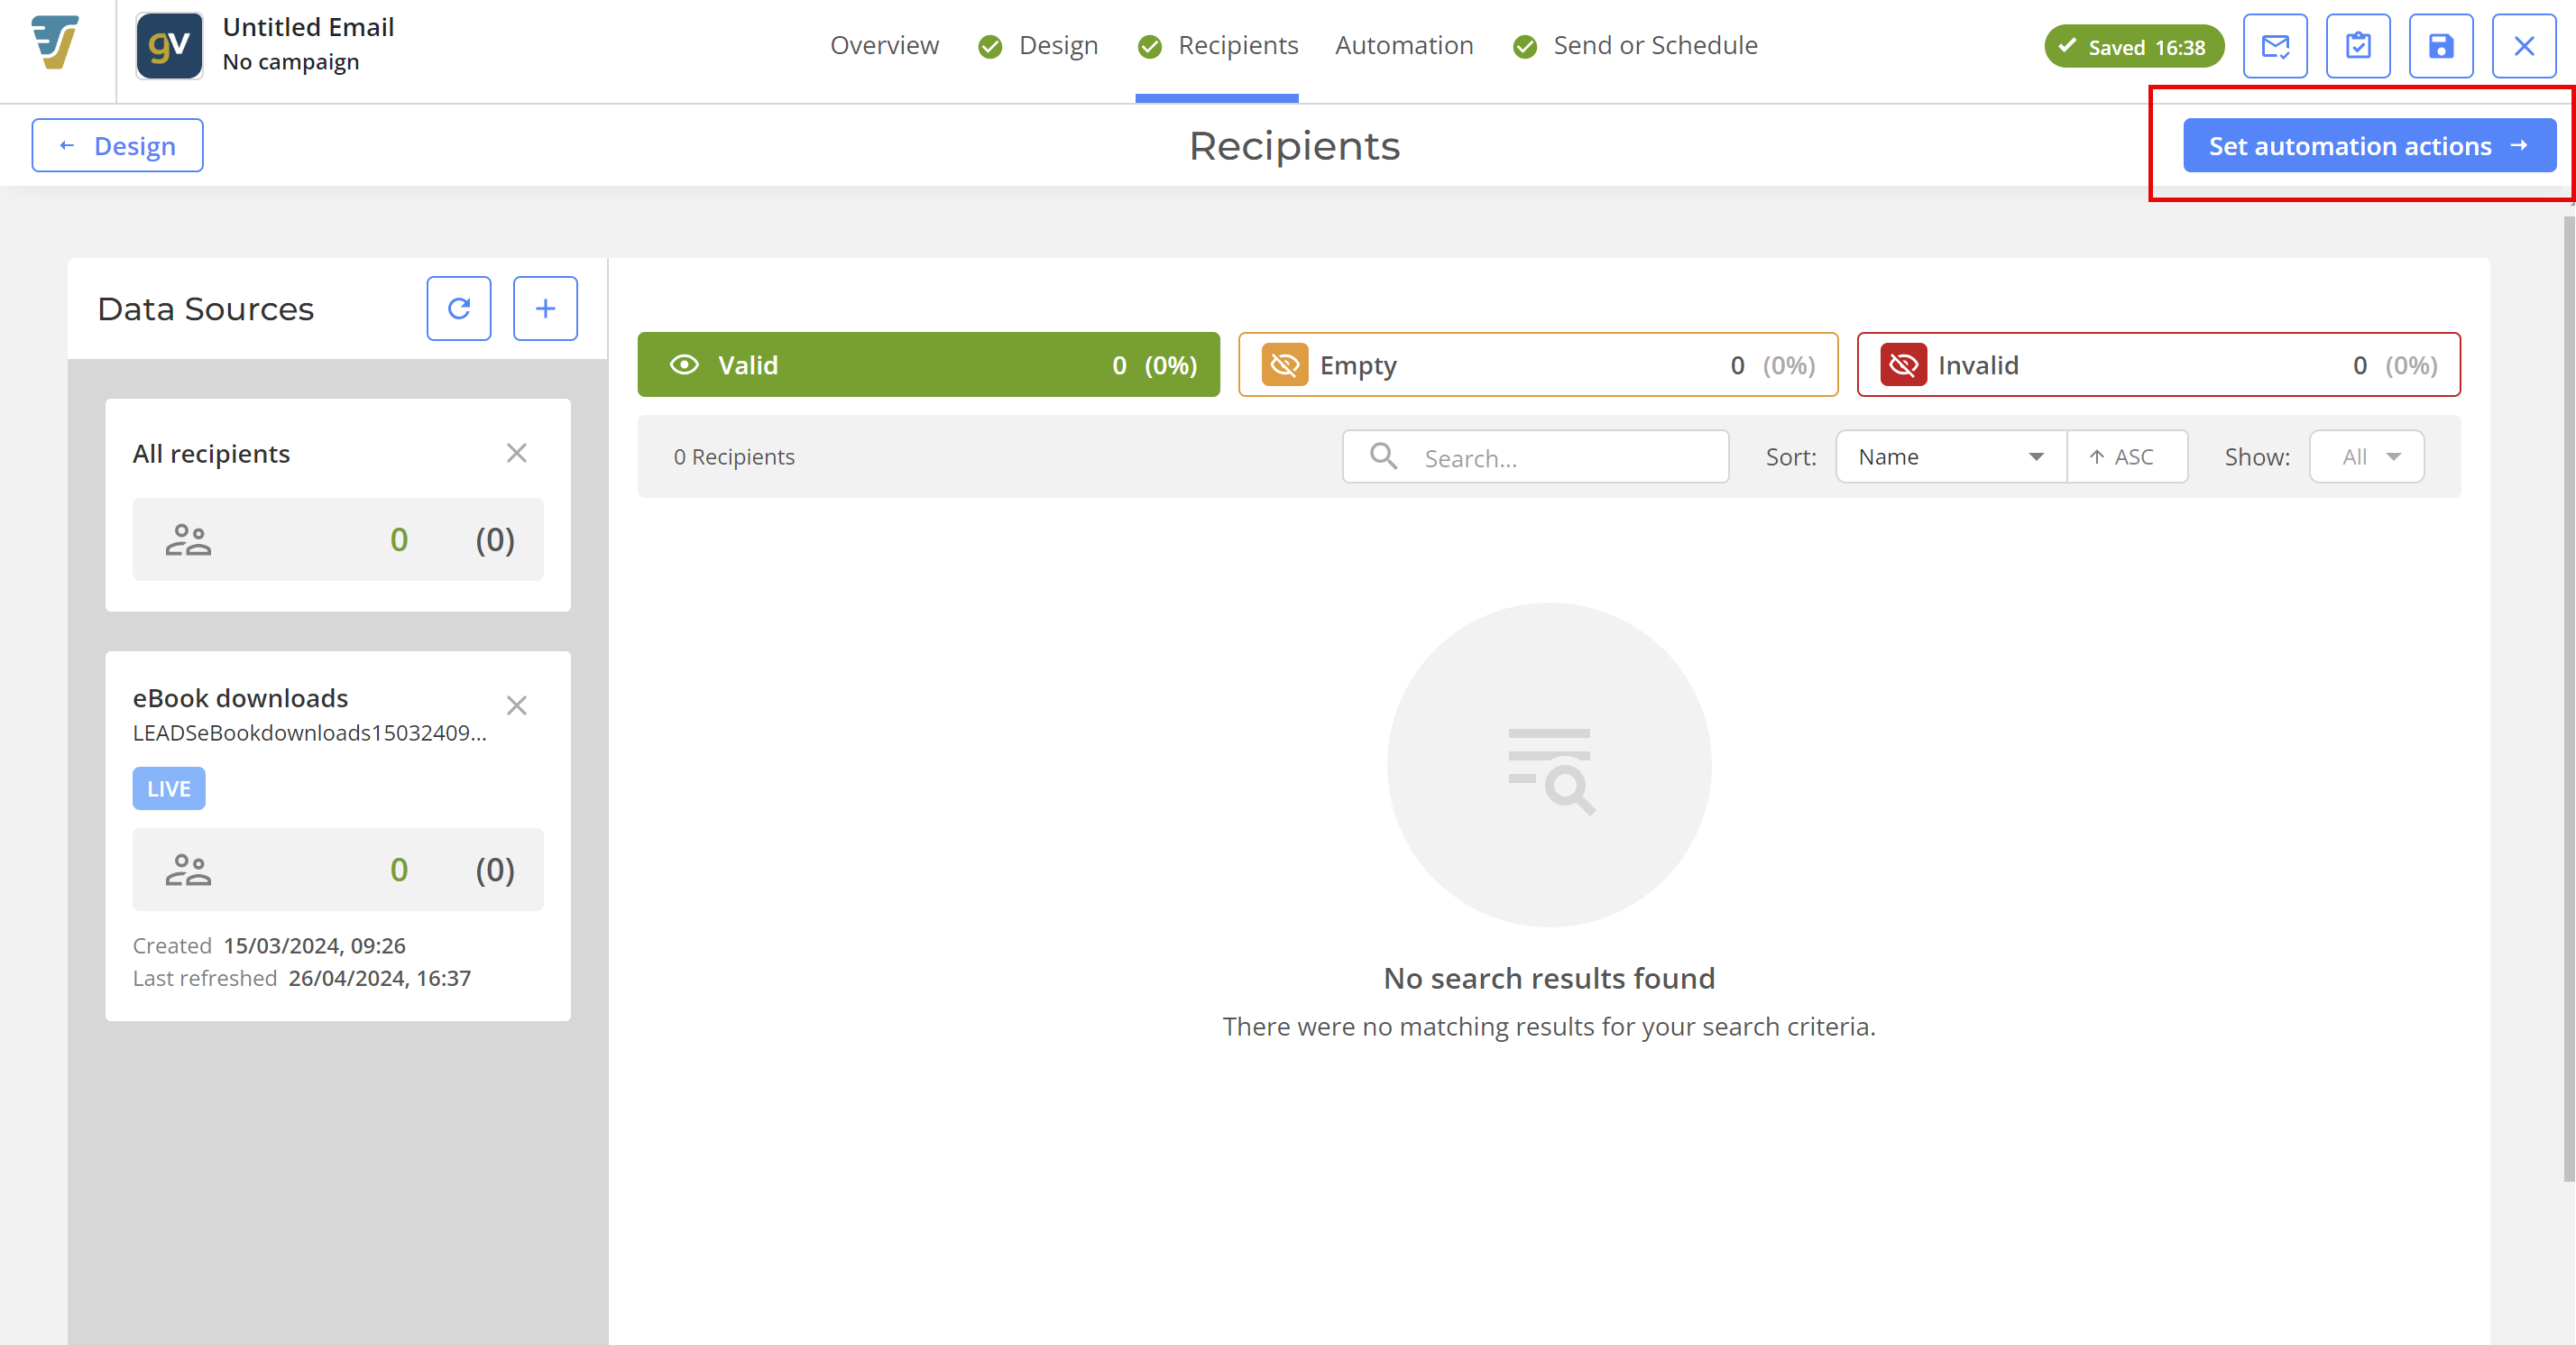
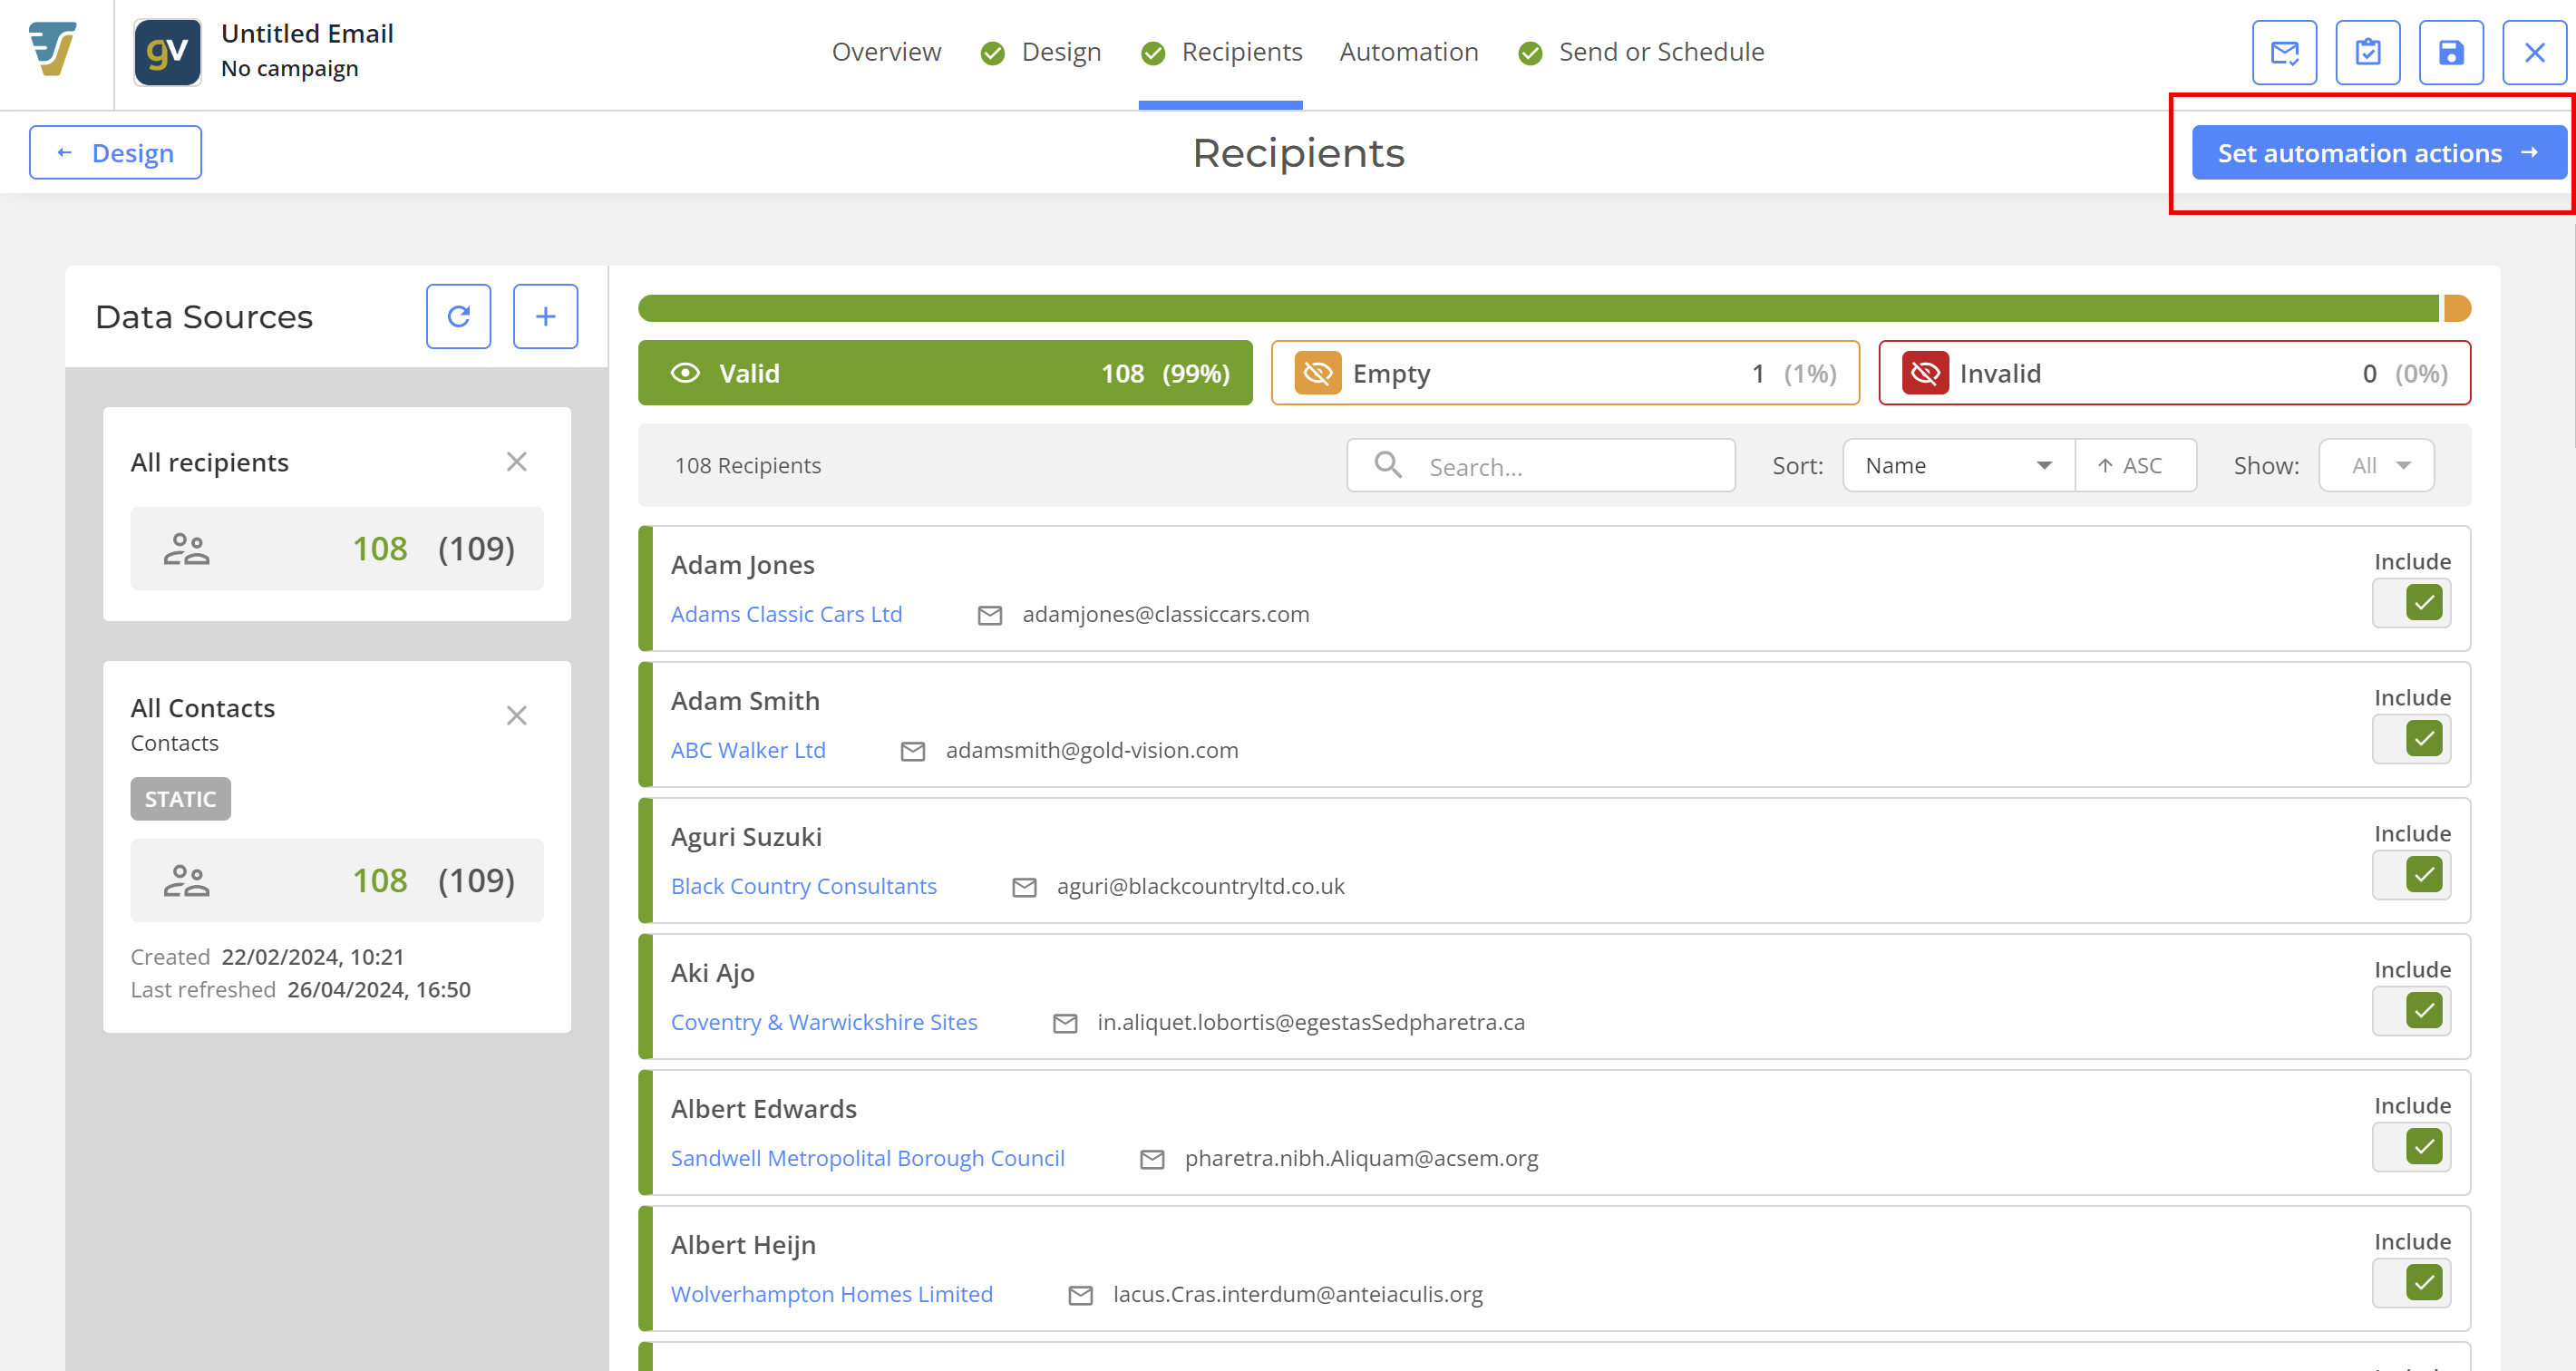
Add your Recipients to the email; be aware that whether you choose from a Static or Live Data source will impact how your Marketing Automation will run and determine which of the Send or Schedule options that you will require.
Set up any further Automation actions for any Follow up emails if required before proceeding to Send or Schedule.
Send or Schedule
Use the Automation Sending Options to define the period in which your Automated Email should function and often the automation should run. Which option you choose depends upon which kind of Data Source you used for your recipients.
 Info
Info
Find out more about the differences between Static and Live Data Sources.
If your chosen Data Source was Live then you can select the Set automation actions button. When contact is added to the Live Data Source in Gold-Vision CRM this will automatically trigger a run of this Automated Email.
You can then select Email actions and + Action to Process an option to Add recipient to a data source or Send a Follow up email.
If your chosen Data Source was Static then use the Set automation actions button to set the dates that the automation should run and how frequently this should run. This option will run the Automated Email on your schedule and refresh the recipients of the Static Data source as it does so.
Info
Click to read more about Email actions or Link actions.
 Related articles