Building your Template
To start building your template, click on the first block you want to use from the Content or Rows menu on right, drag it over to the design space and drop when it is in the right position.
Text
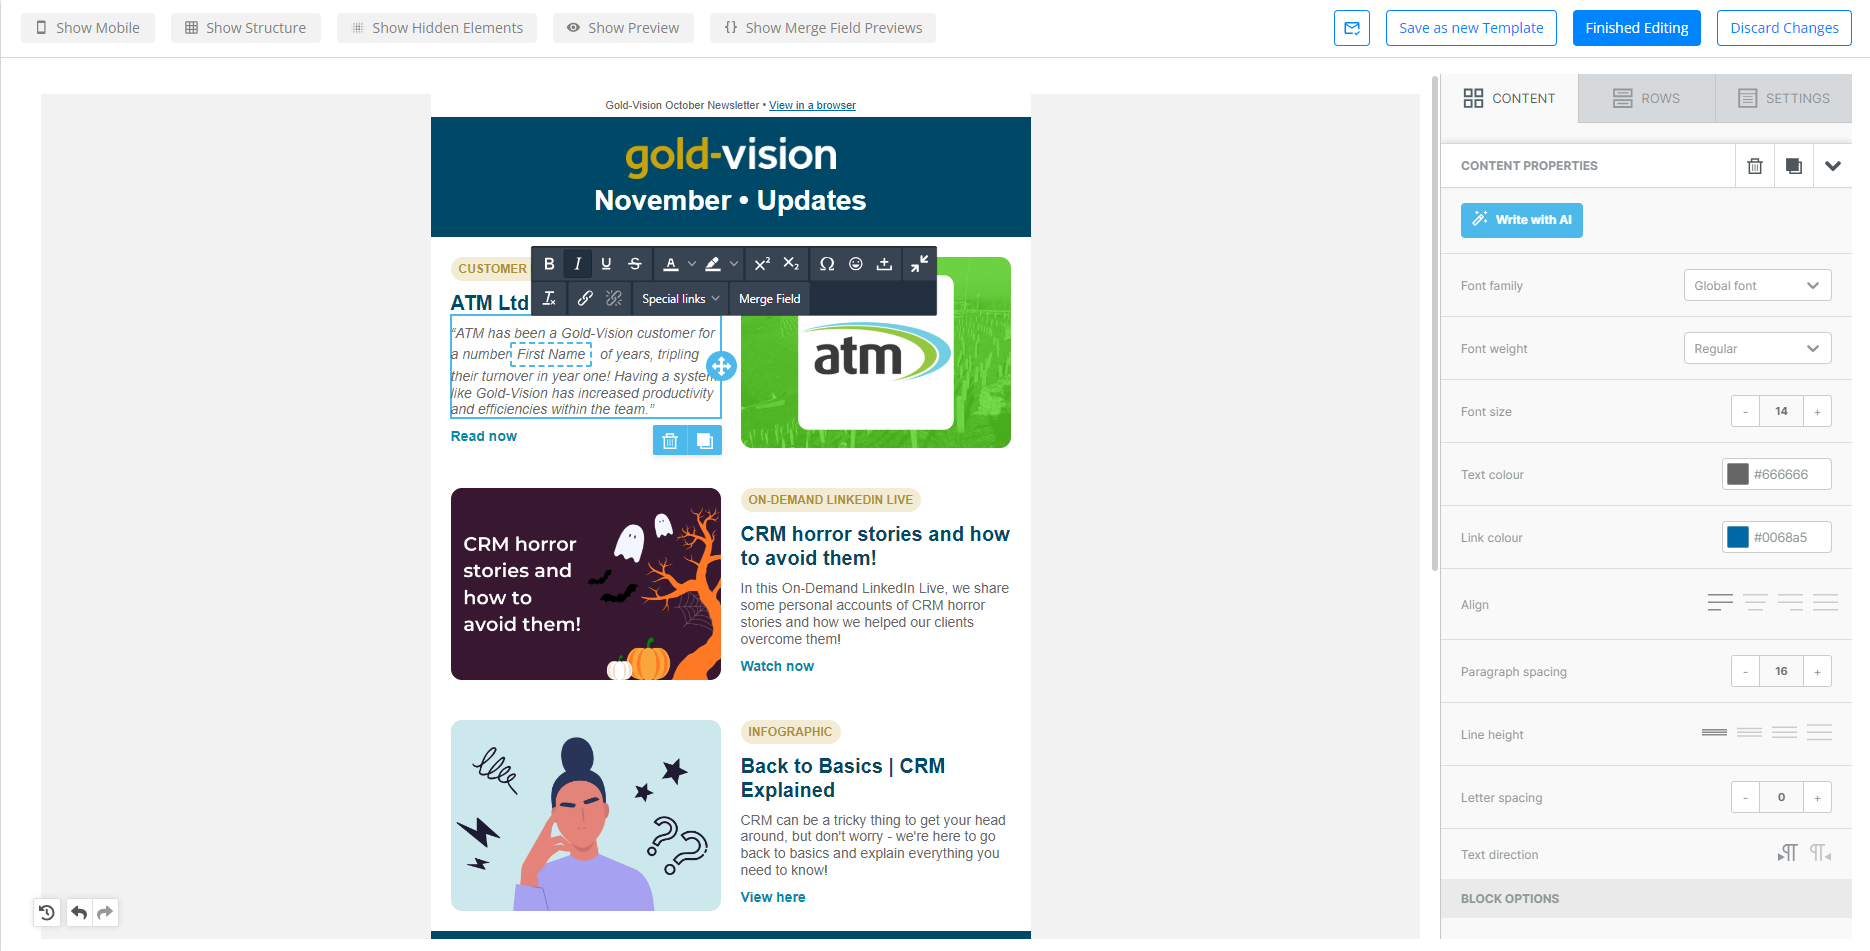
If you want to edit copy within a Text block, double click on the block to open the in-line text editor, and the Content Properties menu on the right-hand side.
The Content Properties tab is available for all content blocks, and allows you to edit and refine aspects of your content, such as colours, alignment, spacing and padding. Simply click on the block you want to amend within your design and the relevant options will appear.
If you want to edit copy within a Text block, double click on the block to open the in-line text editor.

The Content Properties tab is available for all content blocks, and allows you to edit and refine aspects of your content, such as colours, alignment, spacing and padding. Simply click on the block you want to amend within your design and the relevant options will appear.
You can also edit the text properties using the inline editor that appears when you highlight text in a text block, such as formatting words. In this editor you will also find Special Links and Merge Field.
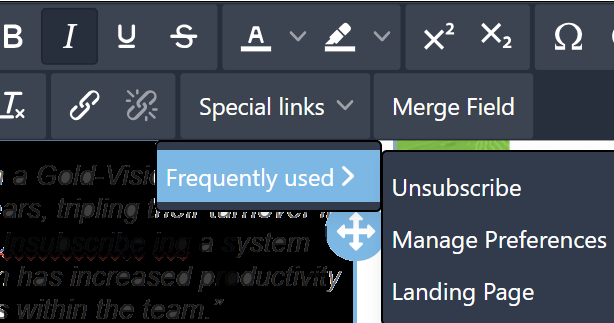
Special Links
Use the Special Links option to add an unsubscribe link to your text. Use the Manage Preferences option for your recipients to visit and select the kind of emails they do or do not want to receive from you as defined by your Email Type which you setup in your Brand Email Contact Preferences. Or link content in your emails to landing pages that you have created alongside this email using the Landing Page option.
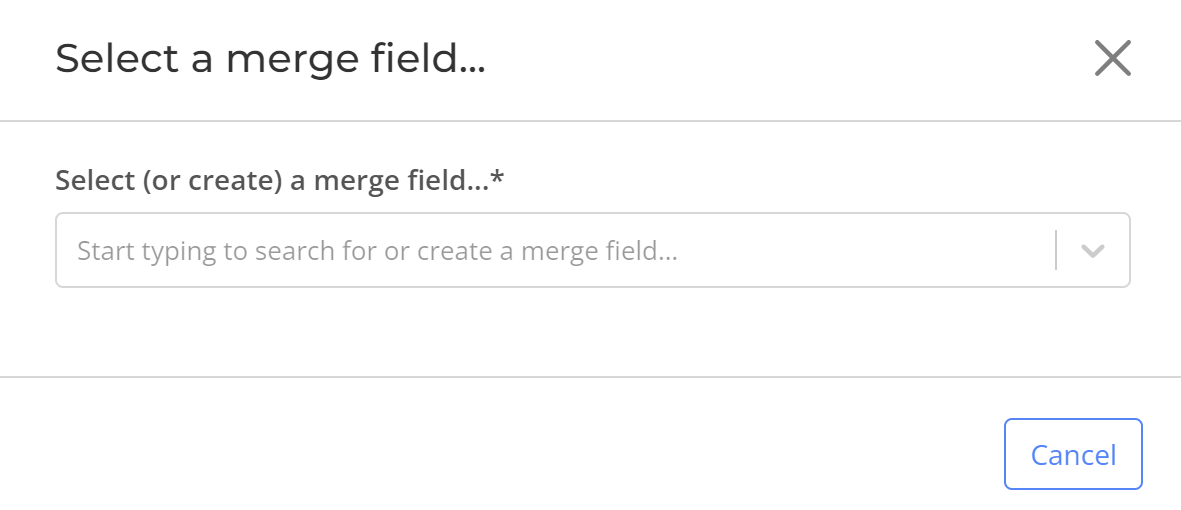
Merge Field
Use this option to link your text content to a Merge field from Gold-Vision CRM.
Choose from a pre-defined set of Merge fields; or, depending upon your subscription to Gold-Vision Marketing, you may have setup Merge Fields to use within your brand(s).
 Info
Info
See Merge Fields in the Brand section for more information on how to save your required Merge Fields from Gold-Vision CRM against your brand for use in your Emails.
Images
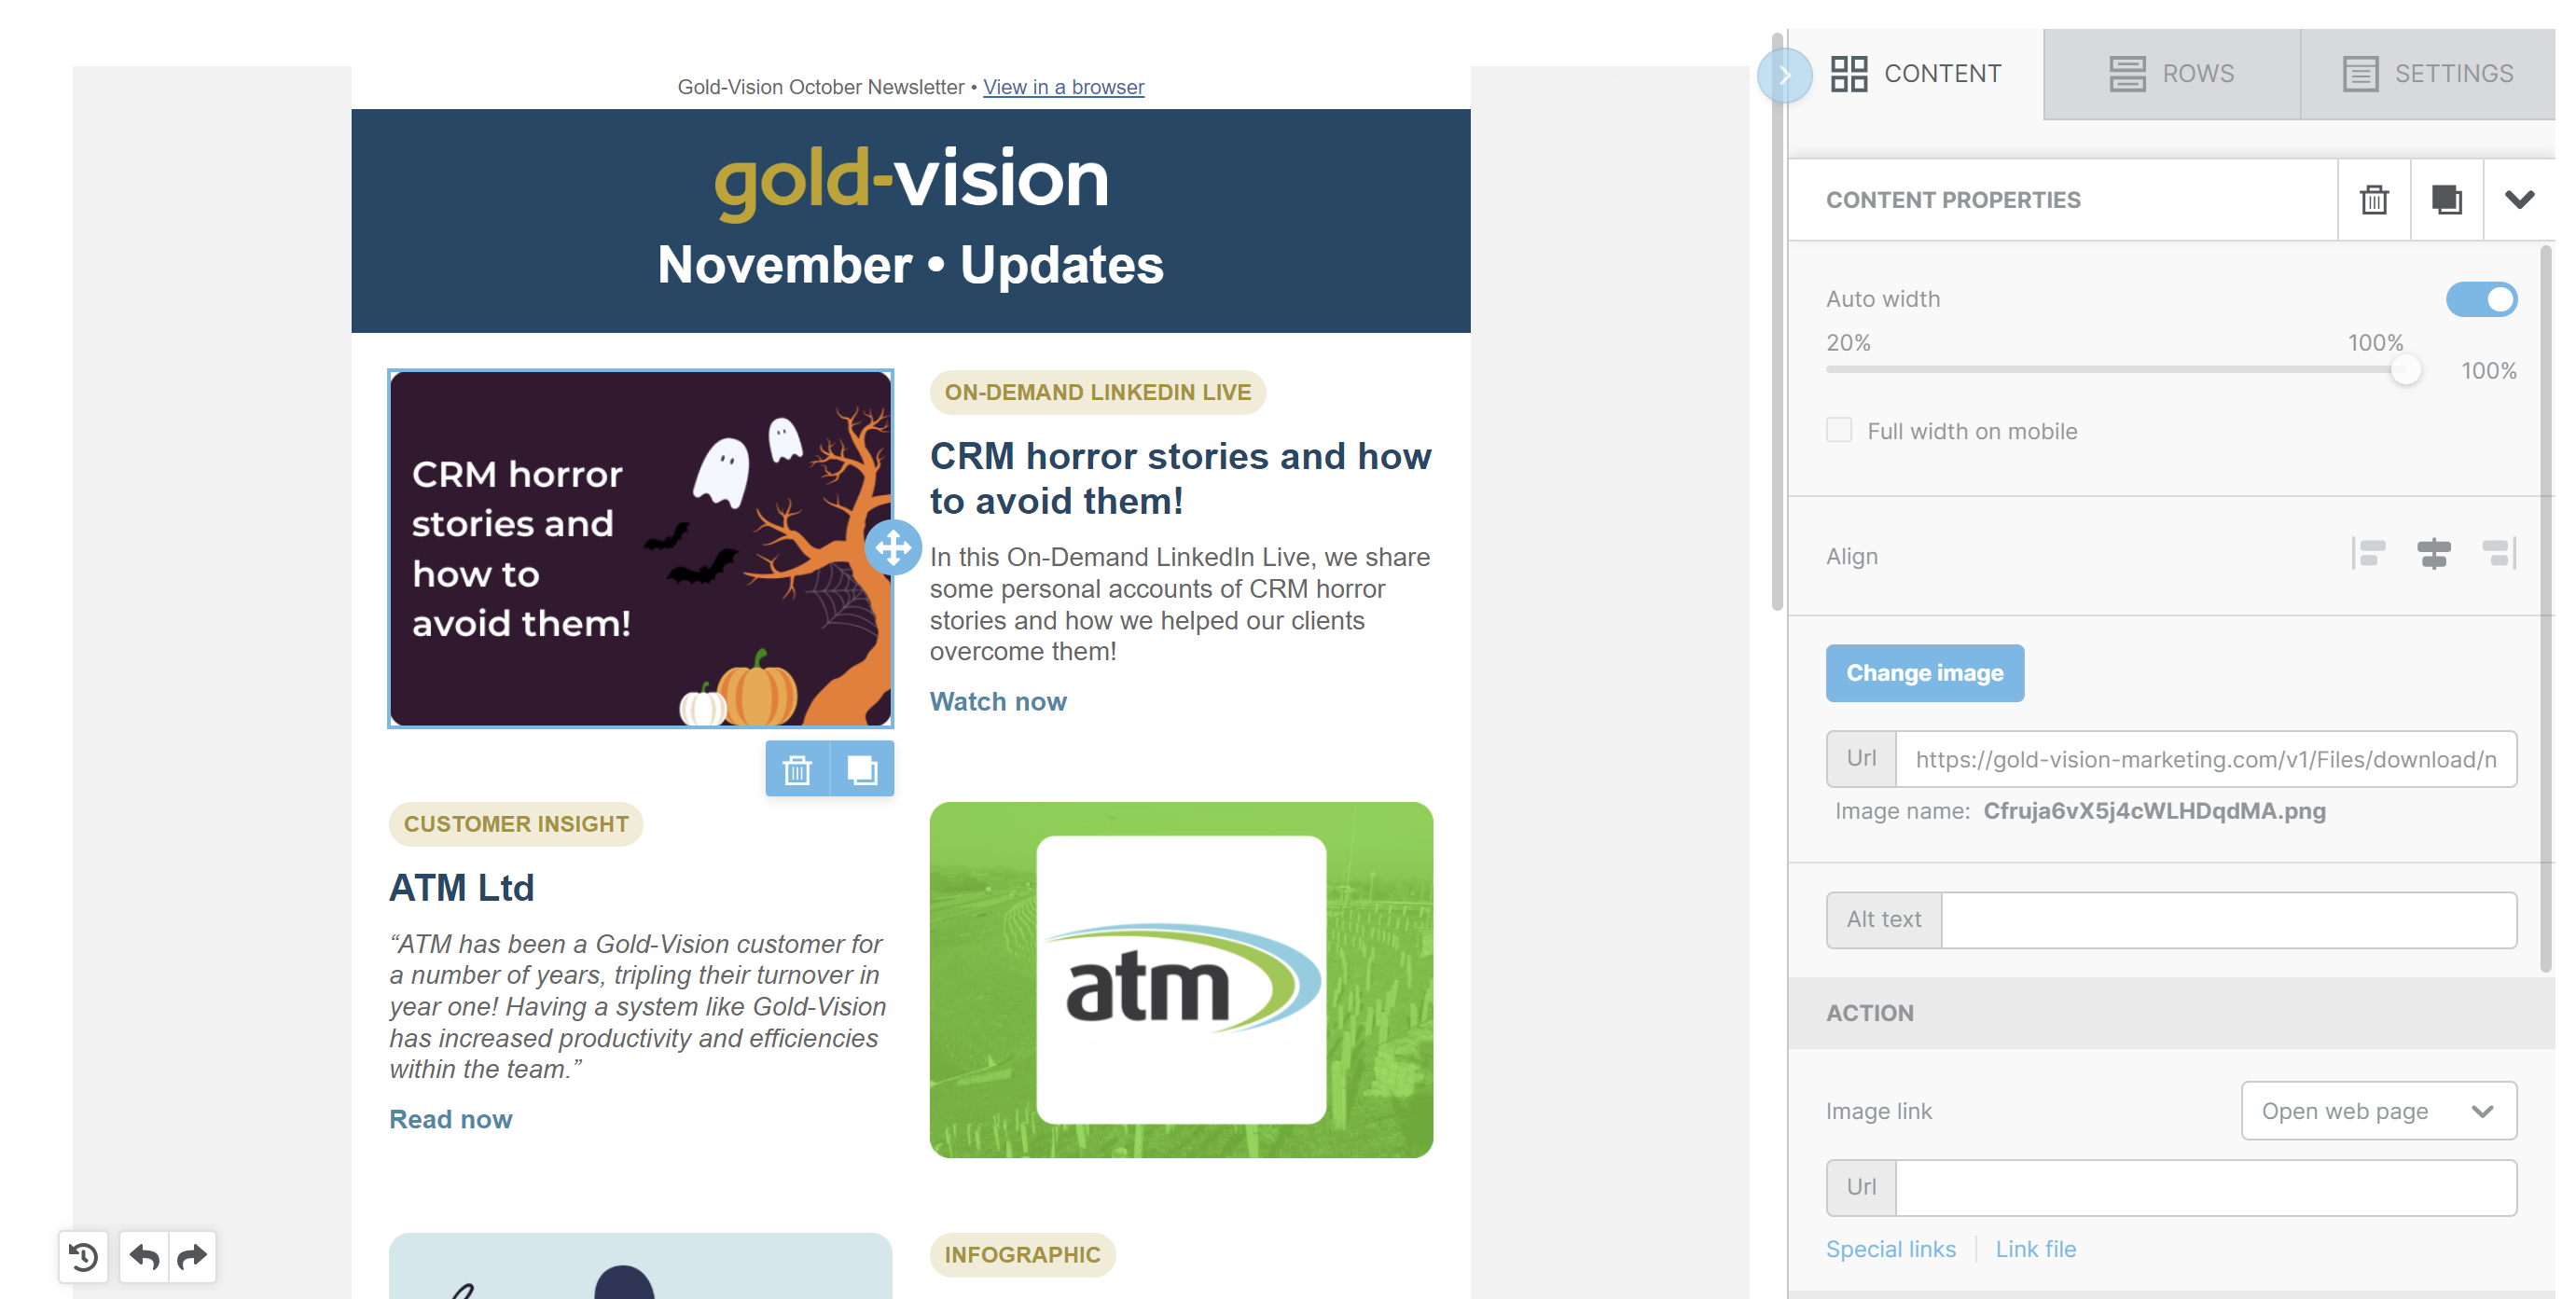
To upload an image, drag and drop the Image block into your template. The block will then let you access your Asset library where you can upload new images, or select one added previously.
Once your image is added, you can edit the size, action URL and padding using the Content Properties tab on the right-hand side.
Re-ordering
You can move a block from its current position to be above or below other blocks by dragging and dropping them into your preferred order:
Rows (Columns)
To add columns to your mailer, click on the Rows option on the righthand side. From this view you will be able to pick a pre-formatted column template by setting the drop-down menu to ‘Empty’ and dragging your chosen template over to the design space.
You can edit columns by clicking on the row and viewing Row Properties. Here you can change column size, background colour, padding and boarders.
Saved Rows
To create a saved row, hover over your block and select the save button. Name your saved row, and click on create.
To use a saved row, click on the row option on the righthand side of the designer, and change the dropdown to Saved Rows. Here you will see a library of your saved rows which are ready to be dropped into your template.
Duplicating
Click on the block or row you want to duplicate.
In the bottom right hand corner of the content or row, there is the option to Duplicate. When you select duplicate, a direct copy of the content or row will appear below:
Delete
Click on a row click and select the Delete option.

Audit
At the bottom left hand corner you will find a button to view a list of all edits.
You can click any item to revert back to a previous version of the Template.
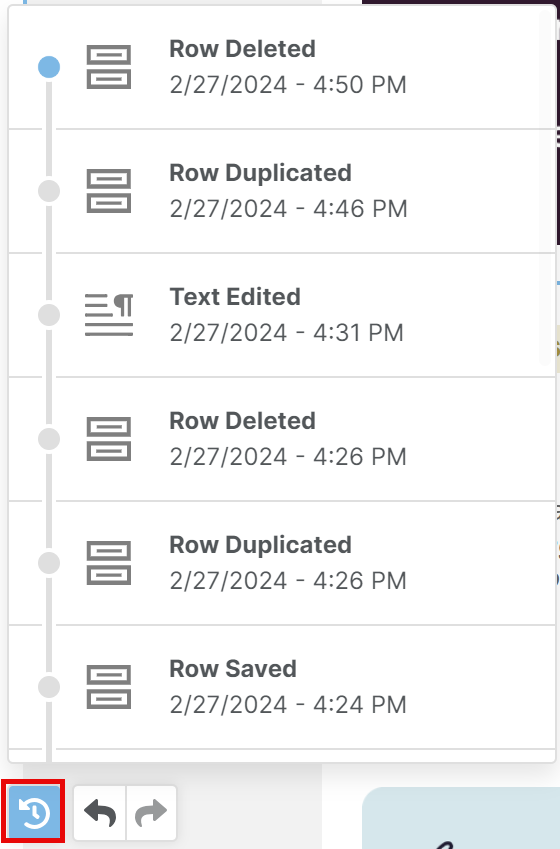
Undo / Redo
At the bottom left hand corner you will find options to Undo and Redo each edit of the Template changes.
 Related articles