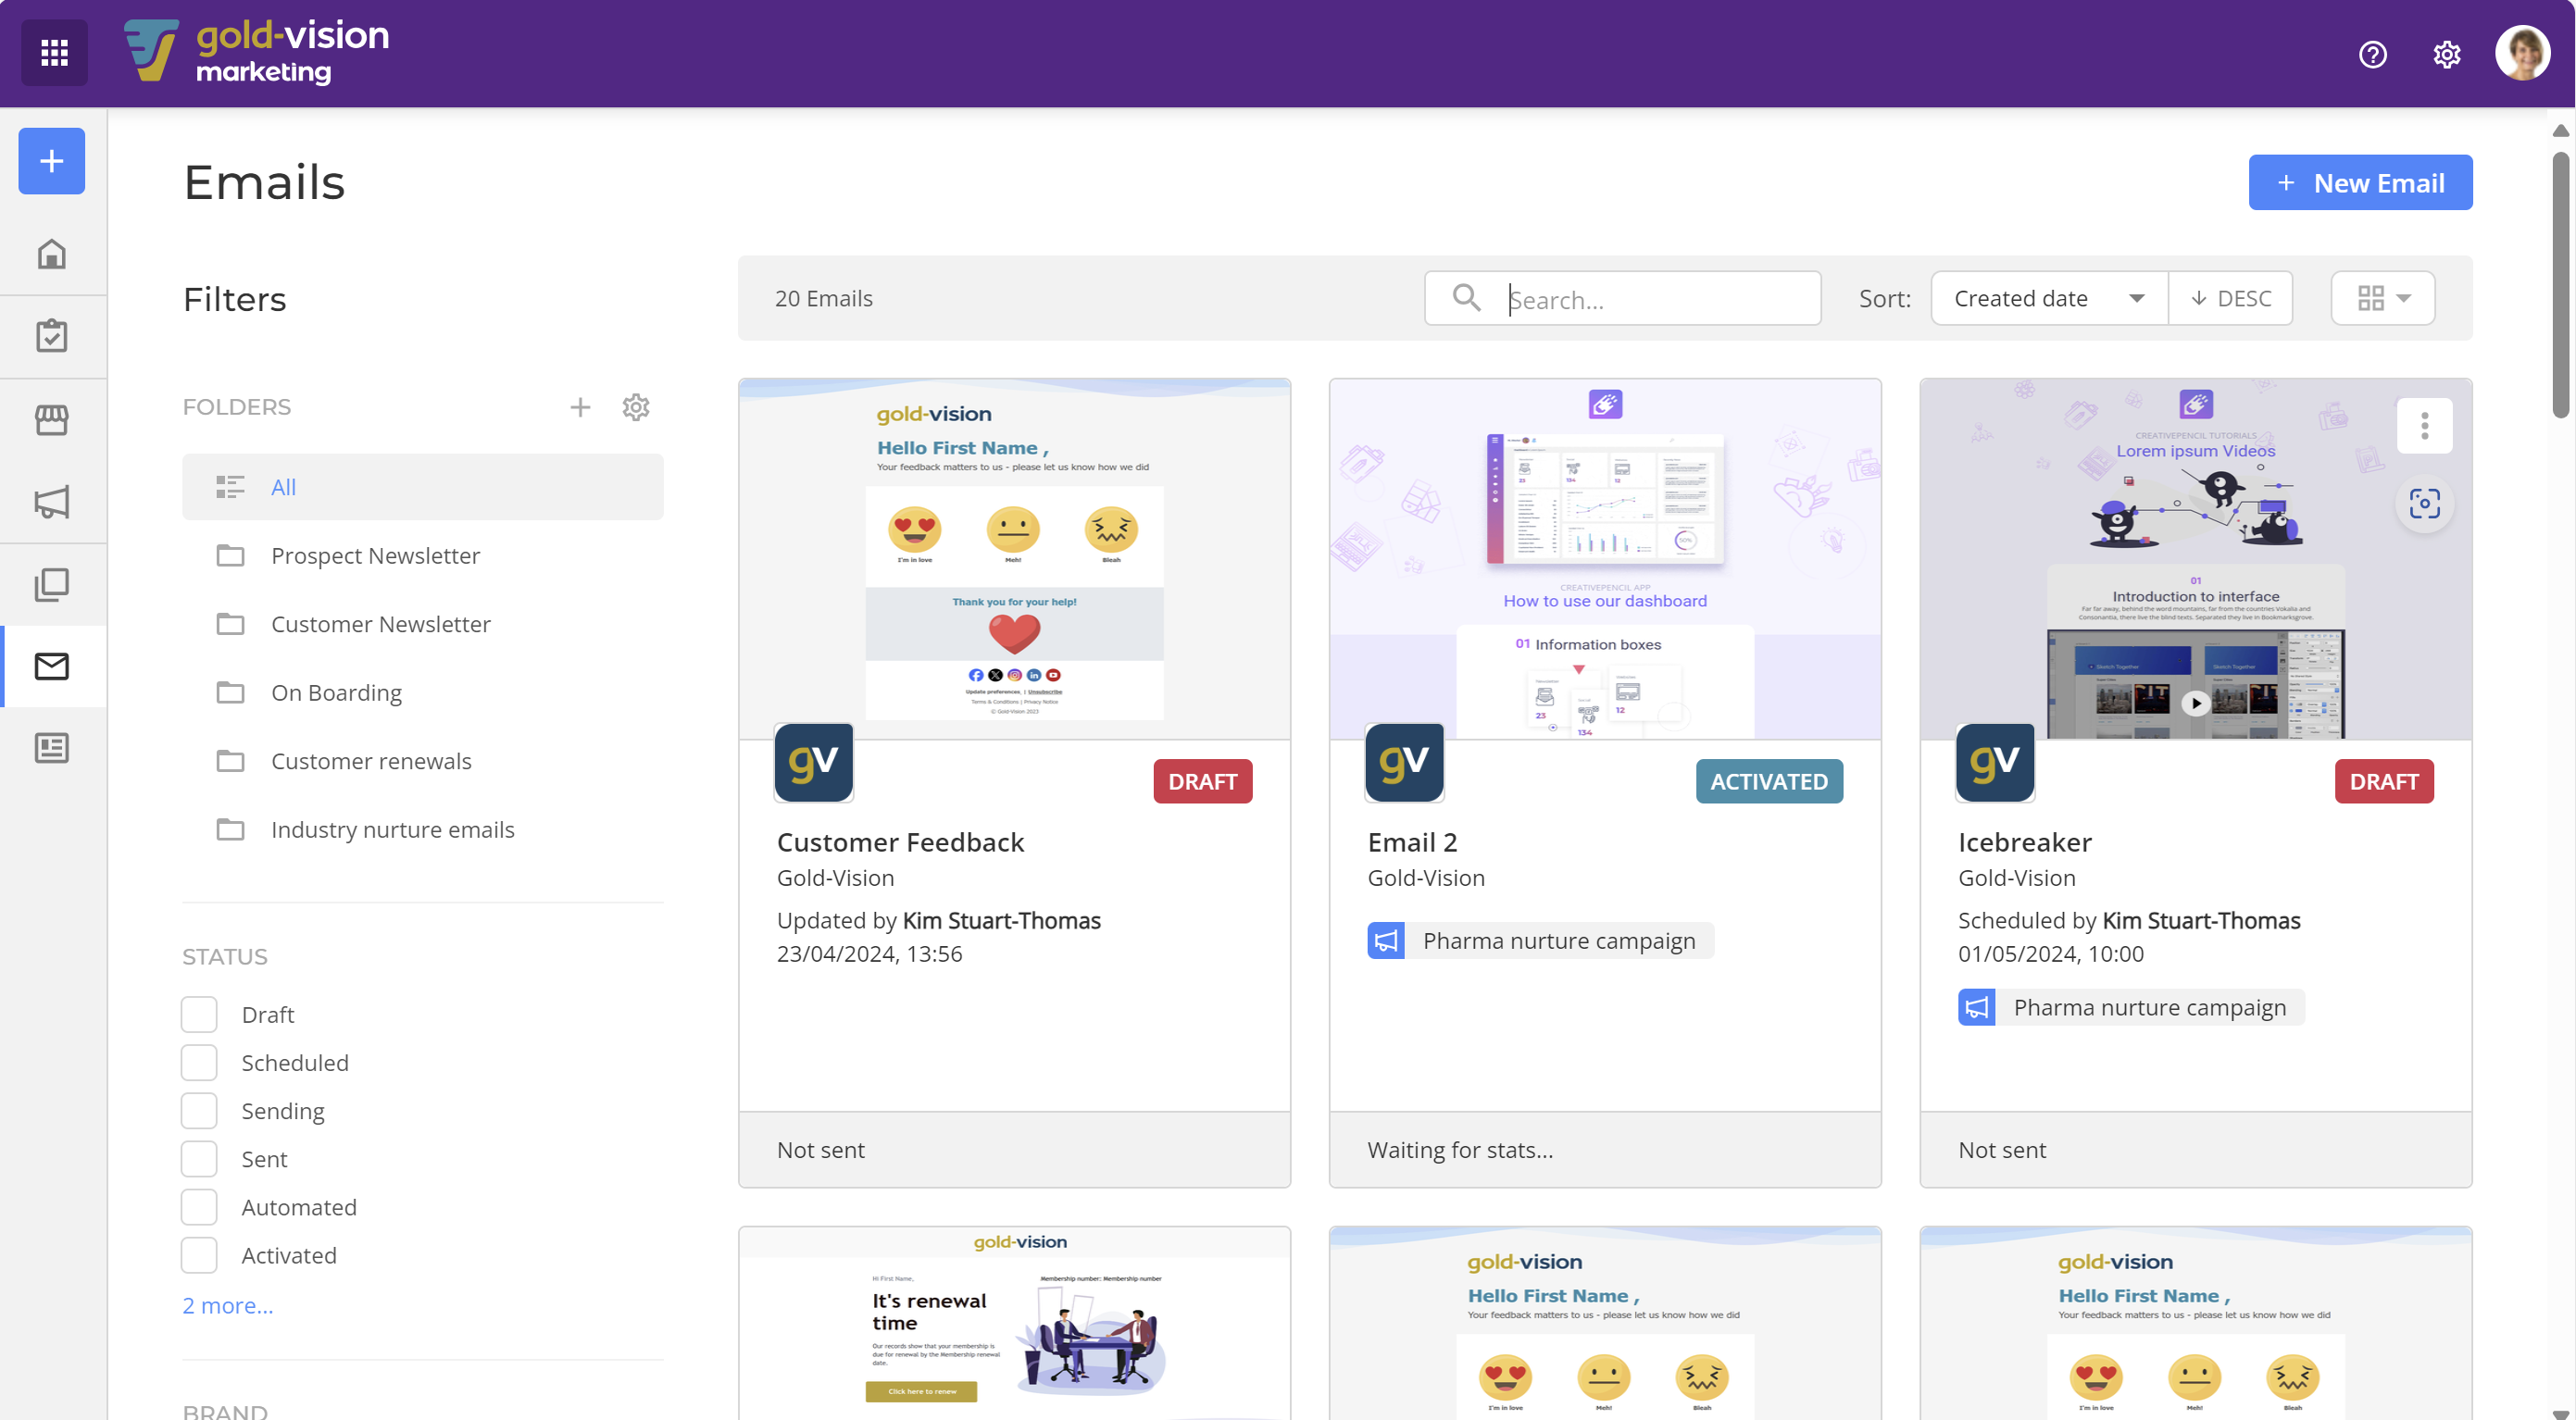
Emails Overview
Emails in Gold-Vision Marketing can form part of a campaign, or they can be a standalone single mailshot to a list of recipients.
From your Gold-Vision Marketing homepage, click the Emails icon in the sidebar.
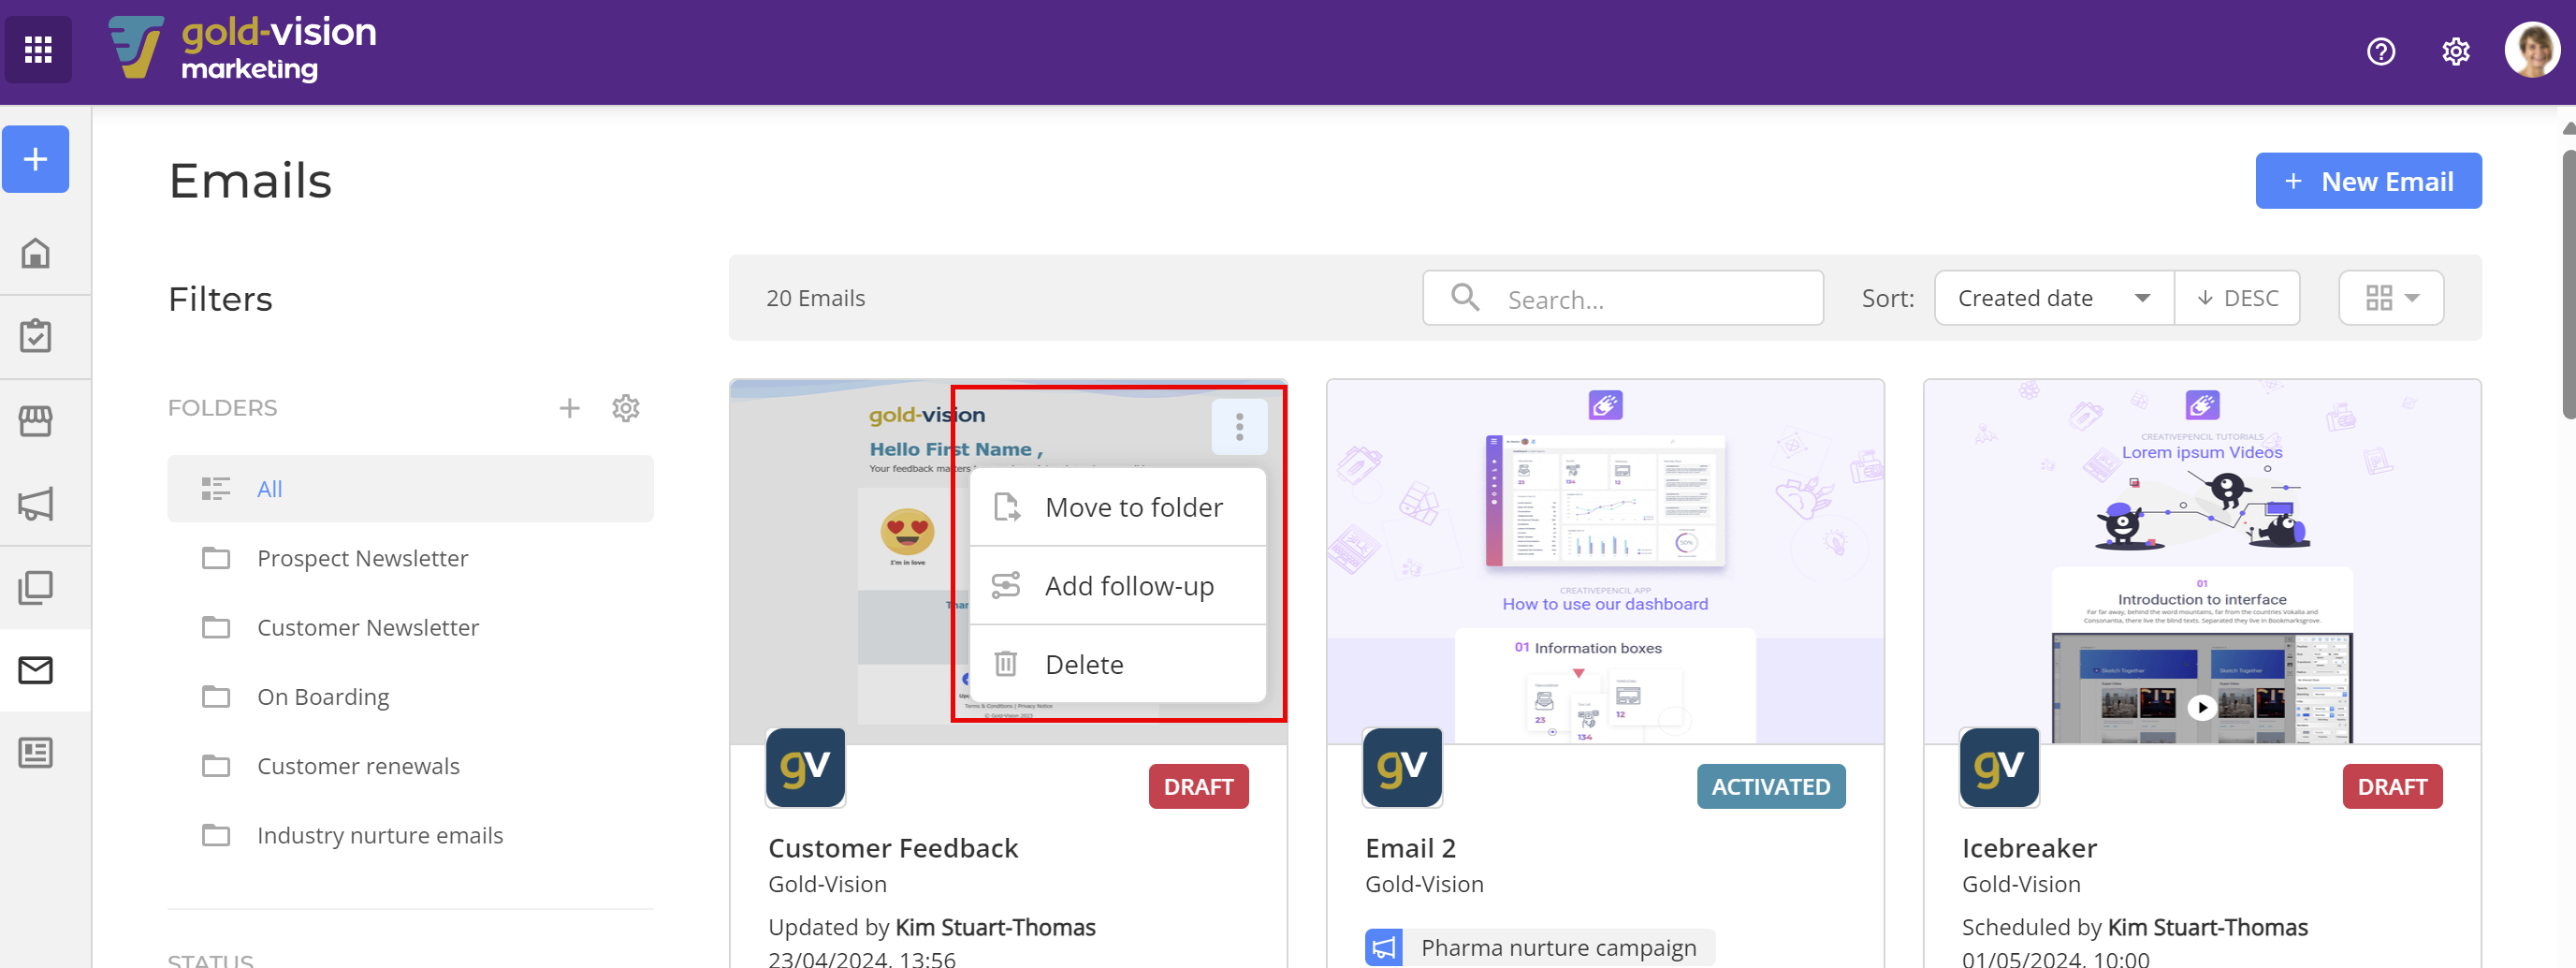
In here we can search for an existing email. Use the ellipse icon at the top right of the email card to move it to a folder, add a Follow up email or delete that email.
 Info
Info
See Follow up Email for more information on how to create them and link them to existing emails.
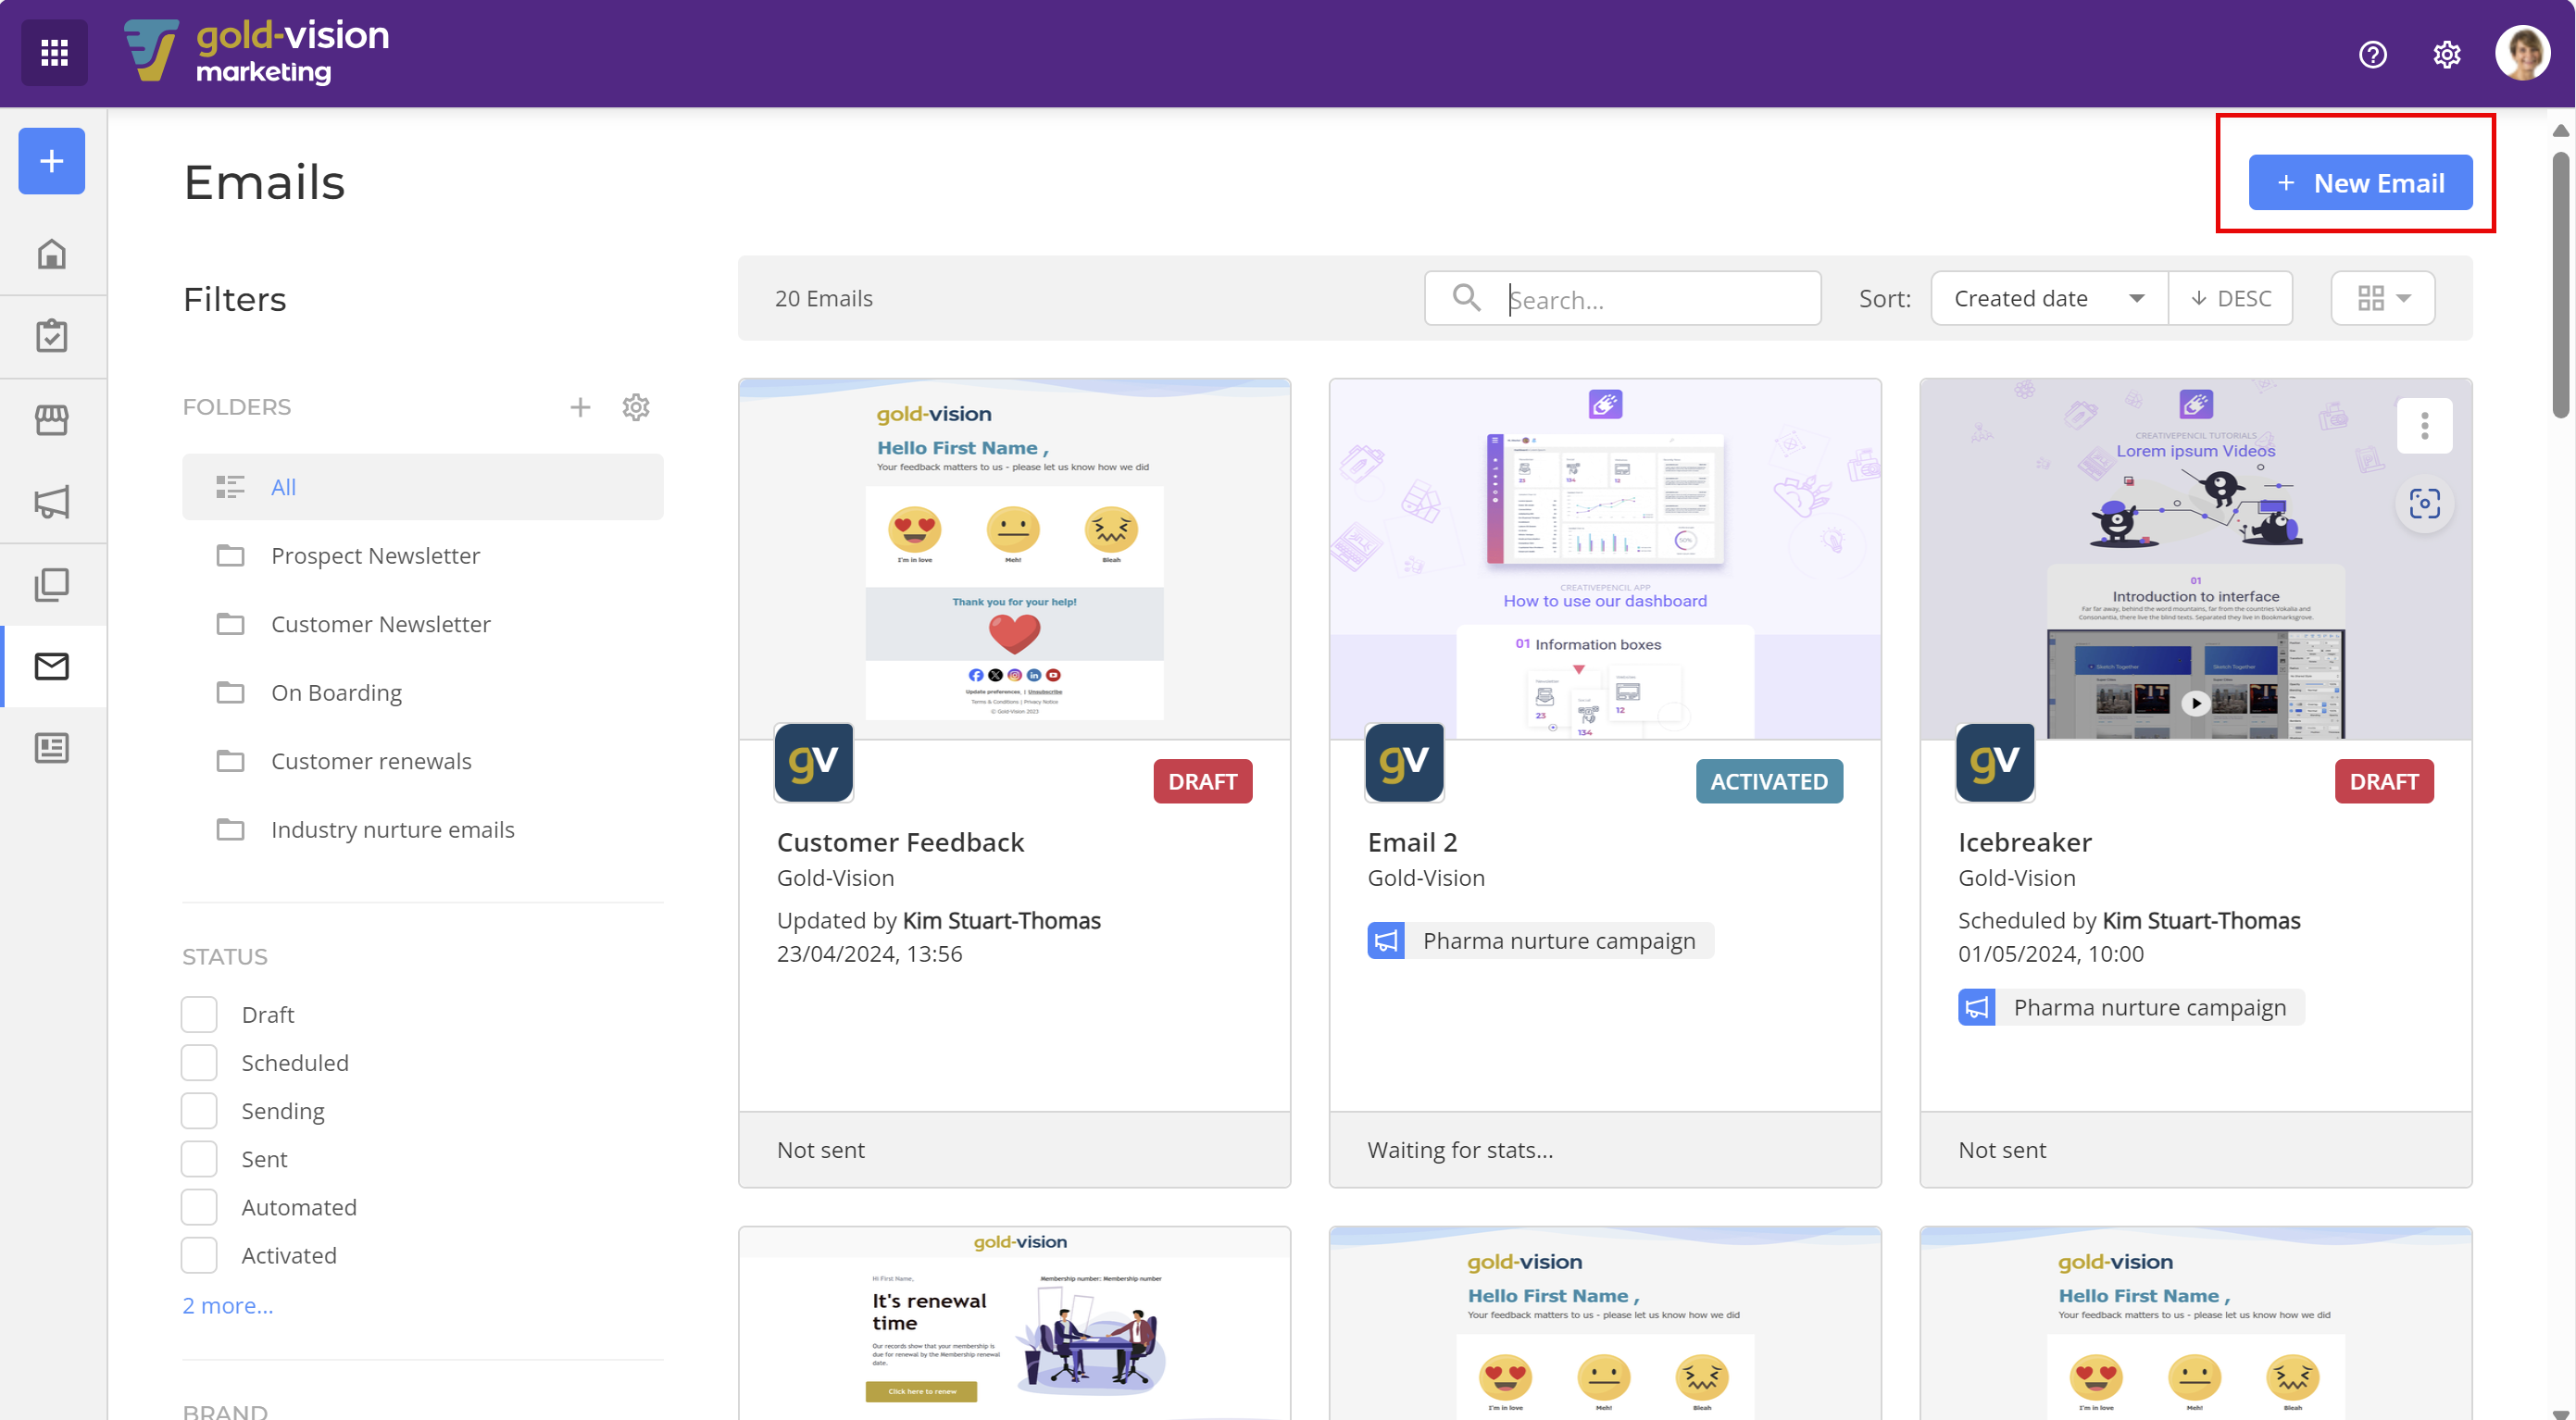
New Email
To create a new email, click + New Email
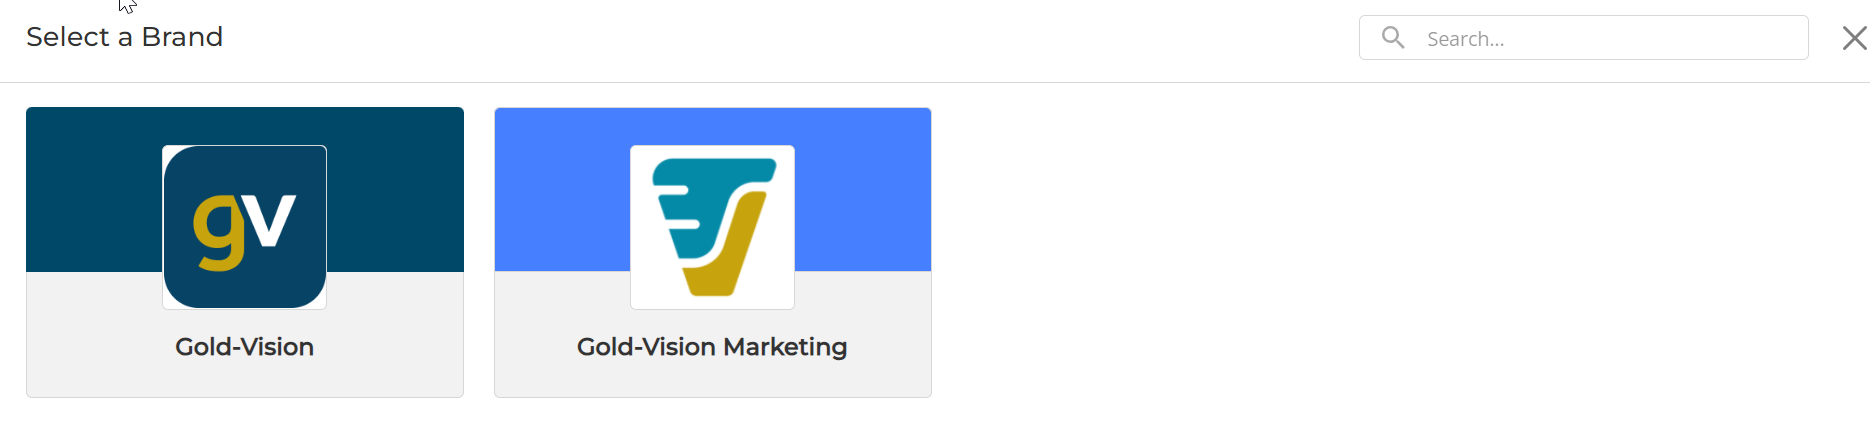
First, select a Brand for the email
Info
See Brand Overview for more information on Brands.
Email Types
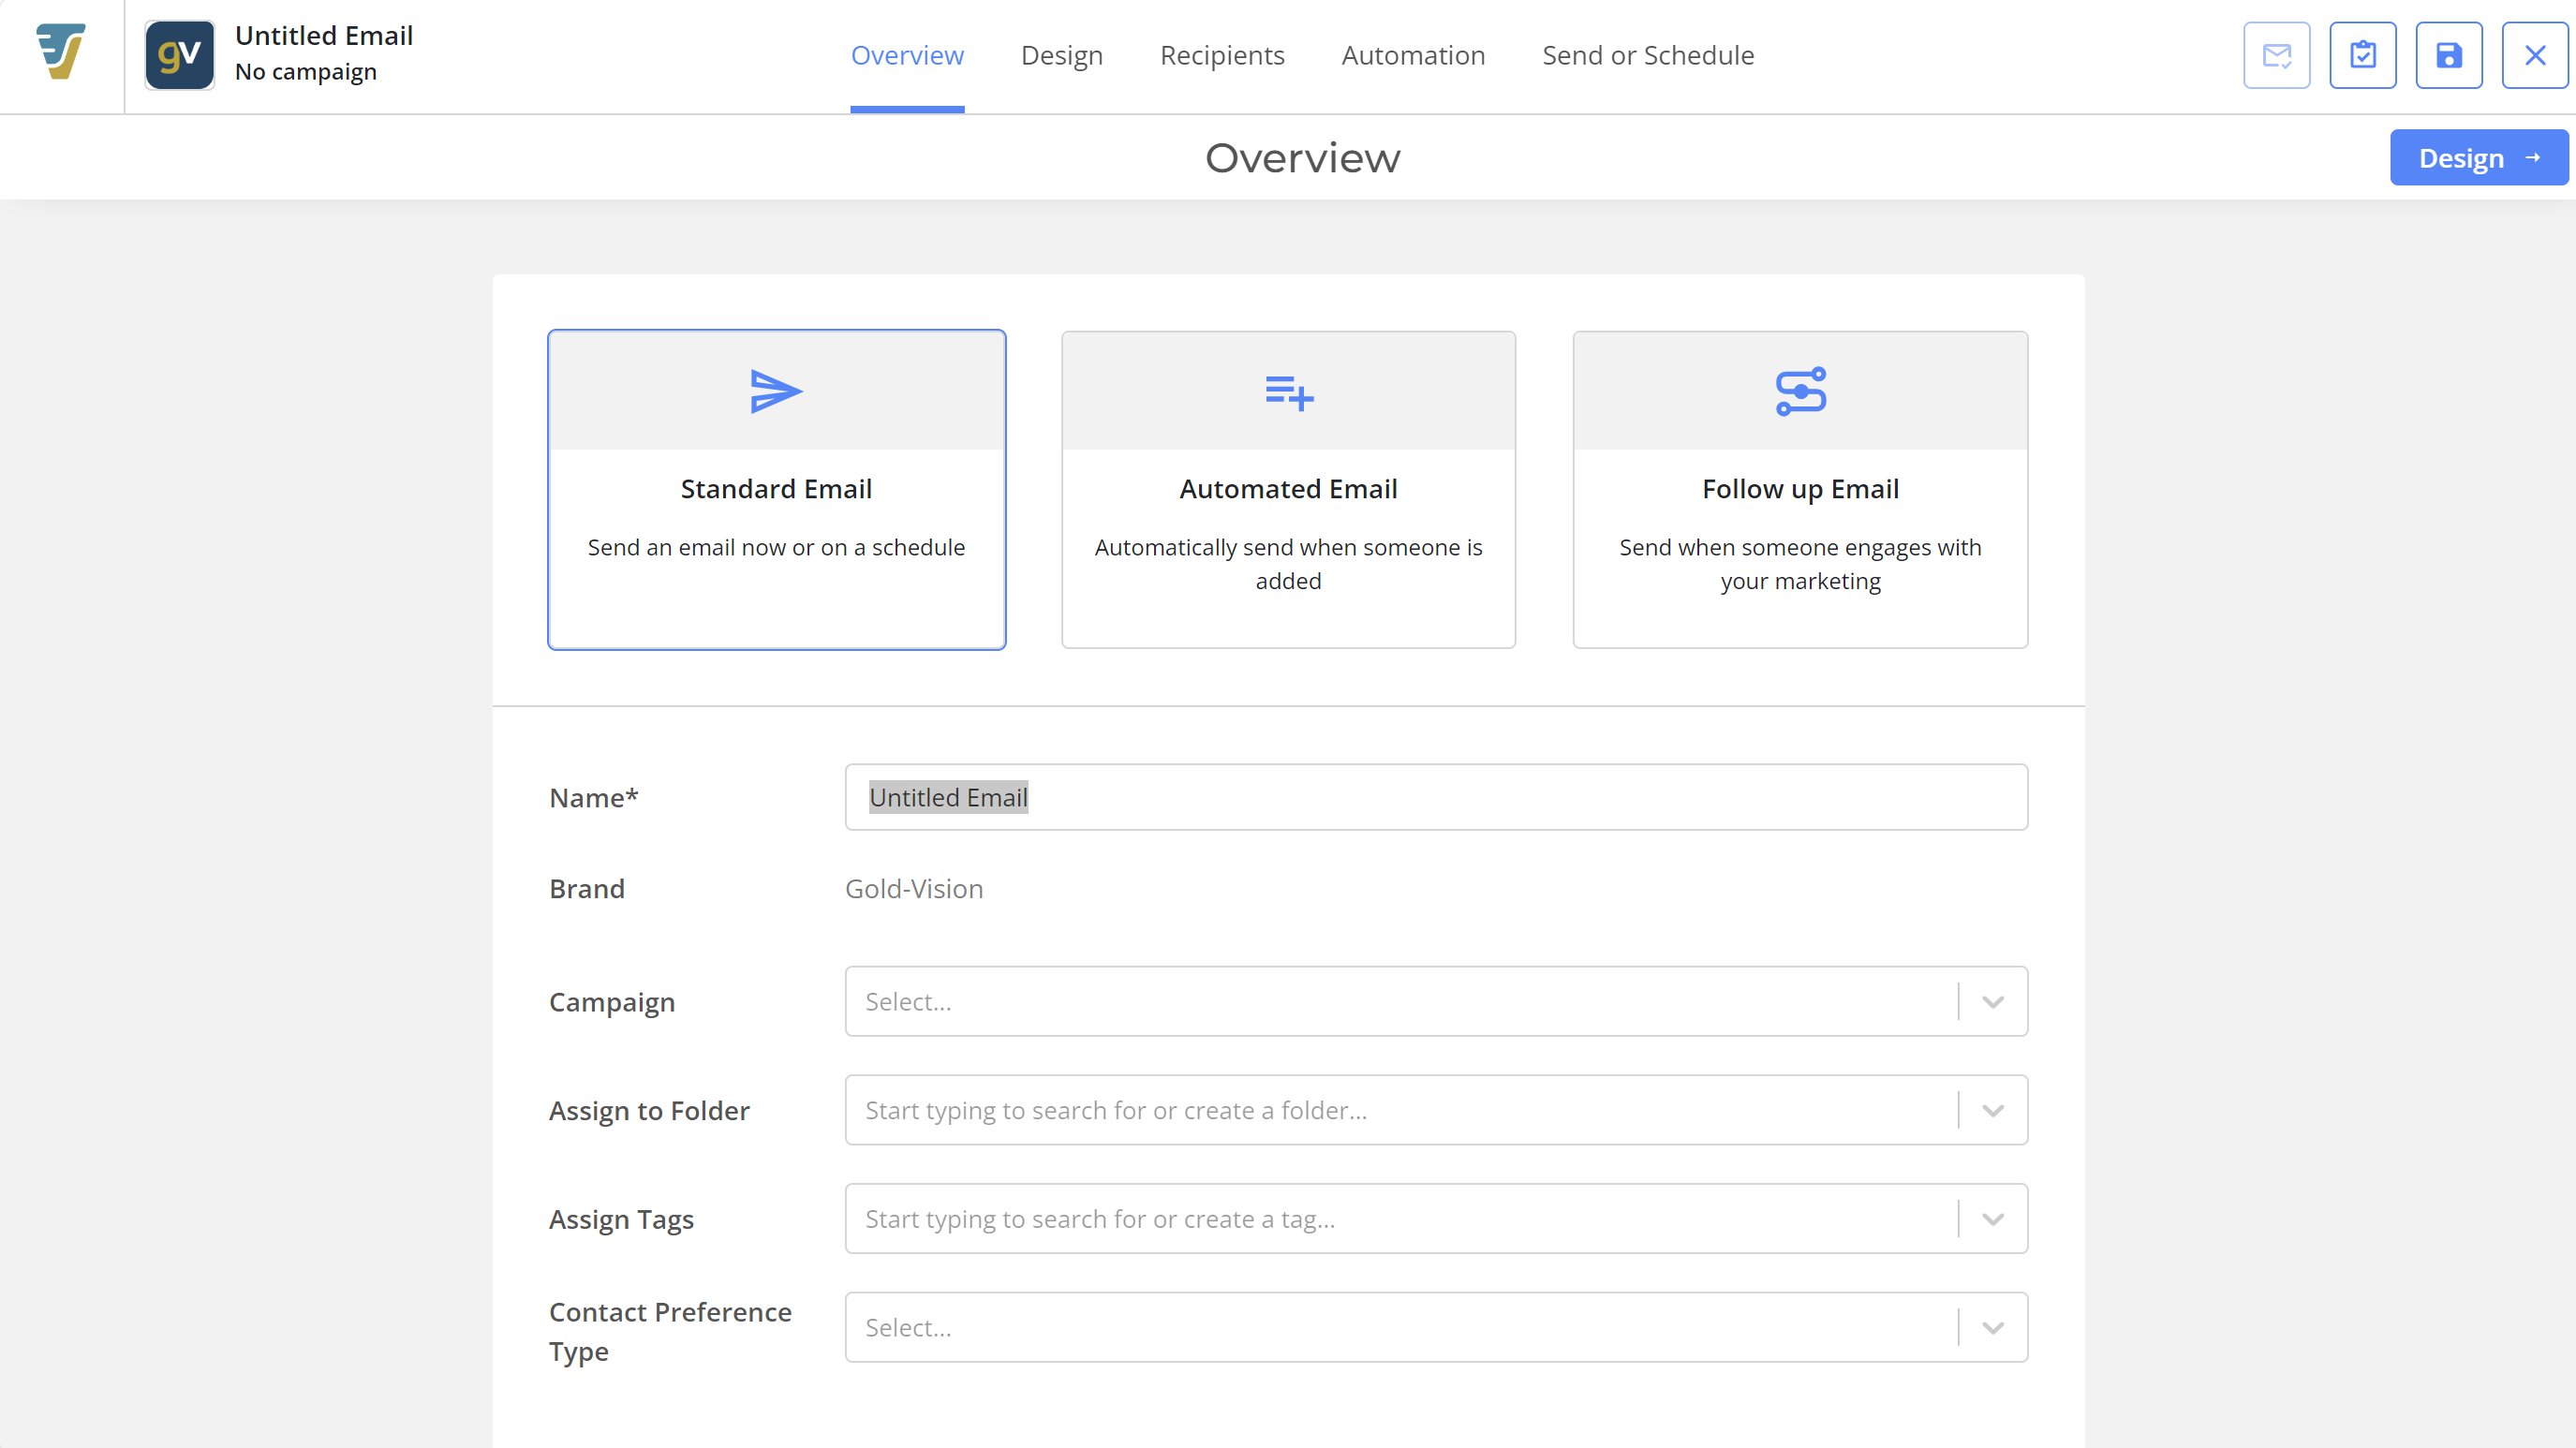
Type – Select the type required – Standard Email, Automated Email or Follow up Email.
The Standard Email option allows you to immediately send or schedule an Email without Marketing Automation.
The Automated Email option is used for Marketing Automation, such as when a contact is added to a particular data source that you have defined.
The Follow up Email option is used to create an email hierarchy where emails can be linked together by the recipient’s action in response to this email, such as if they opened the email or clicked on a particular link.
Info
See Automated Email and Follow up Email for more information about the different email types.
Email Description
Name – Give your Email a description.
Brand – The previously selected Brand Name will automatically be displayed.
Campaign – You can optionally assign this email element to a pre-created Campaigns.
Info
Visit Campaign Overview for more information about Campaigns.
Assign to Folder – Add to an existing or create a new Folder.
Assign to Tags– Add to an existing or create a new Tag.
Info
See Folders or Tags for more information on how to use them with your Emails.
Contact Preference Type – Contact Preference Types are set up at Brand level and allow you to set these types against emails. Email recipients can then choose to unsubscribe just from that type of email rather than from all your emails.
Info
Visit Brand Settings to find out more about how to set up Contact Preference Types.
Click on the Design button to begin building the content of your Email.
 Related articles