Configuring Sites
Sites are individual records in Gold-Vision which can be screen designed as per specific business requirements.
The Sites functionality is available as standard for all users.
Screen Design Site Record
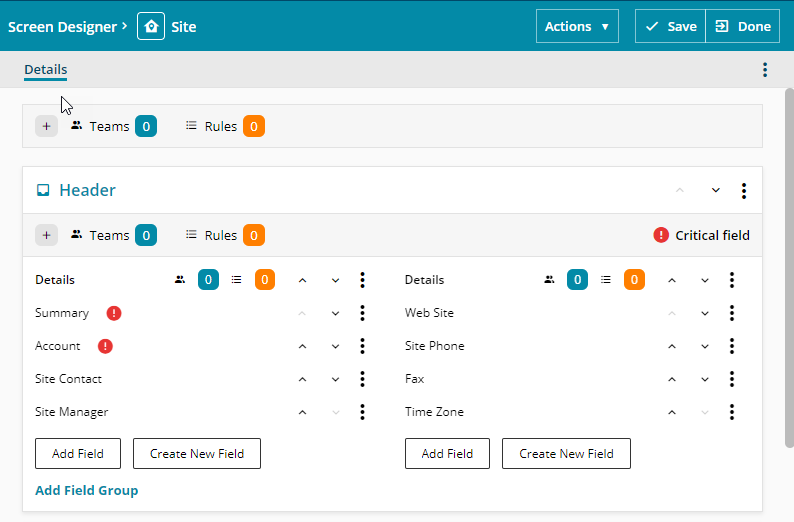
From Settings go to Screen Designer and choose Site.
As standard Site will have the essential fields like Account, Summary and Address fields already designed on the screen and users can customise this by adding additional fields, sections and pages.
 Note
Note
Only Administrators and Configuration Managers can screen design or list design this, in the Settings area.
 Tip
Tip
For more information on how to add Pages and Sections to your item Screen Design please visit Changing the Screen Design page.
Adding the Site field to Gold-Vision records
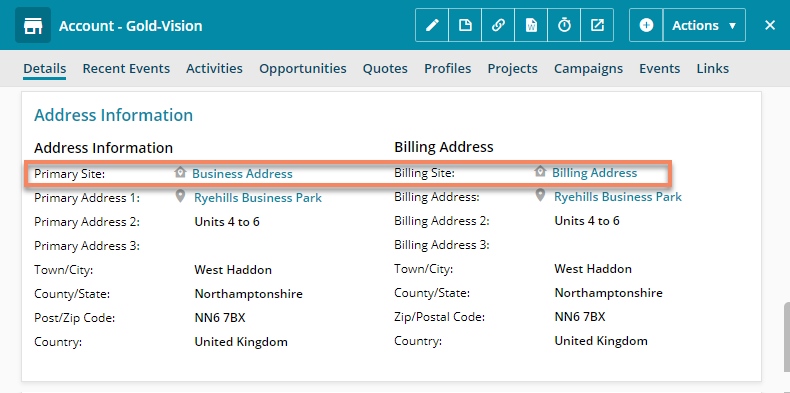
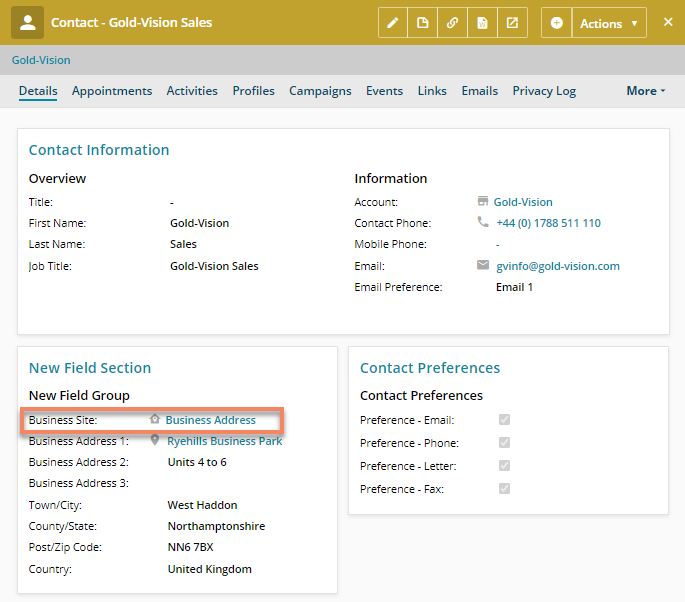
Site field will automatically be added to the Account Primary and Billing address and Contact address above the First line of the address:
 Info
Info
Please note the Site field is a picker field which will allow you to select the preferred Site against the specific Gold-Vision record.
Users can add Sites to the screen design for:
Opportunity, Quote, Project, Profile, Campaign, Event, Event Session and all Activities
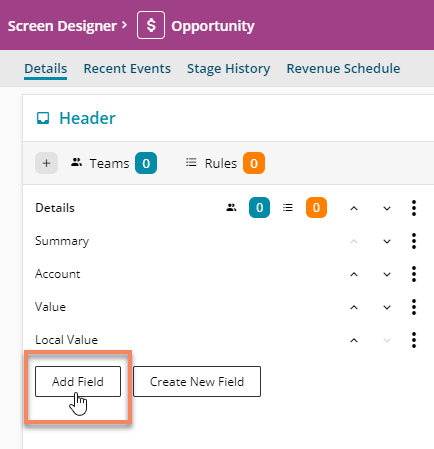
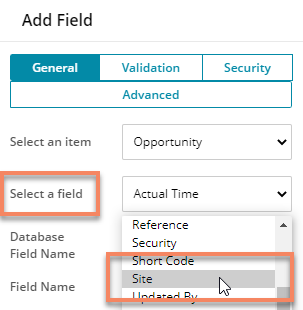
Go to Settings > Screen Designer then choose the item you want to add the Site field on.
Select the section you want to add the field to click on Add Field
Adding Sites Section to the Account Screen
Add the Sites Section to your Account screen design so that Users can view, access and edit Sites
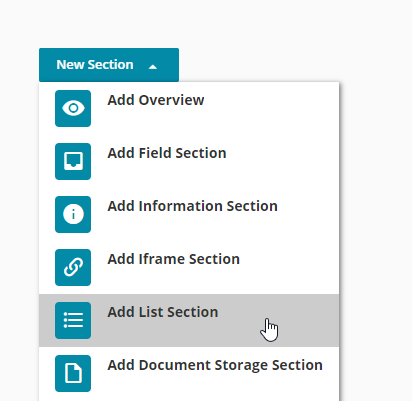
In the Account Screen Designer, to add the Sites list click on add New Section
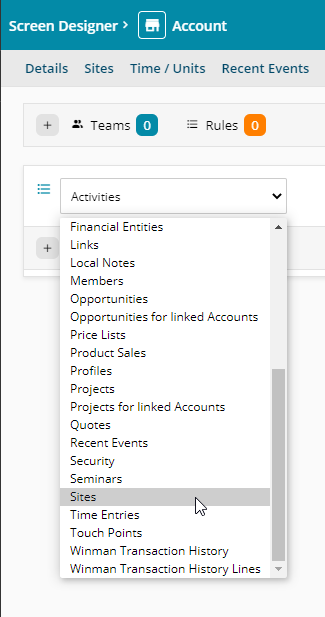
Select Add List Section, then set the section as Sites
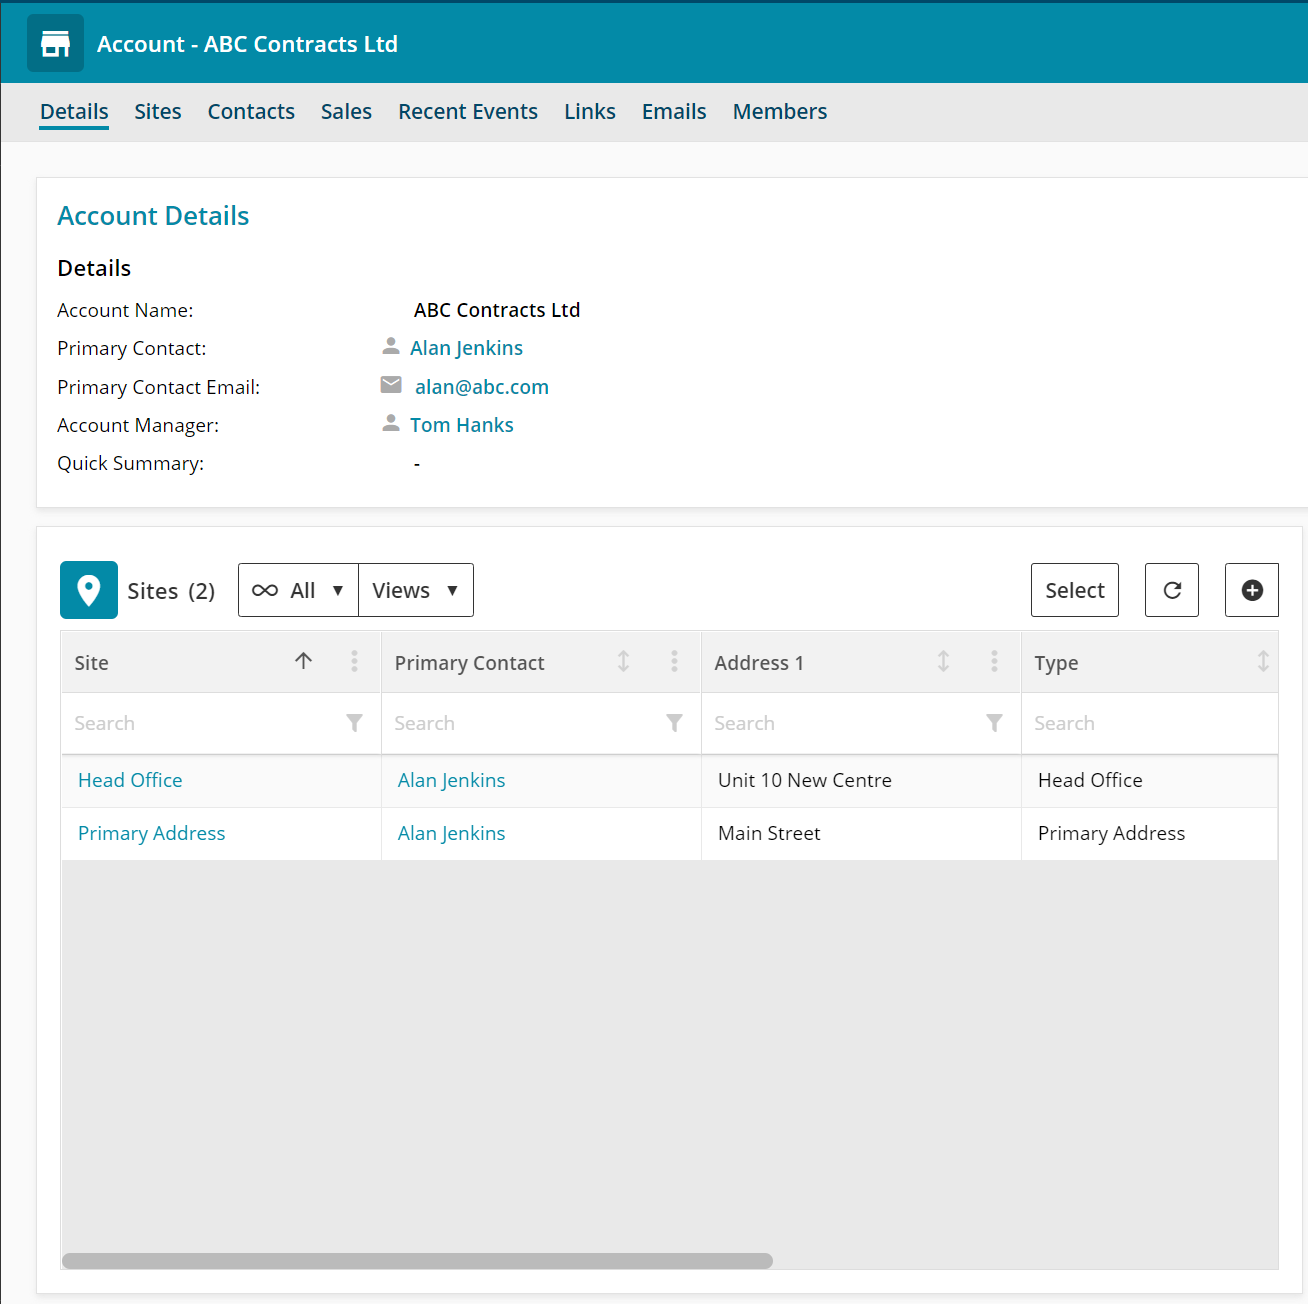
Once the Sites section has been added the list of Sites can be viewed at Account level:
 Tip
Tip
For more information on how to add Pages and Sections to your item Screen Design please visit the Changing the Screen Design page.
 Note
Note
Only the Configuration and Administration Managers will have access to the Screen Designer. You may need to contact them for some assistance if you do not have access to this area.

 Related articles