How to create a drag & drop template
If you have chosen to create a new mail shot template from scratch, or just want to make changes to an existing template, the Connect Drag & Drop editor makes this nice and simple.
Creating and copying templates
To create a new blank template, select Template from the menu options in the upper righthand corner.
From the template library view, select + New, and Drag & Drop.
When the design tool has loaded, give your template a name to make it quick and easy to find in your library later on.
You can also make a copy of a template if you like the design and just want to update a few areas.
To copy a template, follow the same steps as previous. Select + New from the template library, then Drag & Drop.
When the design tool has loaded, click on ‘Click here to copy another design’. Give the template a new name and click on the save icon.
Tools and functionality
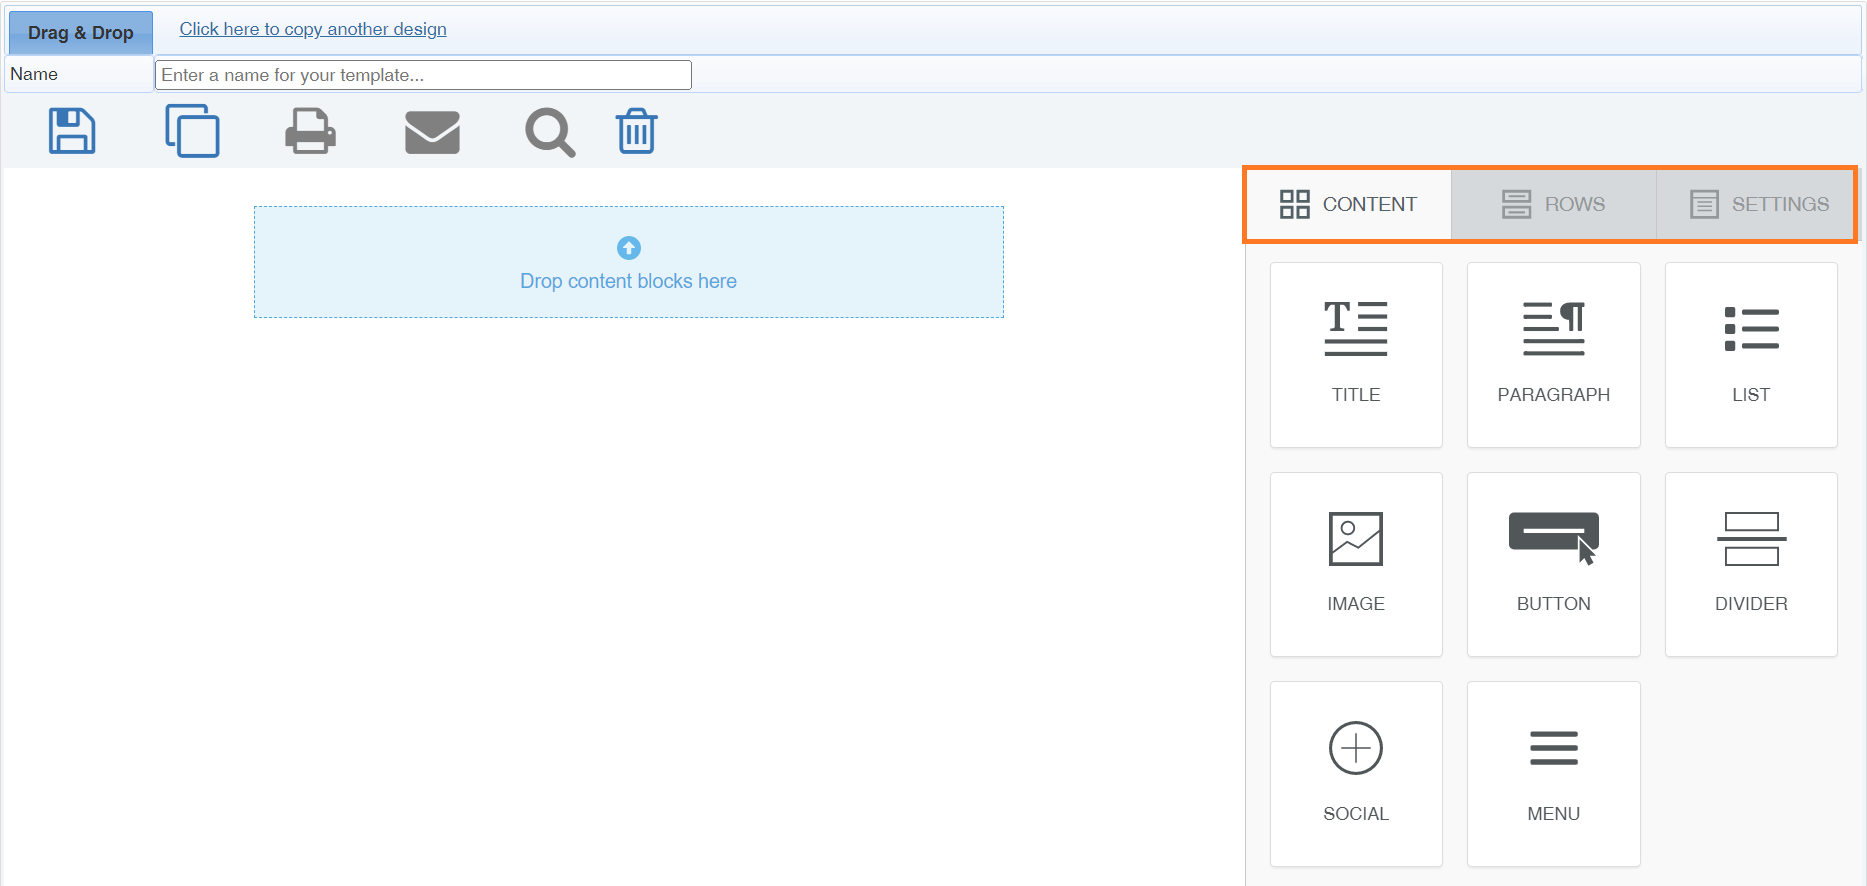
When you are in the editor you will see that you have a number of options on the right hand side of the screen: Content, Rows & Settings.
Content: The content blocks contain all the different types of media you may wish to use throughout your template, such as images, text, buttons and dividers.
Rows: Rows offers a series of different sized column blocks. These are created to contain the content blocks placed within them.
Settings: The Settings tab allows you to edit the overall structure of your email template, with options including content width, background colour and default fonts.
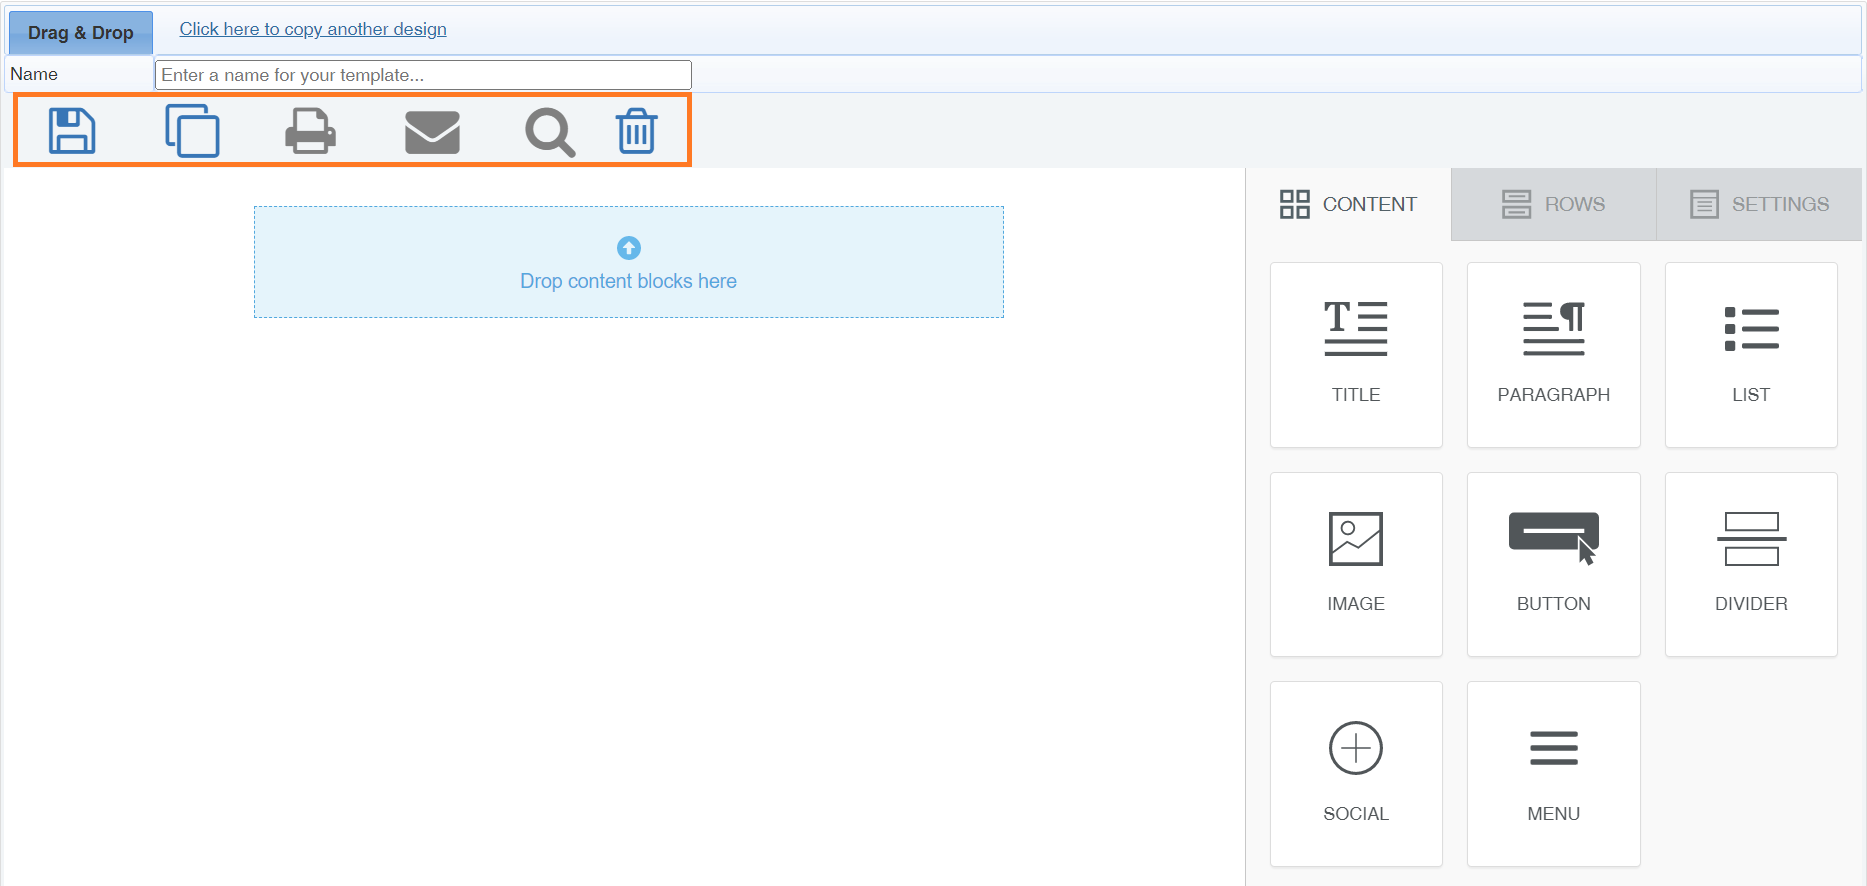
Across the top of the editor you also have access to some additional functions, including: Save Template, Apply template, Print, Send Preview, Preview Template and Cancel.
Save Template: It’s important to save your template regularly to avoid losing your designs.
Apply Template: Apply Template lets you overwrite other designs in your template library with the one you’re currently working on.
Building your template
To start building your template, click on the first block you want to use from the Content or Rows menu on right, drag it over to the design space and drop when it is in the right position.
Text
If you want to edit copy within a Text block, double click on the block to open the in-line text editor, and the Content Properties menu on the right-hand side.
The Content Properties tab is available for all content blocks, and allows you to edit and refine aspects of your content, such as colours, alignment, spacing and padding. Simply click on the block you want to amend within your design and the relevant options will appear.
Images
To upload an image, drag and drop the Image block into your template. The block will then let you access the Connect Media library where you can upload new images, or select one added previously.
Once your image is added, you can edit the size, action URL and padding using the Content Properties tab on the right-hand side.
Re-ordering blocks
You can move a block from its current position to be above or below other blocks by dragging and dropping them into your preferred order:
Rows (Columns)
To add columns to your mailer, click on the Rows option on the righthand side. From this view you will be able to pick a pre-formatted column template by setting the drop-down menu to ‘Empty’ and dragging your chosen template over to the design space.
You can edit columns by clicking on the row and viewing Row Properties. Here you can change column size, background colour, padding and boarders.
Saved Rows
To create a saved row, hover over your block and select the save button. Name your saved row, and click on create.
To use a saved row, click on the row option on the righthand side of the designer, and change the dropdown to Saved Rows. Here you will see a library of your saved rows which are ready to be dropped into your template.
Duplicating content blocks and rows
Click on the block you want to duplicate. In the bottom righthand corner of the content or row, there is the option to delete or duplicate. When you select duplicate, a direct copy of the content or row will appear below:
Template previews
While you are building your template, if you want to check how it is going to look on different devices, then click on the Preview Template icon and you will be able to switch between different device views (mobile, tablet and desktop):
 Tip
Tip
As well as using the Preview Template function, it’s always a good idea to send yourself a preview of the email using the Send Preview option so that you can see exactly how your mail shot looks and behaves in your inbox.
 Info
Info
For information on how to us the legacy drag and drop tool, visit this page.
 Related articles