Create a Lead List
Before you can start to capture your leads you will need to create a Lead List to keep your leads in order.
Create a Lead List
Create a Lead List from the New Menu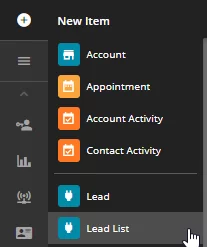
Or from the View Menu go to Lead Lists and then use the New icon.

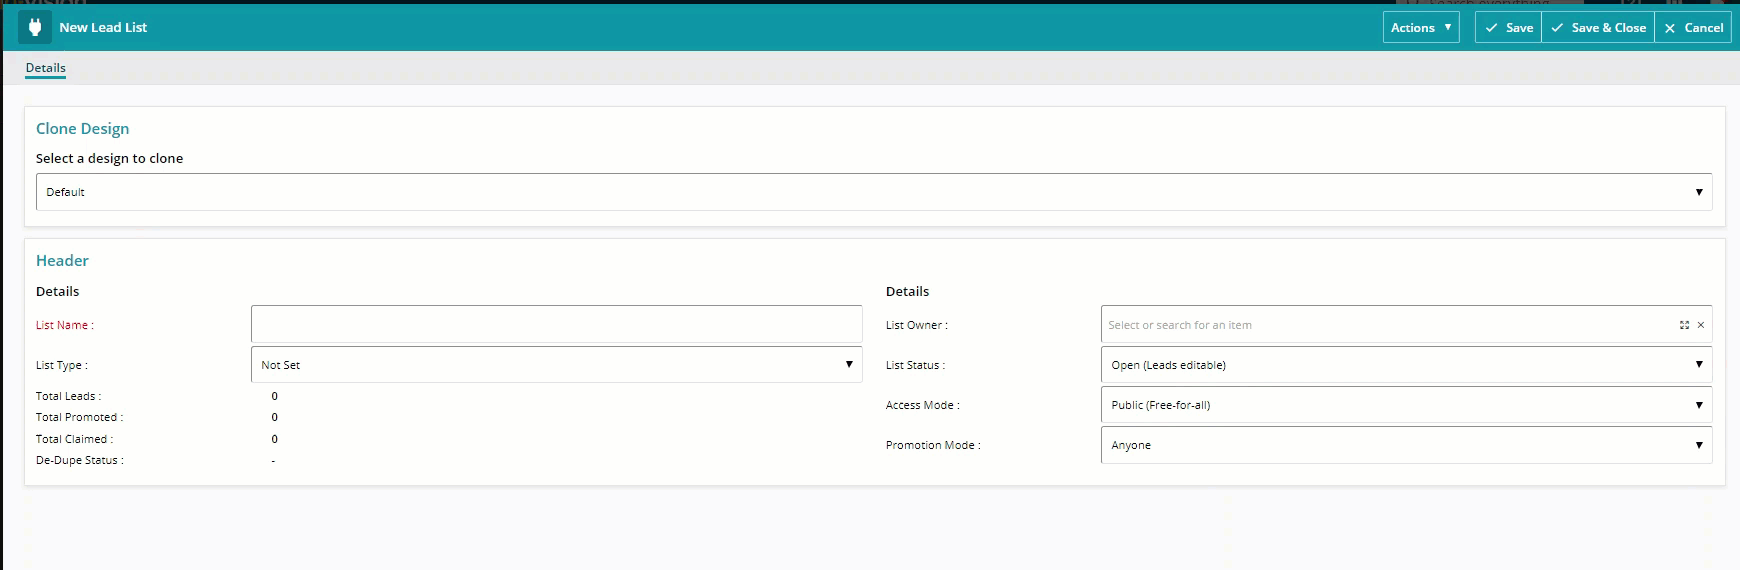
You will have the option to use the Default view if you haven’t created your own Lead List Design in the Settings area. – Designing Lead Screens.
Enter the details and Save your new Lead List – see below for more information on the fields available.
 Tip
Tip
Tip: New Lead Lists can be cloned from existing Lead Lists – this can save time when managing the screen design and mapping your fields for promotion.
Lead List Settings
Enter the List Name to help you identify your Lead List. Select your List Type – this can be amended using the Settings and Screen Designer if it is blank. Identifying the type of list could help you with your lead management reporting. Total Promoted – this will be a count of the number of leads promoted once leads are entered. Total Claimed – this will be a count of the total number of leads claimed by individuals. Access Mode can be set to Public, Team or Private, this can be set depending on who will require access to the leads list. Choose your Promotion Mode from Anyone or Approval Required. These settings can be amended at anytime.Importing Lead Lists
Lists can be imported from a spreadsheet using the Gold-Vision Data Import Tool, see your Gold-Vision Administrator or Importing Leads for help with this. Leads will be imported based on the data you have in your Excel or CSV file.
Tip
Tip: Leads can be imported from excel spreadsheets using the Gold-Vision import tool. For instance you may have captured leads during an exhibition via a scanner.
 Related articles