Automated Connect campaign
Create an Automated Connect Campaign
Setting up a new Automated Connect Campaign always involves these steps:
1. Create one or more Automated Templates in Connect
2. Start the Mail Shot in Connect
3. Set up the automated Campaign in Gold-Vision
4. Run the Stage in Gold-Vision
Create Automated Mail Shot
Creating an automated mail shot in Gold-Vision Connect is easy:
Once created, simply design your mail shot template as normal by either embedding your HTML or creating a new design using the drag and drop editor.
 Tip
Tip
From within the design tool you can select another template to copy if required
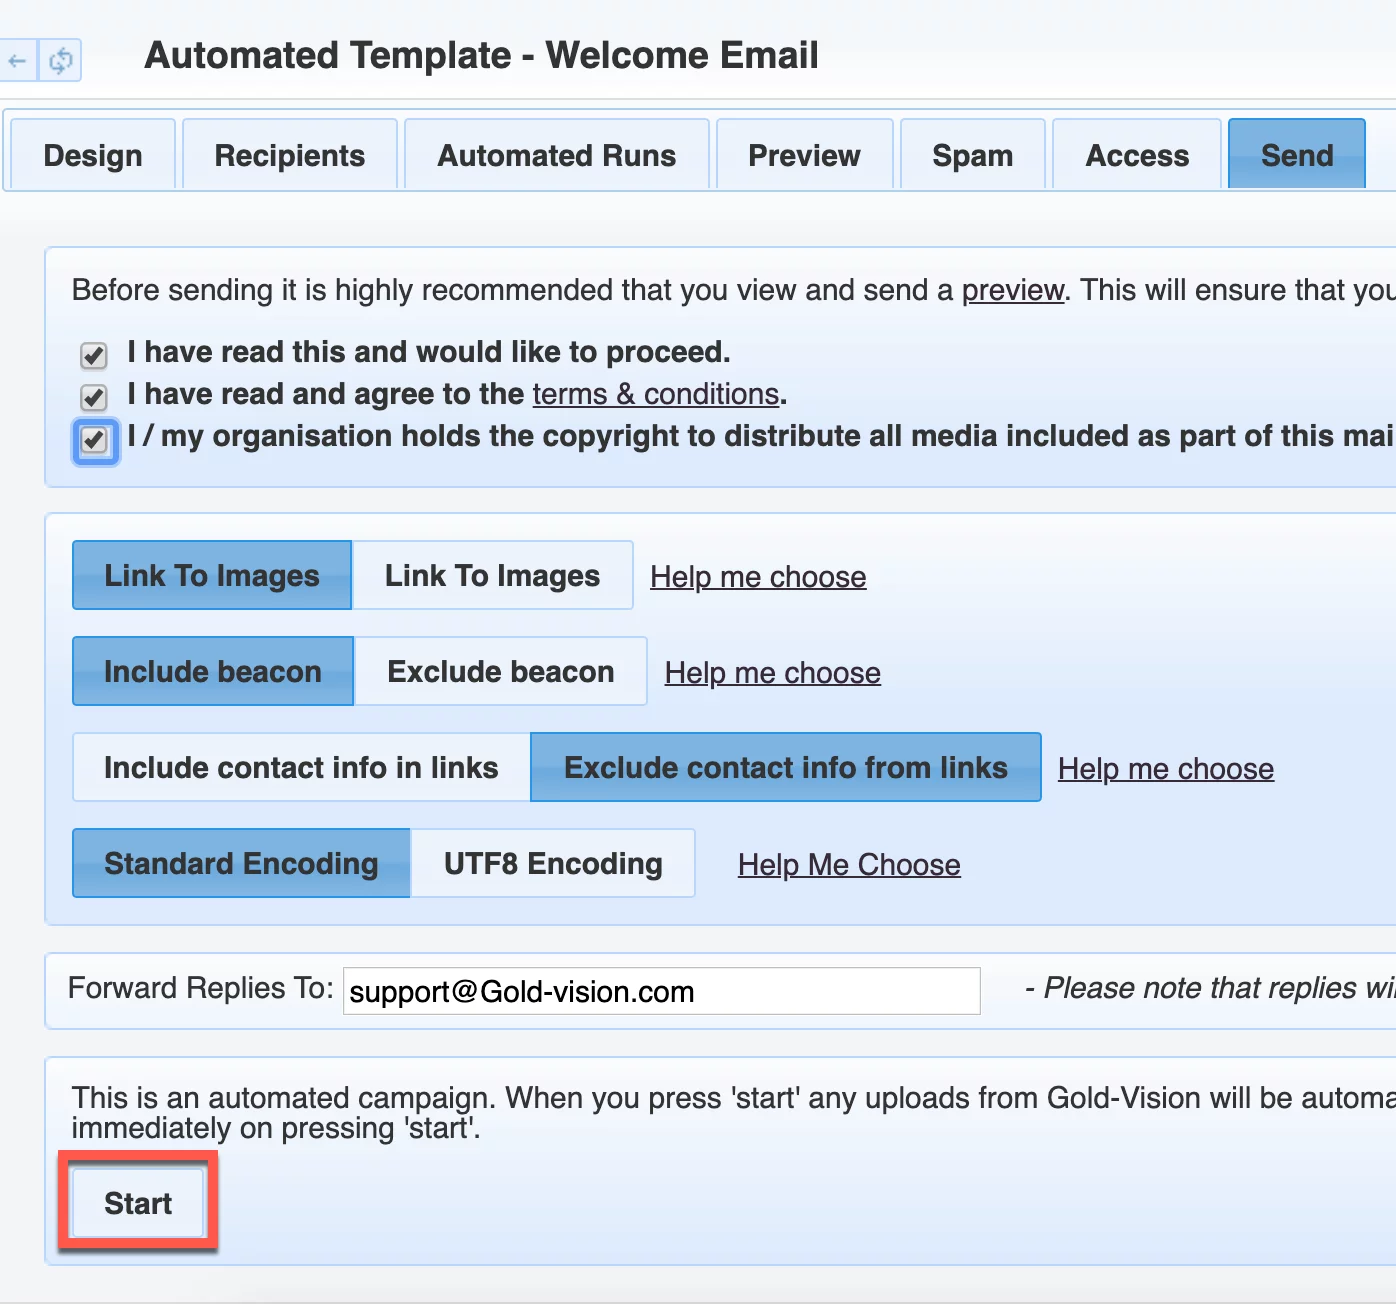
Then, preview your mail shot as normal and run the Spam Check. Select the Send tab and ensure you have ticked to agree mail shot terms. You will then have the option to Start your mail shot, rather than the usual Send.
Clicking Start on the Send tab will prepare your mail shot to run – once started, you will then able to select the mail shot template from within Gold-Vision.
Next, go into Gold-Vision, and set up a Connect Campaign with a Connect Stage. Then, run your stage and choose Automated Run.
Automated Run Setup
Completed as required
Run – would you like it to run hourly, daily, weekly, monthly or yearly.
At/On – this will change slightly depending on which Run option you have chosen:
- Hourly – choose how many minutes past the hour
- Daily – choose a time of day
- Weekly – choose a time of day and day of the week
- Monthly – choose either to set the date of the month and time, such as “Day 15 of the month at 10:00” or choose the first ‘day’ of the month and time, such as “First Tuesday of the month, at 16:30”
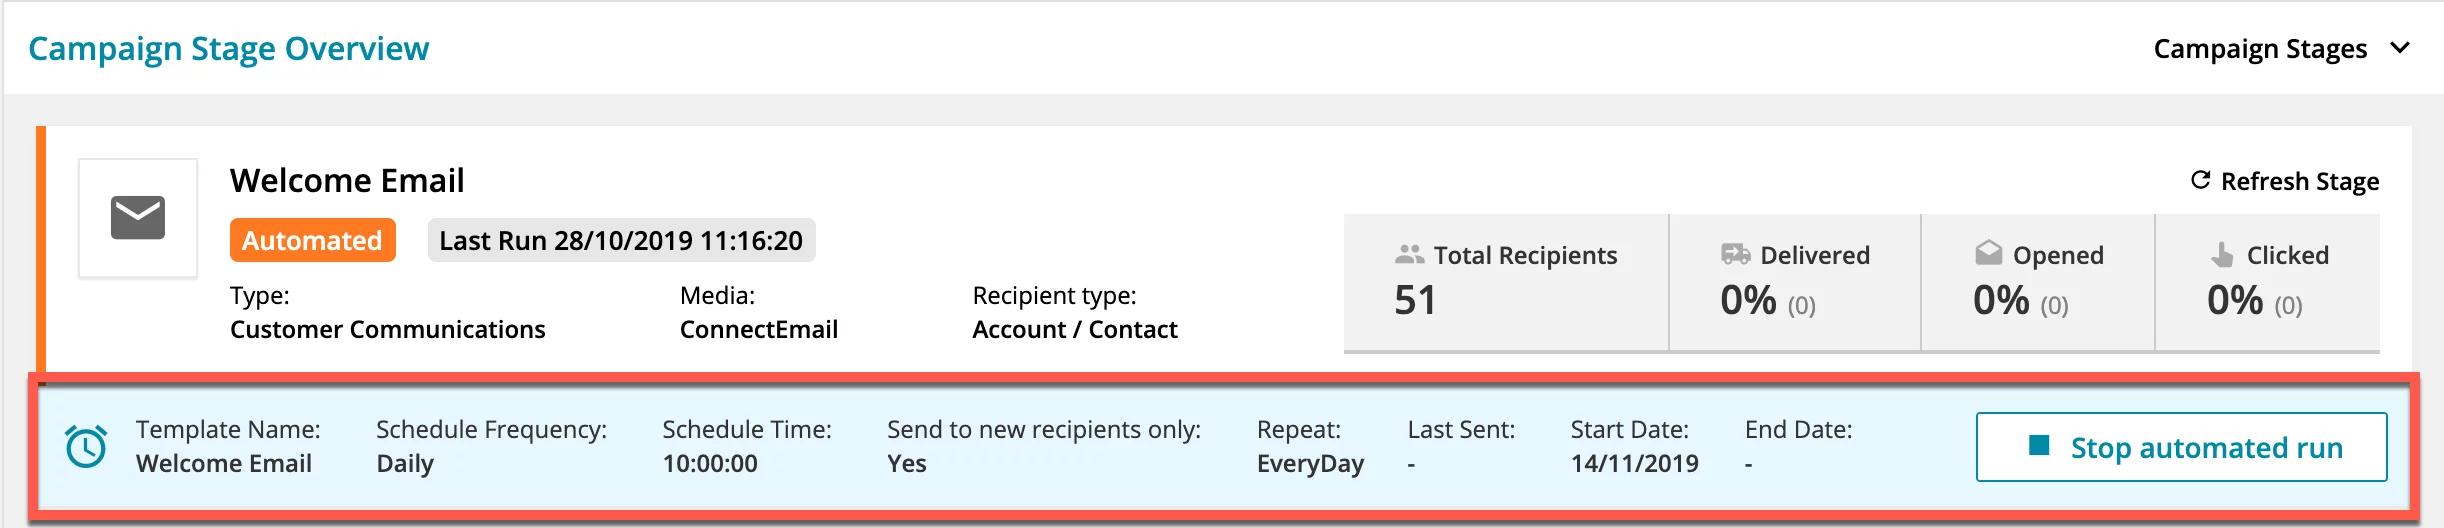
Stop automated Run
Clicking the Stop icon will stop the automation.Automated Campaign Progress
To check the progress of your Automated Campaign, go back into Gold-Vision Connect and open the Automated Runs tab in the Automated Template that has been used.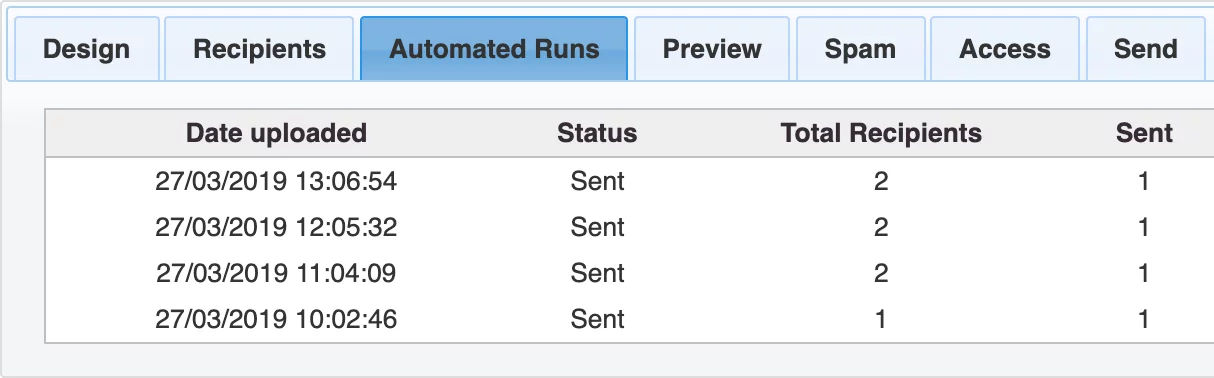
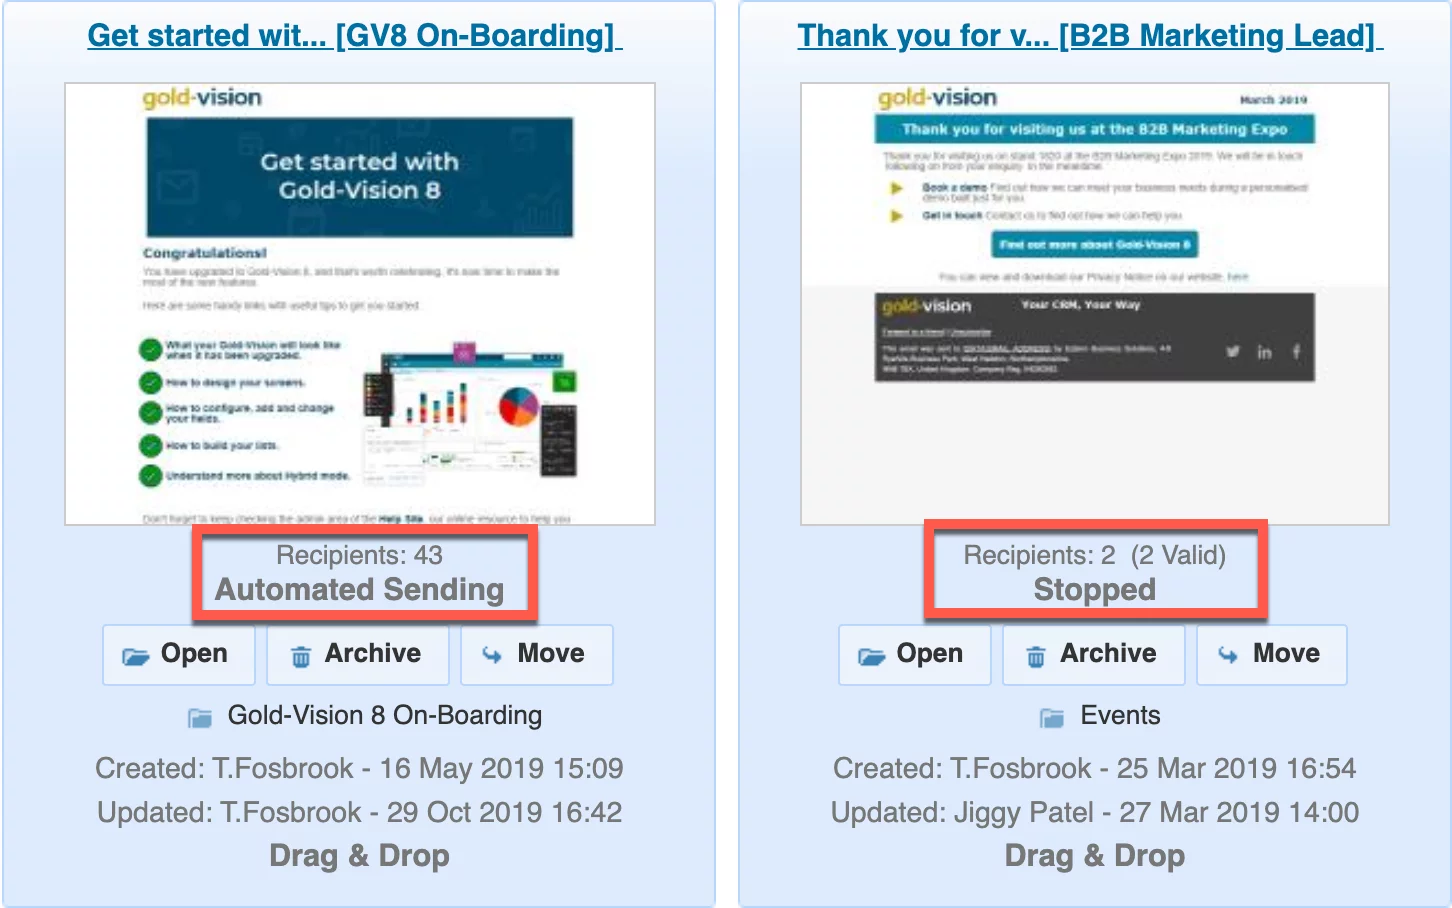
From the All Automated Templates page in Connect you can view whether a mail shot is set for Automated Sending or has been Stopped:
 Related articles