Filtering Sublists
When viewing Sublist’s against an Object in Gold-Vision you can set default filters. This will allow users to access relevant information quickly against an item as well as adding extra Sublist Columns.
Adding Filters to your Sublist
Filters can be added to a Sublist by configuring the list in the Screen Designer. This can be accessed by hitting settings and then searching for Screen Designer, there you can locate your desired Sublist.
Once you have located the Sublist you wish to amend, you can place filters as you would in a main Gold-Vision list, by clicking in them and typing or alternatively using the filter buttons.
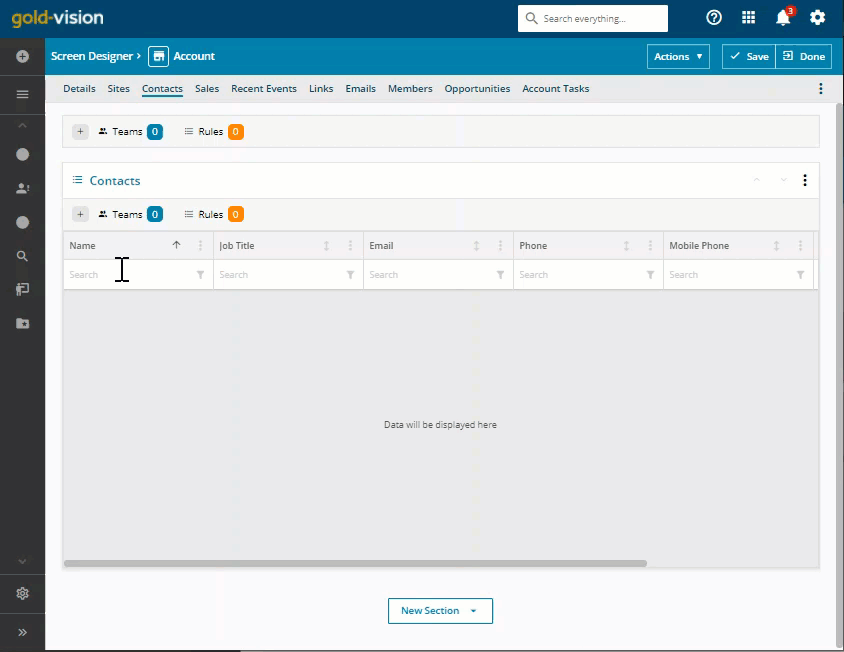
You can also add columns to your Sublist using the same method, select the + symbol to the right handside of the list and add your preferred column.
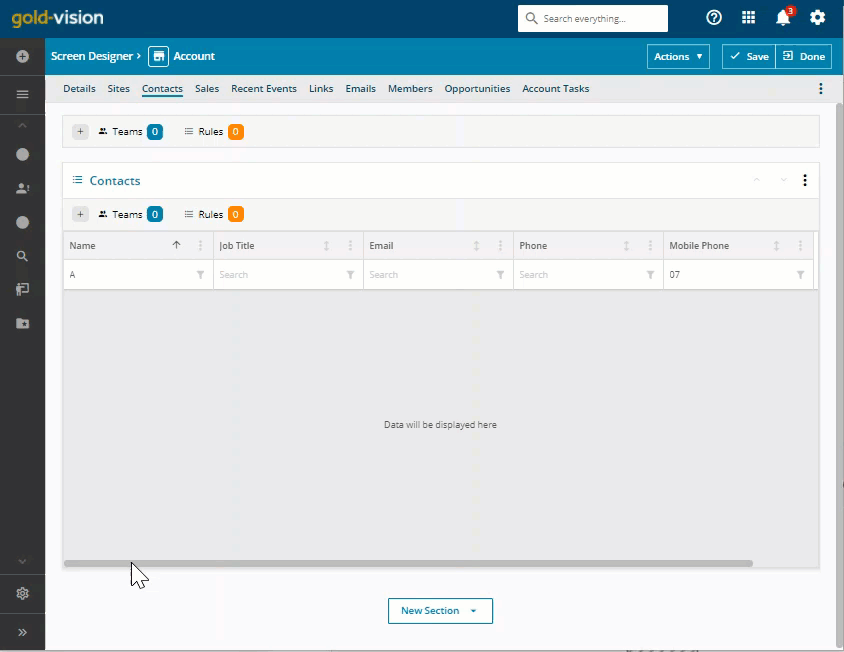
If you cannot see the column you wish to add, you will still need to use the List Designer to ensure this column is enabled for you to add.
This filtering can be placed on any Sublist beneath any object and can be a helpful representation of Data.
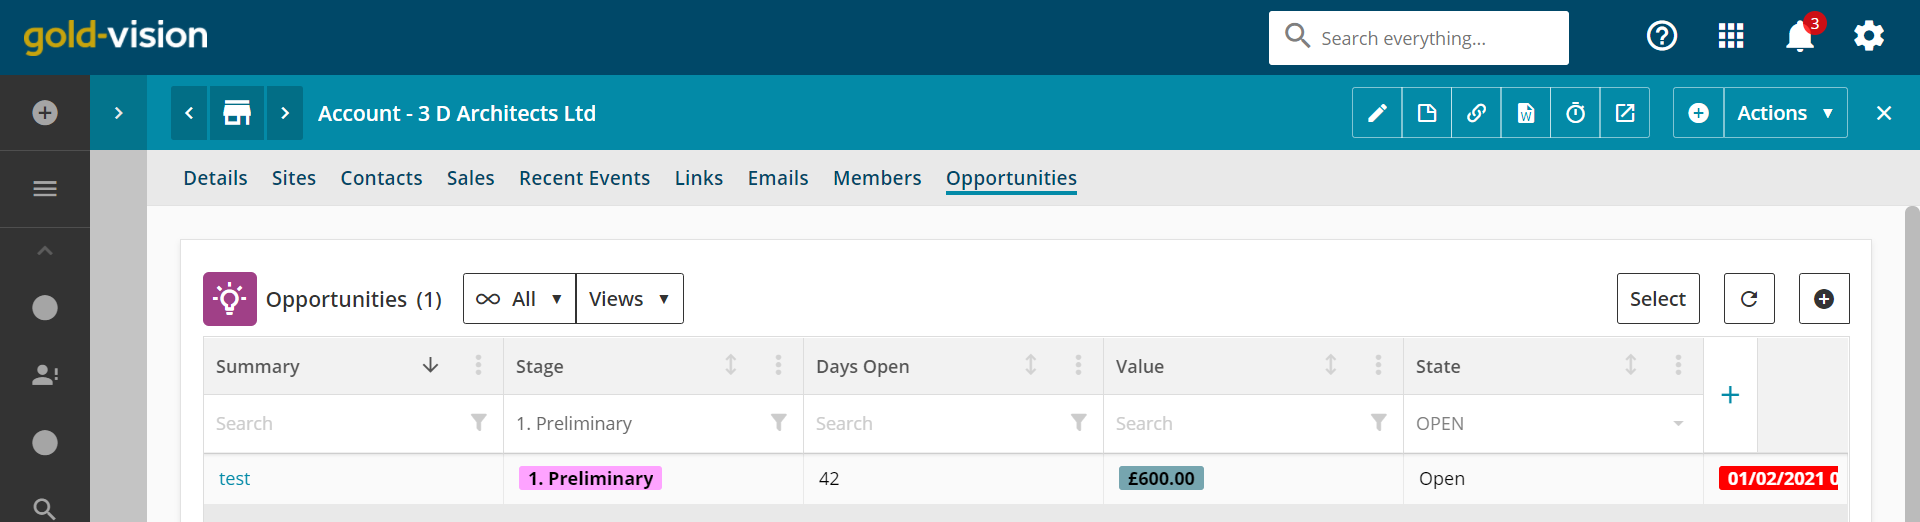
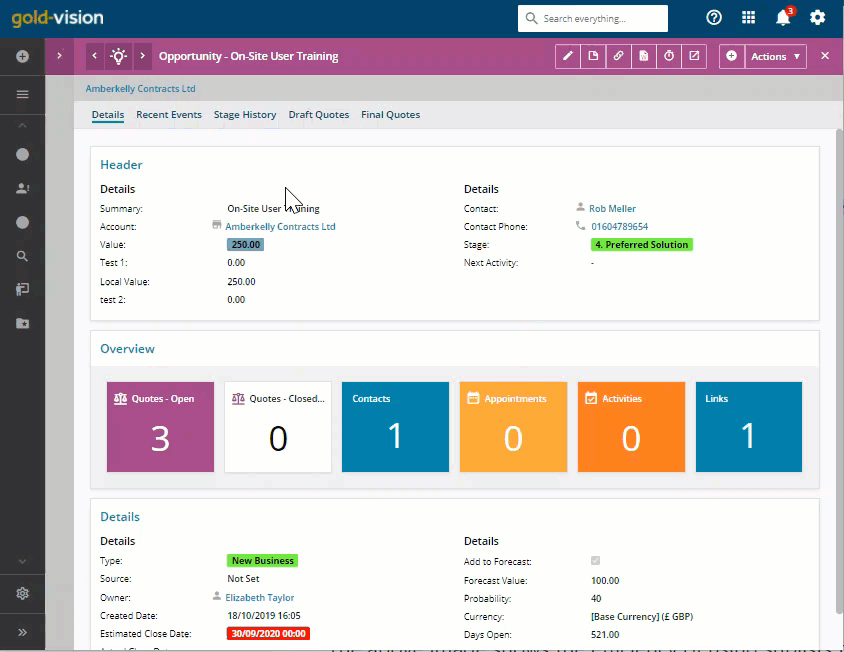
The above image shows the efficiency of using sublists to assist navigating around Gold-Vision using the Opportunity as an example.

This is also very helpful when reviewing particular dates as seen above with the Campaign Sublist against a Contact.
 Related articles