Configuring Modern Authentication for Office 365
How to set up Modern Authentication for Office 365
Pre-Requisites
- User must have access to Azure Active Directory with Admin permissions.
- Under Enterprise Applications in Azure AD, Office 365 Exchange online must be present as an Enterprise Application.
- User must be a system administrator in Gold-Vision in order to add the Azure Registered Application.
- Calendar settings should be set to Office 365 or the recommended version of EWS.
- User Impersonation must be enabled. This is set against the Mail Tracking settings page and Calendar Synchronization settings page with the field name ‘Disable EWS Impersonate’ (field must be unticked).
Configure Azure Application
1. Navigate to https://www.office.com/?auth=2&home=1
2. Login using an Admin Account that has access to Azure Active Directory.
3. Select the left-hand menu and select the Admin section.

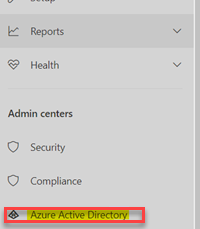
4. Select ‘Show All’ from the left-hand menu. Then under ‘Admin Centers’ select ‘Azure Active Directory’
5. Against the new tab (Admin center).
6. Select Azure Active Directory again from the left-hand menu – this can be accessed directly here – https://aad.portal.azure.com/
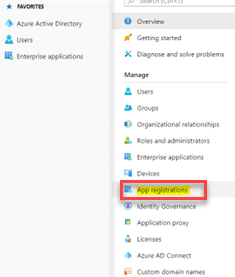
7. Select App Registrations (directly accessible here – https://aad.portal.azure.com/#view/Microsoft_AAD_IAM/ActiveDirectoryMenuBlade/~/RegisteredApps)
8. Select New Registration
9. Enter an Appropriate name e.g. ‘Gold-Vision Exchange Access’ then select ‘Register’. In this case we would select ‘Accounts in this organizational directory only’ as the supported account types.
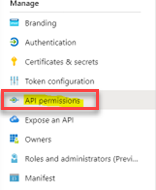
10. Against the new registration select ‘API Permissions’
11. Select ‘Add a permission’.
- Select ‘APIs my organisation uses’
- Select ‘Office 365 Exchange online’ (Search may be required)
- Select ‘Application permissions’
- Ensure that ‘full_access_as_app’ is checked under the permissions area.
- Finally select Add permissions
12. Then select ‘ Grant admin consent for yourdomain‘
 Tip
Tip
Tip: This button is next to the Add a permission button which against the main API-Permissions page.
13. Select Certificates and Secrets.
14. Select ‘New client secret’
- Enter a suitable description.
- Set the expiry to whatever is appropriate.
15. Select Add.
- Save the Client Secret Value in a password manager/Secure Note.
 Note
Note
IMPORTANT: This password will only be retrievable once.
IMPORTANT: Gold-Vision will need the Client Secret Value, not the ID
16. Select the overview option from the menu.
17. Make note of the ‘tenant id’ (Directory), and ‘client id’ (Application).
 Related articles