Add Widgets to a Home Page Dashboard
Creating Tabs
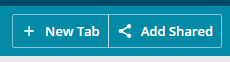
Click New Tab and enter a name for your Home Page Dashboard.
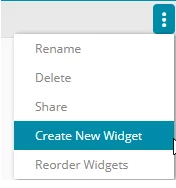
Click the Ellipsis Icon to Create New Widget to add to your Dashboard or Widget.
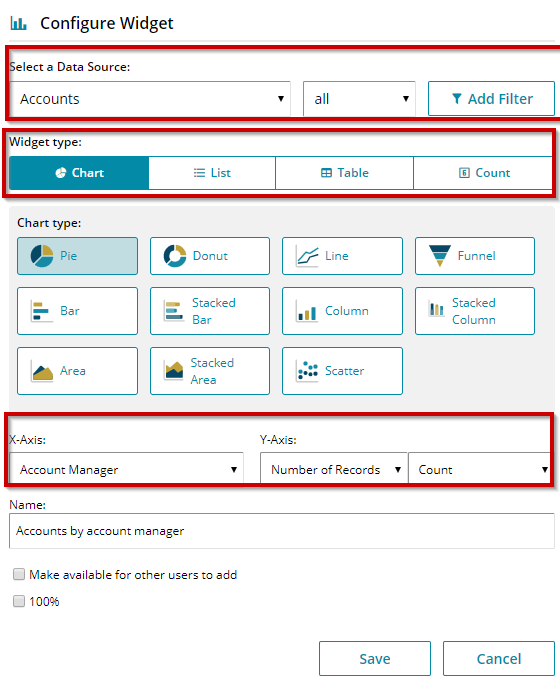
- You can now select the Data Source i.e. which list you want to create your widget from (see below)
- Add filters if required
- Select the type – chart, list, table or count
- If you are creating a chart you can then select the chart type
- Select the X and Y axis
- Enter to name to describe the widget then Save
Once added, you can click on the Ellipsis Icon to view the menu options.
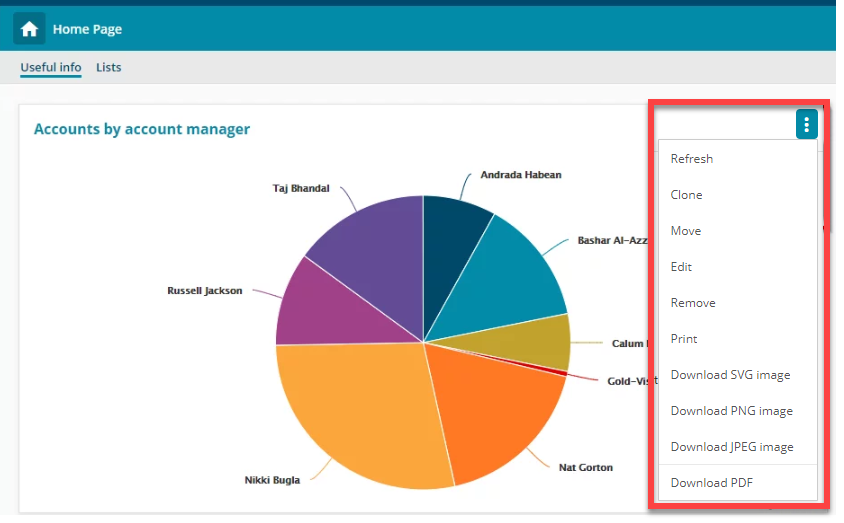
Clone
Click Clone to make a copy of a Dashboard or Widget you can then Edit to view and update the Widget settings.
Move
Click to Move the Dashboard or Widget to another tab.
Edit
Click to display the Configure Widget screen and edit the Dashboard or Widget.
Remove
Click to Remove a Dashboard or Widget.
To display the Print screen.
Download
Click to select the format required.
Sizing and re-ordering Widgets
You can click and drag the arrows to re-size and click and drag to re-order Widgets on your Home Page.
 Tip
Tip
Click on the Ellipsis Icon to share your Dashboard with colleagues or add more Widgets.
Pinning widgets to a Home Page
Lists, Charts, Counts and Tables created from lists can also be added to Home Pages from the Actions menu.
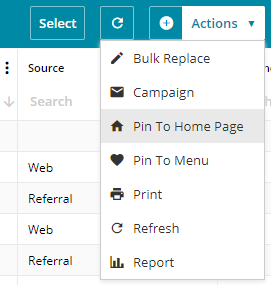
 Info
Info
You can create a New Menu directly from the Pin To Menu option.
 Related articles