Configuring LiveChat Integration
Use this link to sign up for LiveChat and get $10.00 off from your first payment.
How it works
- Display Gold-Vision information about your customers/ prospects straight in your LiveChat, and create new Gold-Vision records from your chats.
- Create new Contacts or Leads from unknown visitors.
- Link your web chat conversations with Gold-Vision to create a full picture of your Gold-Vision Accounts/ Leads.
Pre-Requisites
You will require the below in order to set up the Live Chat integration.- Ensure you have access to the Gold-Link API, this can be requested via our Support Desk.
- Your Gold-Vision must be available externally (i.e. you don’t need to log onto the local network / VPN to access Gold-Vision)
- Ensure you have set up a Pre Chat Survey in LiveChat to collect the email address of chats. This can be found in LiveChat > Settings > Pre-Chat Survey
- Activation of the LiveChat Integration by a Gold-Vision Support Team
- Set up in Gold-Vision
- Set up In Live Chat
- Set Group Defaults
- Set Display Mappings
- User Set Up
Enable the LiveChat Integration
Contact the Gold-Vision Support Team and they will be able to activate the integration.Configure LiveChat Integration
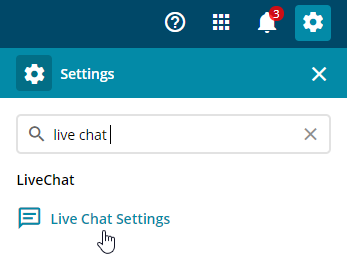
- Go to Settings and select LiveChat Settings
- Complete the following Setting as required:
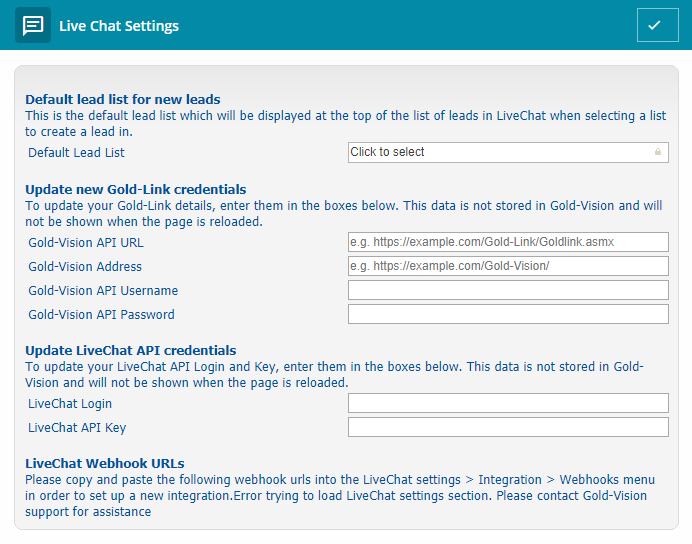
- Default Lead List – set this if you wish to create leads from unknown LiveChat visitors and you would like them to go to specific lead list. When updating, only fields containing values will be updated. If a field is empty, the existing information will be retained in the database.
- Gold-Link credentials – enter your URL, address, username and password for Gold-Link.
- LiveChat credentials – find these in your LiveChat Agent Profile > Edit > For Developers.
- LiveChat webhooks – copy and paste these from LiveChat > Settings > Integrations > Webhooks
- Create a new token and select all of the scopes related to “chat”
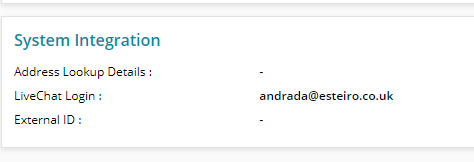
- Entity ID is the LiveChat Login
- Token is the LiveChat API Key
Adding Webhooks in LiveChat
This is a one-off process that you will need to perform.- In LiveChat, navigate to Settings > Integrations > Webhooks and select the “+ Add a webhook” link.
- Select the +Add a webhook link
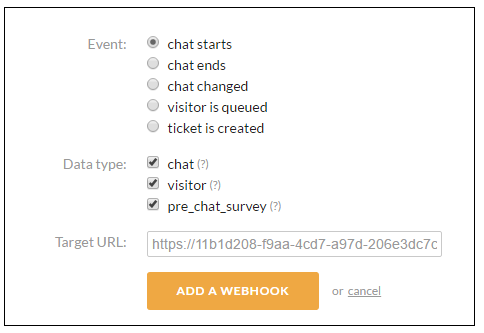
- Copy the “Chat Started Webhook” value from Gold-Vision. When a chat commences in LiveChat, this webhook is used to display Gold-Vision contact / lead data in LiveChat.
- Set “Event” to “chat starts” and select all “Data types”. Paste the copied value in the “Target URL”.
- Select “Add a Webhook” button.
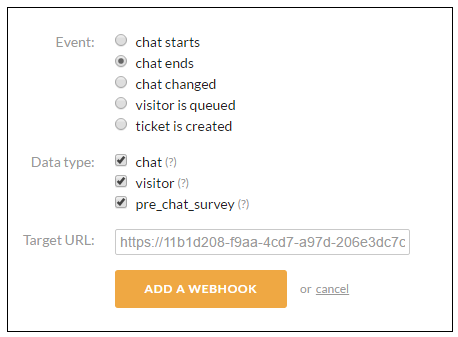
- Copy the “Chat Ended Webhook” value from Gold-Vision. When a chat ends in LiveChat, this webhook is used to submit the chat transcript to Gold-Vision.
- In LiveChat, set “Event” to “chat ends” and select all “Data types”. Paste the copied value in the “Target URL”. Select “Add a Webhook” button.
Setting Group Defaults
When a LiveChat is initiated users will have the option to create new items in Gold-Vision. This is defined in the Group Defaults area in Settings.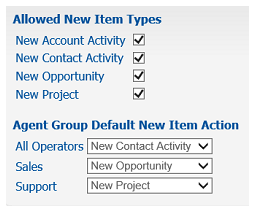
For example a Gold-Vision, by default a user in the Sales Team will be able to create a new Opportunity when working on a LiveChat.
Display Mapping
Next you will need to see how information for a Chat is displayed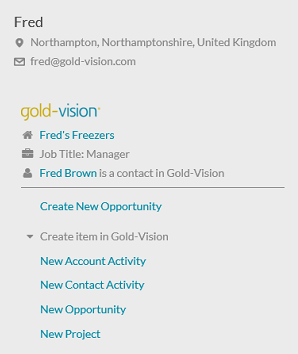
From Gold-Vision go to Settings then select Display Mappings
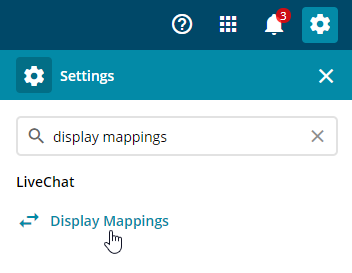
You can set this for Accounts and Contacts as well as for Leads by searching for Display Mapping in the Settings area.

- Accounts and Contacts
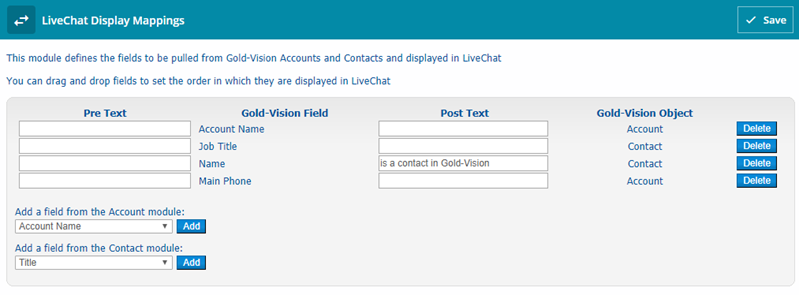
Additional fields can be added and the order can be amended by dragging and dropping the field
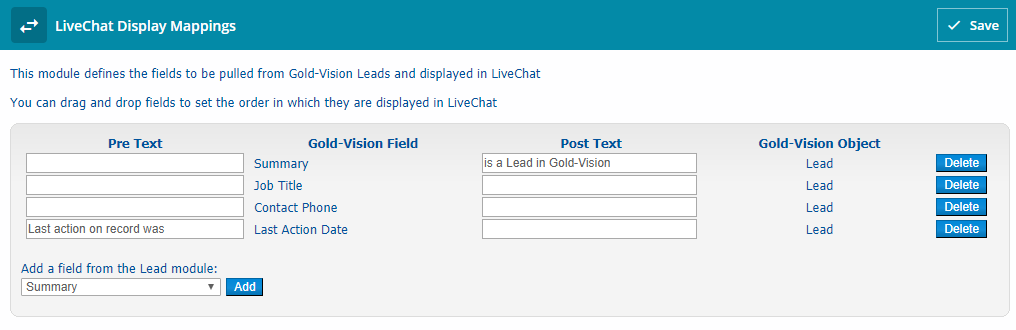
- Lead Management
 Related articles