Using DocuSign Integration
Generating and Sending eSign Documents
There are three methods users can use to generate and send eSign Documents. Use method 1 if you don’t need to edit the document before sending, method 2 if you do or method 3 if you already have a document saved somewhere else.
Method 1 – If you don’t need to edit your file before it’s sent
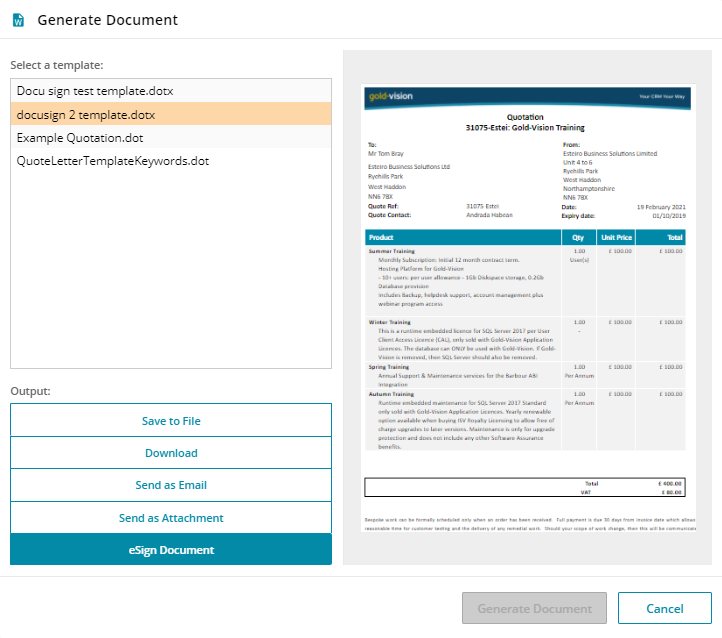
1. Click the Word icon against the required Gold-Vision item.

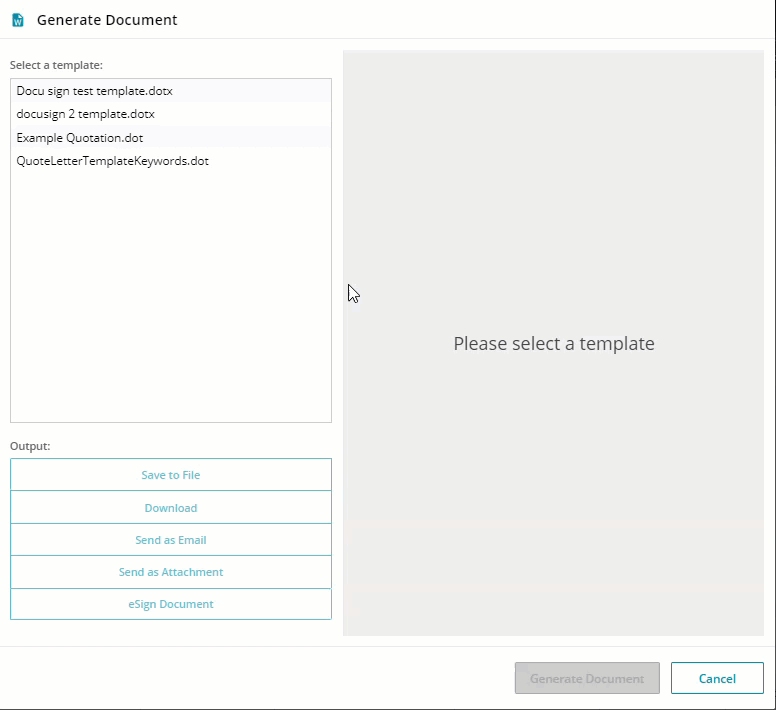
2. Select the document template then choose Output as eSign Document.
Next you will need to add the eSign Document details:
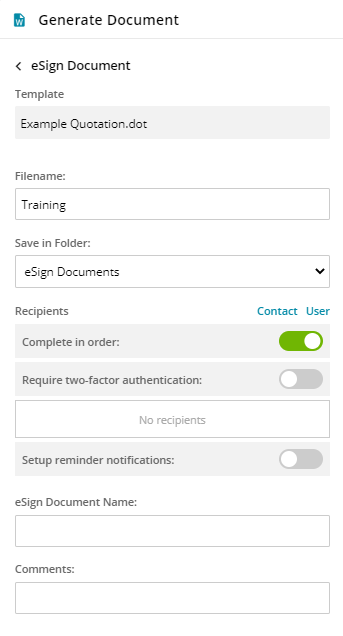
- Add the file name – this is the name of the document you are sending
- Add the recipients – click on Contact or User
- Complete in order – this is required if you are sending the document to multiple recipients and you require them to sign the document in order
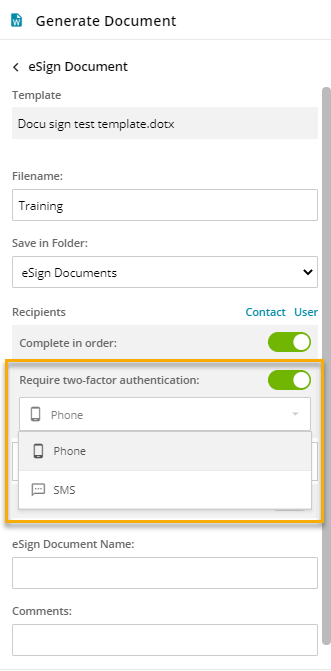
- Require two-factor authentication – Please see details about two-factor authentication here
- Setup reminder notifications – enable this if you would like to send notifications to the recipient
- eSign Document Name – insert the name of the document you are sending for signature
- Add any comments
- Click Generate Document
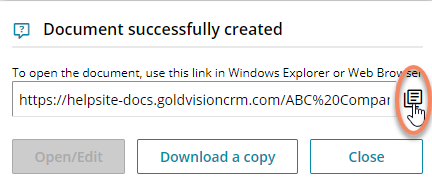
- Your document will then be sent to your recipients by DocuSign and the file will be saved in your eSign document area
Method 2 – If you want to edit your file before you send it
1. Click the Word icon against the required Gold-Vision item
2. Choose Save to file output and click Generate document
If using Chrome – Click to copy the path and paste it into Windows explorer – this will open the document
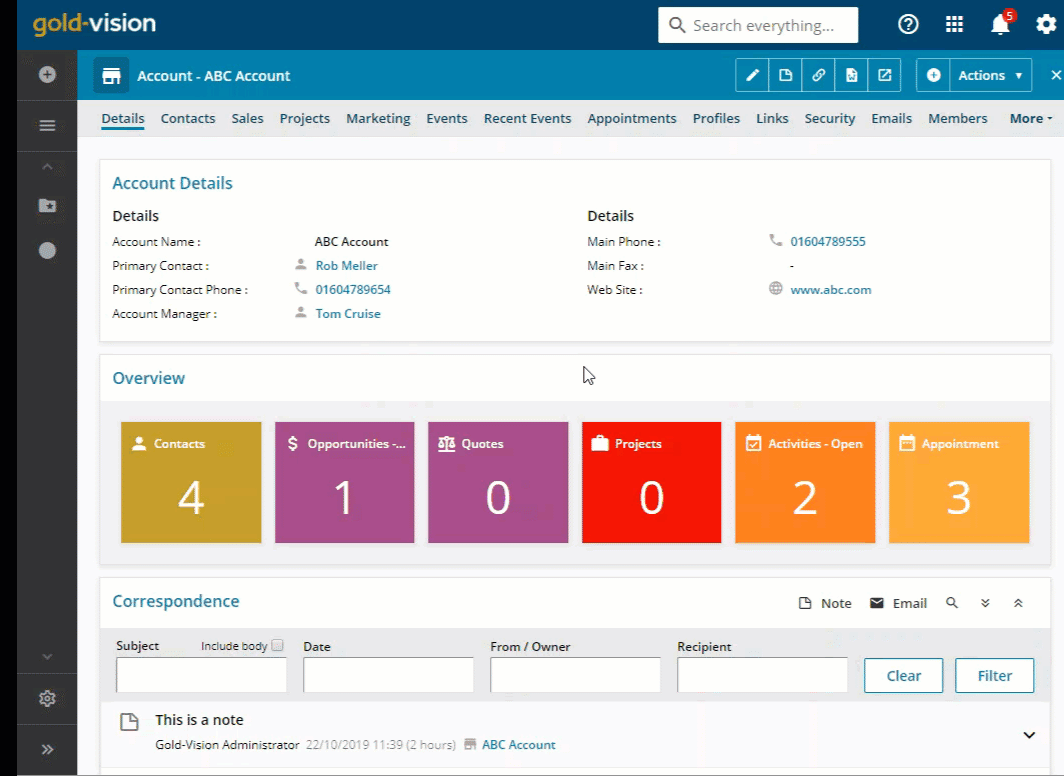
If Using IE or Edge – click Open/ Edit Document
3. Make your changes to the document and save it
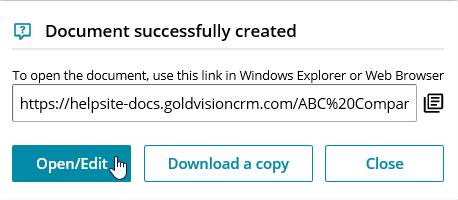
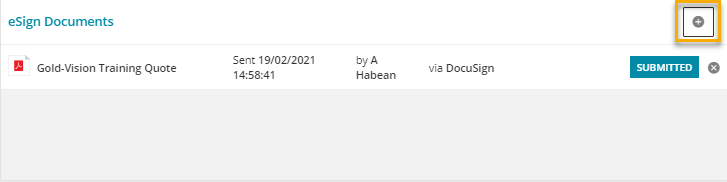
4. On the eSign Section, click on the + and pick the document you have just created and saved
5. Add the file name – this is the name of the document you are sending
6. Add the recipients – click on Contact or User
7. Complete in order – this is required if you are sending the document to multiple recipients and you require them to sign the document in order
8. Require two-factor authentication – Please see details about two-factor authentication here
9. Setup reminder notifications – enable this if you would like to send notifications to the recipient
10. eSign Document Name – insert the name of the document you are sending for signature
11. Add any comments
12. Click Generate Document
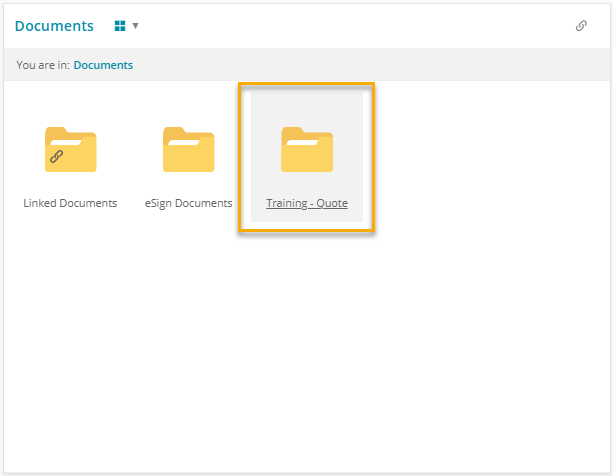
Method 3 – If your document is saved somewhere else…
1. In the documents section against the item you want to send your document from, click on the item folder (not the eSign one!)
2. Click on the Upload button on the right hand side to upload the document or drag and drop the file
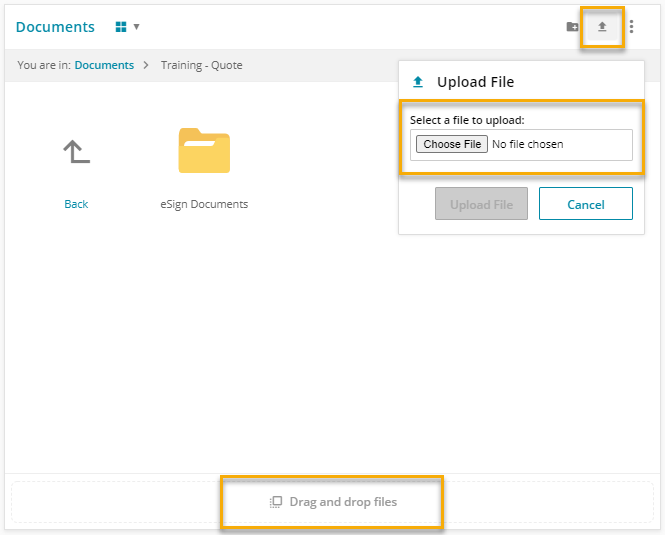
Once you have added the file in the Documents section send the file via DocuSign using the eSign Section:
- On the eSign Section, click on the + and pick the document you have uploaded
- Add the file name – this is the name of the document you are sending
- Add the recipients – click on Contact or User
- Complete in order – this is required if you are sending the document to multiple recipients and you require them to sign the document in order
- Require two-factor authentication – Please see details about two-factor authentication here
- Setup reminder notifications – enable this if you would like to send notifications to the recipient
- eSign Document Name – insert the name of the document you are sending for signature
- Add any comments
- Click Generate Document
- Your document will then be sent to your recipients by DocuSign and the file will be saved in your eSign document area
 Tip
Tip
Tip: if you need to change the sender details, you will need to edit your Adobe account holder name in account settings
What happens next
Adobe sign will send the document and when it’s signed, this updates the eSign section on your item
| Submitted | Sent to the signatories |
| In progress | Signed by at least one signatory |
| Signed | Signed by all signatories |
| Cancelled | Cancelled (by clicking the cross next to the document) |
Adobe Sign will notify by email when the document has been signed.
Tip
Tip: If the document is sent to multiple contacts Complete in order tick box will ensure the document is signed in the same order as the contacts/ users have been added.
View eSign Documents
eSign documents can be viewed in the eSign section. Click here to find out how to add the section to the screen design
There is also main list called eSign Documents that you can add to a menu or favourites
Two-Factor Authentication
DocuSign integration supports two-factor authentication via SMS and Phone Call.
This functionality needs to be enabled on your DocuSign subscription. If you would like to enable this contact DocuSign Support here. Required prerequisites for two-factor authentication:
- Contact/User valid email address
- Contact/User valid mobile phone number
How to use two-factor authentication
When sending your document for signature via the integration:
- Enable two-factor authentication option
- Select Phone or SMS
- Generate your document
 Note
Note
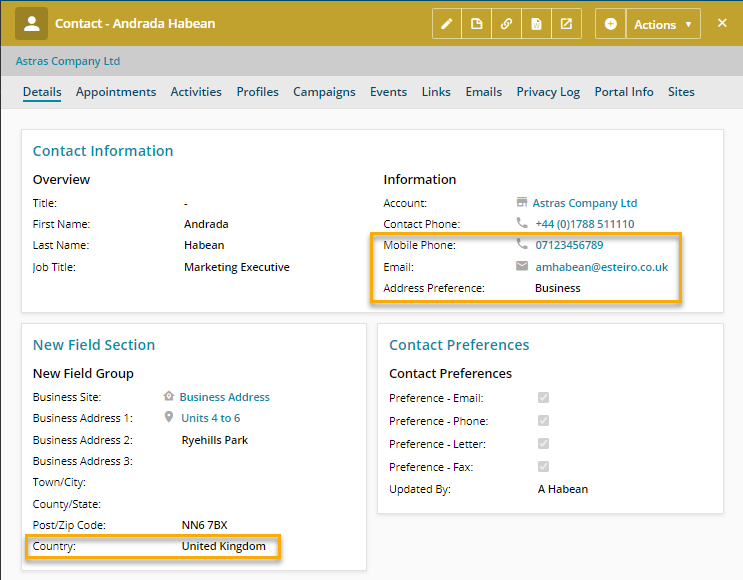
Gold-Vision integration with DocuSign will use the mobile number against the Contact or User to send the authentication code to.
If the mobile number is not setup with a country code the integration will use the country code based on the Address Preference field.
Note
The recipient will receive an email with the request to sign the document from DocuSign asking to authenticate via their mobile phone number in order to be able to sign the document.
 Related articles