Configuring DocuSign Integration
Three easy steps to install DocuSign integration on your Gold-Vision:
Install
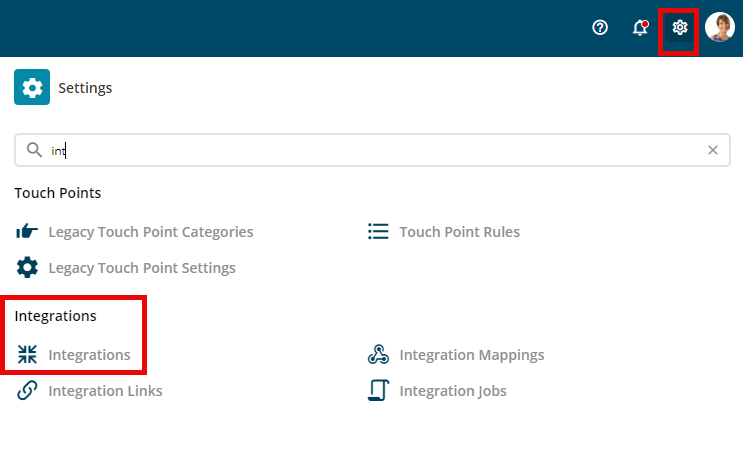
Go to Settings – Integrations to access the Integrations Storefront, you need to be a system administrator.
From the integrations list select DocuSign then click Install button on the far right of the screen.
Once you’ve clicked install, you will be brought to the DocuSign configuration screen, please click continue.


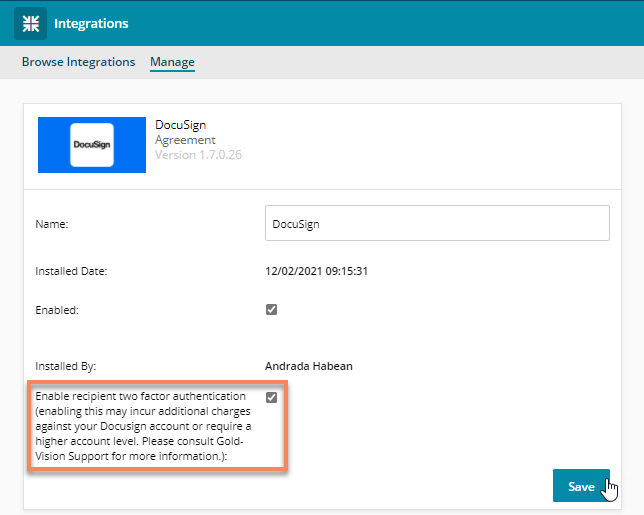
Enable two factor authentication
Enabling this may incur additional charges against your DocuSign account or require a higher account level.
Please contact DocuSign Support for more information
Two factor Authentication allows the recipients of the eSign document to authenticate via SMS of Phone Call
 Warning
Please note that the Recipient Gold-Vision Contact or User needs to be setup in Gold-Vision with a valid phone number and email address in order for two-factor authentication to work.
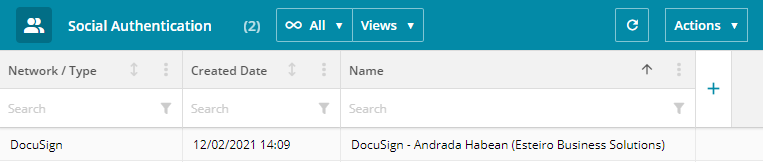
Social authentication
Once the installation has been completed each user will have to Authenticate with the DocuSign account, from the Settings menu navigate to Social Authentication.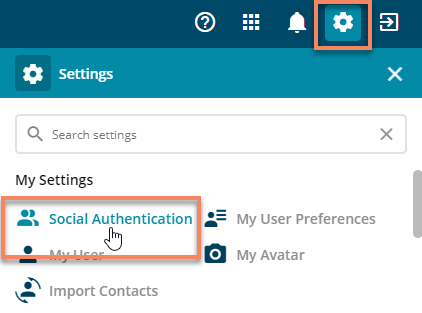
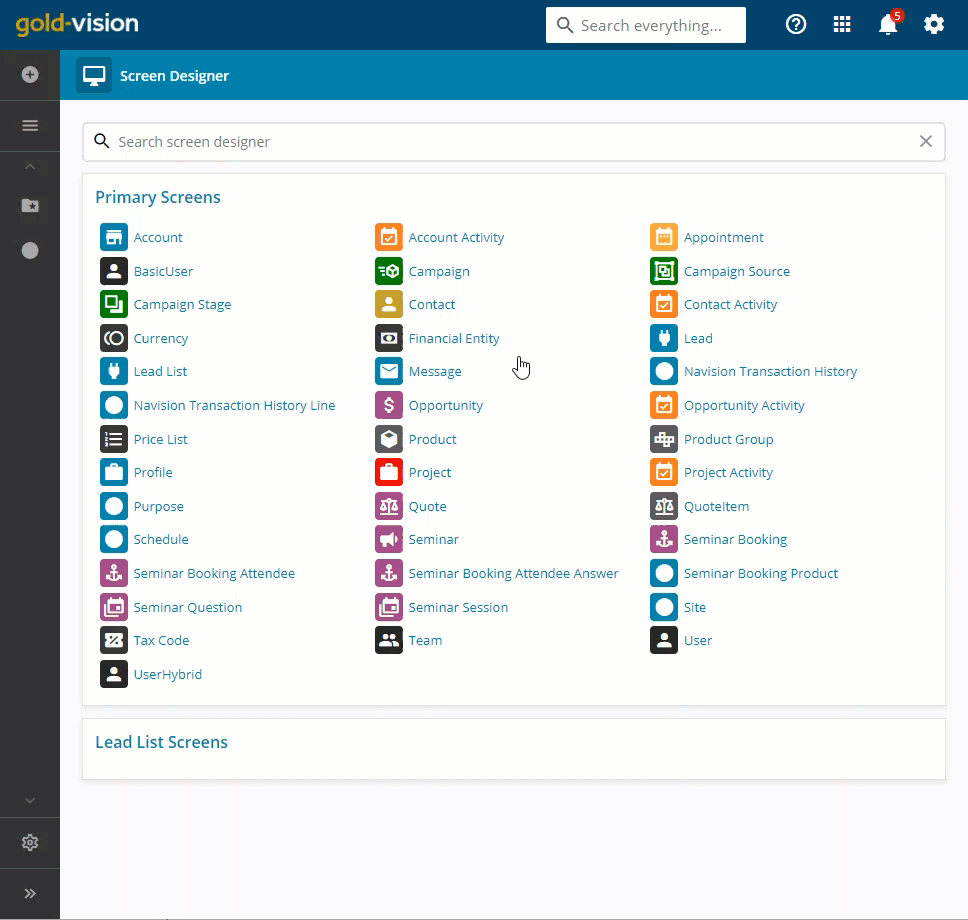
Screen design
Once authentication has been completed, users need to add the eSign section to the Gold-Vision items screens where documents are required to be sent from.
Usually the item will be the same as the item the documents are created from.
To add the section please navigate to Screen Designer, select the Gold-Vision item you want to add the section to
 Info
Info
Please note the eSign Documents Section can be added to multiple Gold-Vision items.
Once the above steps have been completed users will be able to send documents for online signature via DocuSign from Gold-Vision itself.
Two-Factor Authentication Explained
DocuSign integration supports two-factor authentication via SMS and Phone Call.
This functionality needs to be enabled on your DocuSign subscription. If you would like to enable this contact DocuSign Support here.
Required prerequisites for two-factor authentication:
- Contact/User valid email address
- Contact/User valid mobile phone number
Please Note:
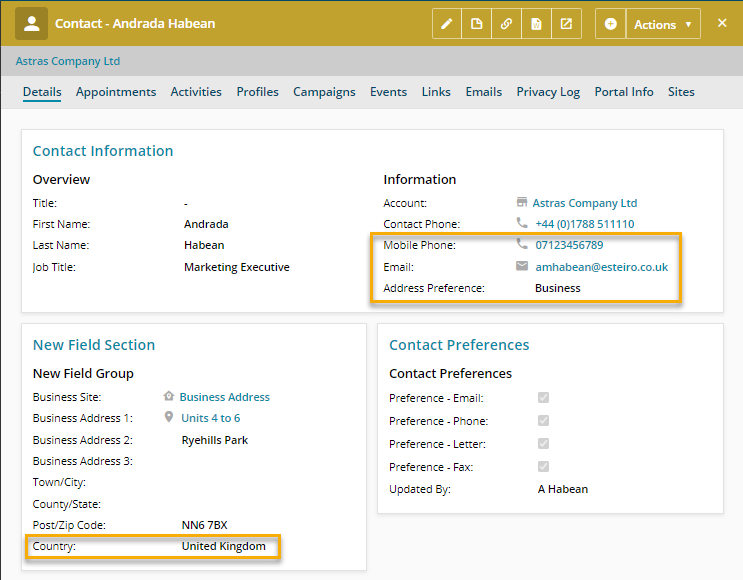
Gold-Vision integration with DocuSign will use the mobile number against the Contact or User to send the authentication code to.
If the mobile number is not setup with a country code the integration will use the country code based on the Address Preference field.
Create eSign Document template
- Setup a Gold-Vision template which may contain Gold-Vision “tags”, which are substituted with the corresponding item data – for example name and address. See the Admin Help site for more information about creating templates.
- Add DocuSign tags for the signature fields such as Title, Signature, Date. Please see below the list of available DocuSign tags that you can use on your Gold-Vision templates
| Signature | \s1\ |
| Title | \t1\ |
| Company | \co1\ |
| Date | \d1\ |
| Full Name | \n1\ |
| Initials | \i1\ |
 Tip
Tip
Tip: When you apply tabs to the document, DocuSign does not remove or replace the tag. You can hide the tags by using the same font colour as the background of the document. While the tag can be used by DocuSign processes, it will not be visible on the document.
Tip
If you have more than 1 recipient replace the number 1 in the DocuSign tag with the respective signer number for example second signer full name tag will be \n2
 Related articles