Configuring the Adobe Sign Integration
Install & Configuration
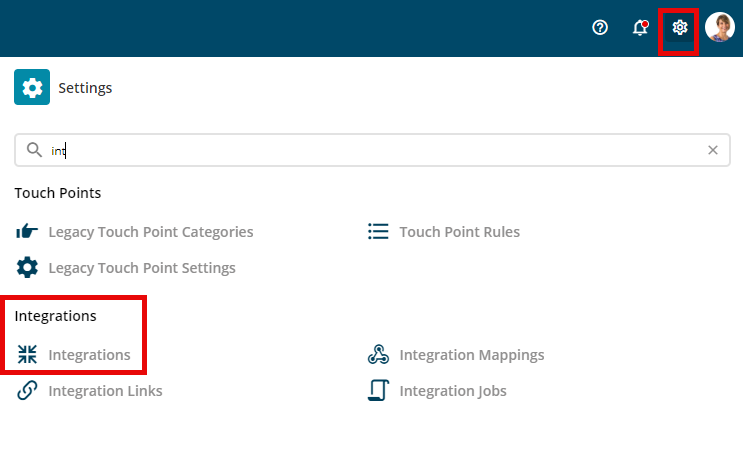
Go to Settings – Integrations to access the Integrations Storefront, you need to be a system administrator.

Social authentication
Once the installation has been completed each user will have to Authenticate with the Adobe Sign account, from the Settings menu navigate to Social Authentication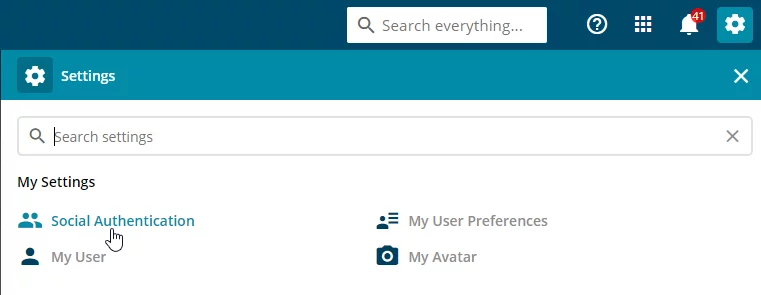
 Info
Info
Sign in with your username and password or sign up for a free trial.

Screen designing
Once authentication has been completed, users need to add the Adobe Sign section to the Gold-Vision items screens where documents are required to be sent from. Usually the item will be the same as the item the documents are created from.
To add the section please navigate to Screen Designer, select the Gold-Vision item you want to add the section to.
Info
Please note the eSign Documents Section can be added to multiple Gold-Vision items.
Create eSign Document template
Gold-Vision can generate Word documents from almost any item by using predefined Word Templates (.dot) files.
The template file may contain Gold-Vision “tags”, which are substituted with the corresponding item data – for example name and address. See the Admin Help site for more information about creating templates.
You can also add Adobe tags for the signature fields such as Name, Position, Signature, Date. The Adobe Sign Text Tag Guide has more info about the Adobe tags.
| Name | {{*Name1_es_:fullname}} |
| Position | {{*Ttl1_es_:title}} |
| Signature | {{*Sig_es_:signer1:signature}} |
| Date | {{Dte_es_:signer1:date(dd/mm/yyyy)}} Note – (date when signed is updated automatically) |
 Tip
Tip
Tip: if you don’t add any Adobe tags, depending on how you have set Adobe up, the signature and email tags will automatically be added
 Related articles