Using the Adobe Sign Integration
Generating and Sending eSign Documents
There are three methods users can use to generate and send eSign Documents. Use method 1 if you don’t need to edit the document before sending, method 2 if you do, or method 3 if you already have a document saved somewhere else.Method 1 – If you don’t need to edit your file before it’s sent
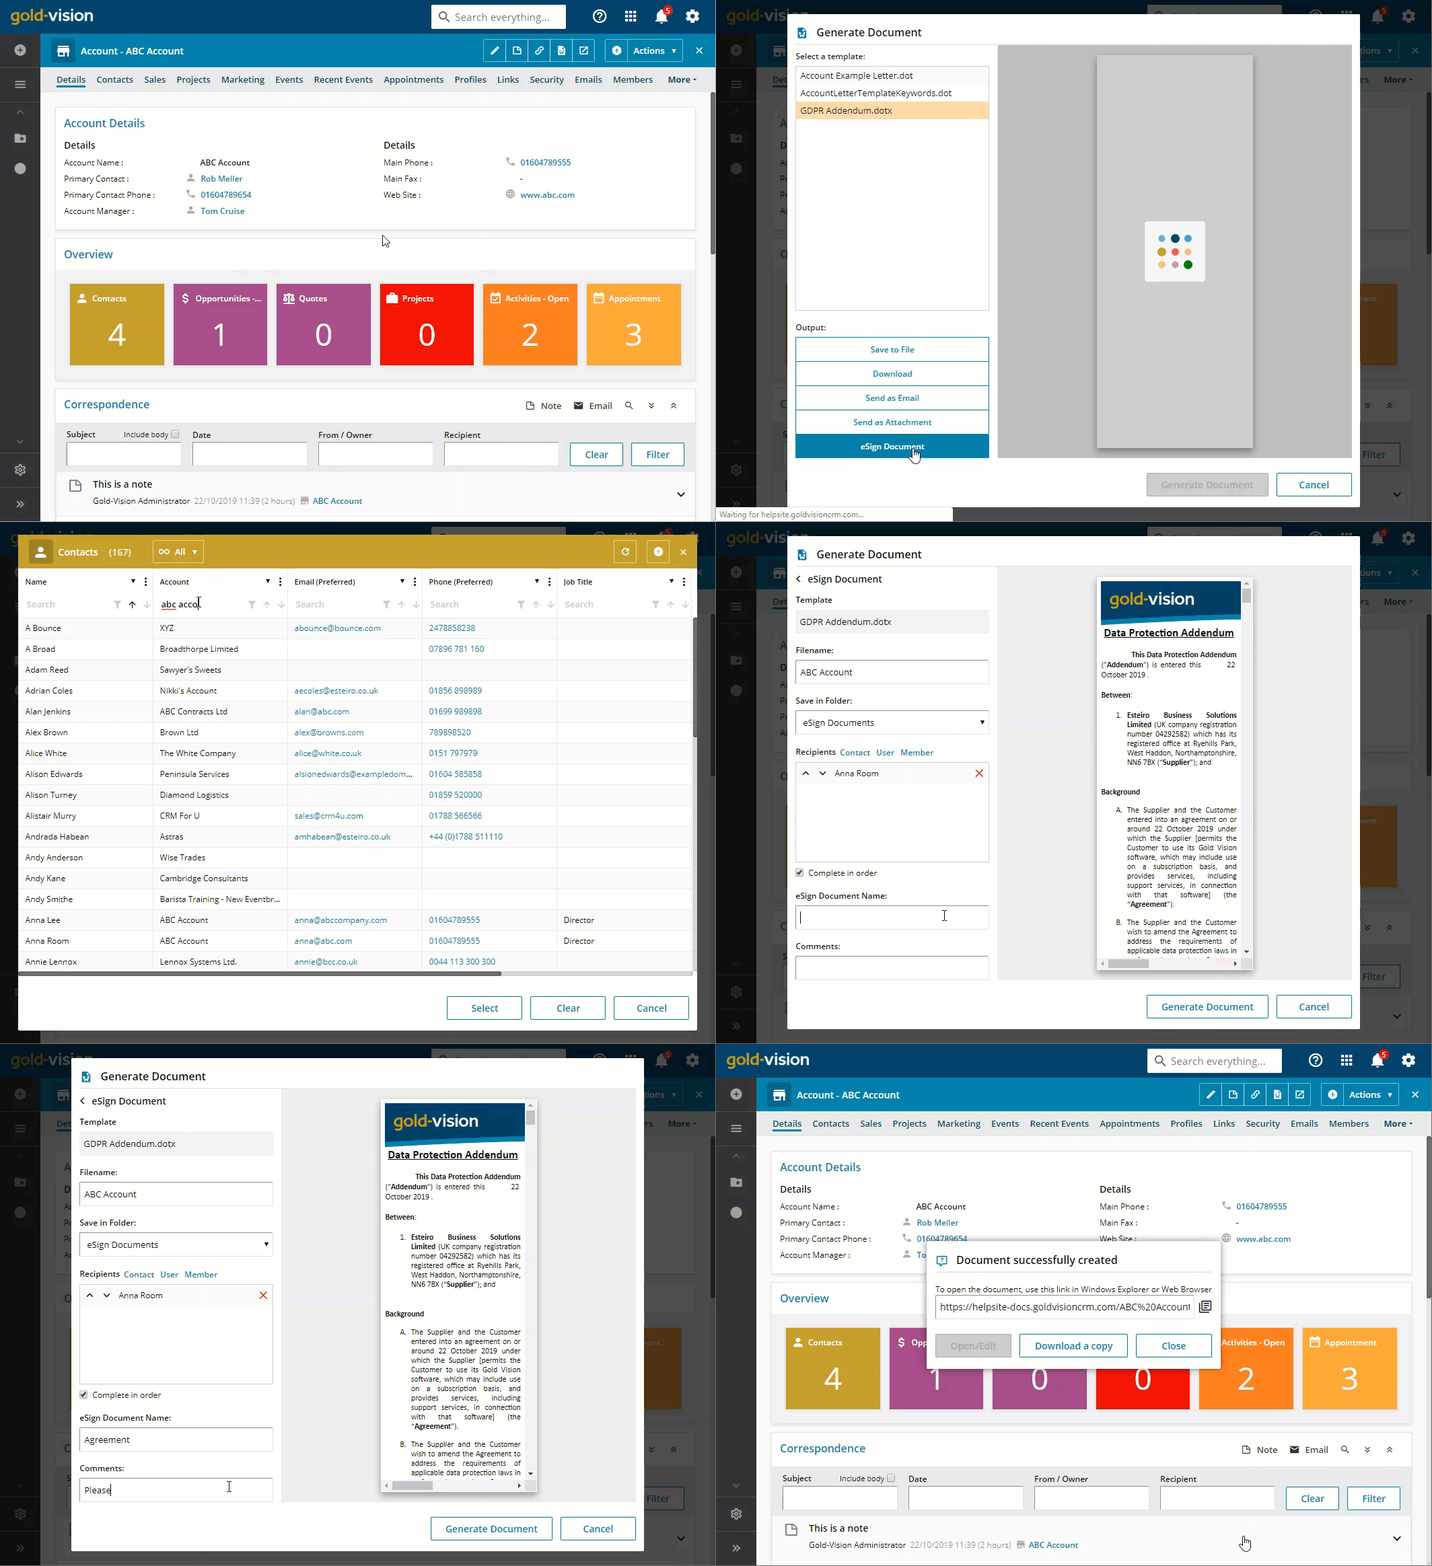
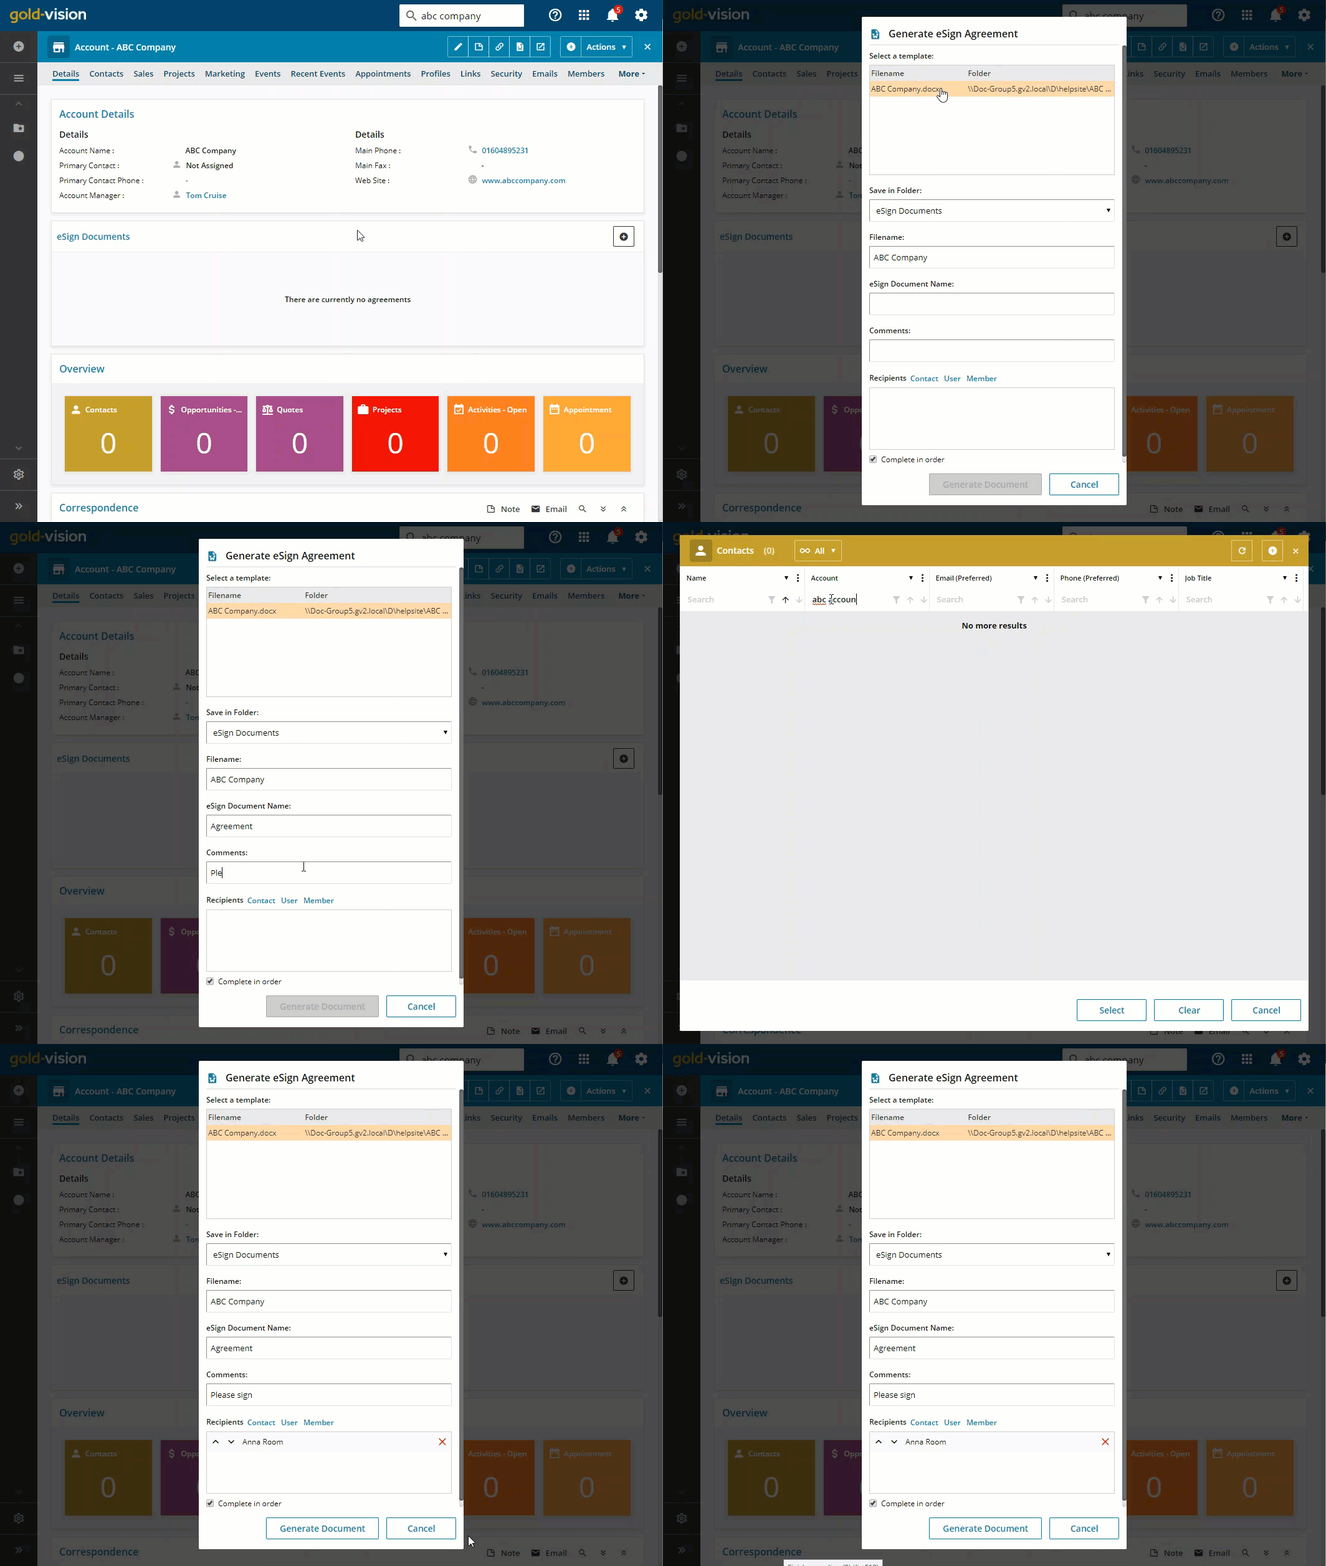
1. Click the Word icon against the required Gold-Vision item.
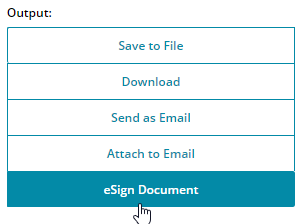
2. Select the document template then choose Output as eSign Document.
3. Add the file name – this is the name of the document you are sending
4. Add the recipients – Contacts or Users
5. Add the document name – this appears in the email from Adobe Sign
6. Add any comments
7. Click Generate Document
8. Your document will then be sent to your recipients by Adobe and the file will be saved in your eSign document area
Method 2 – If you want to edit your file before you send it
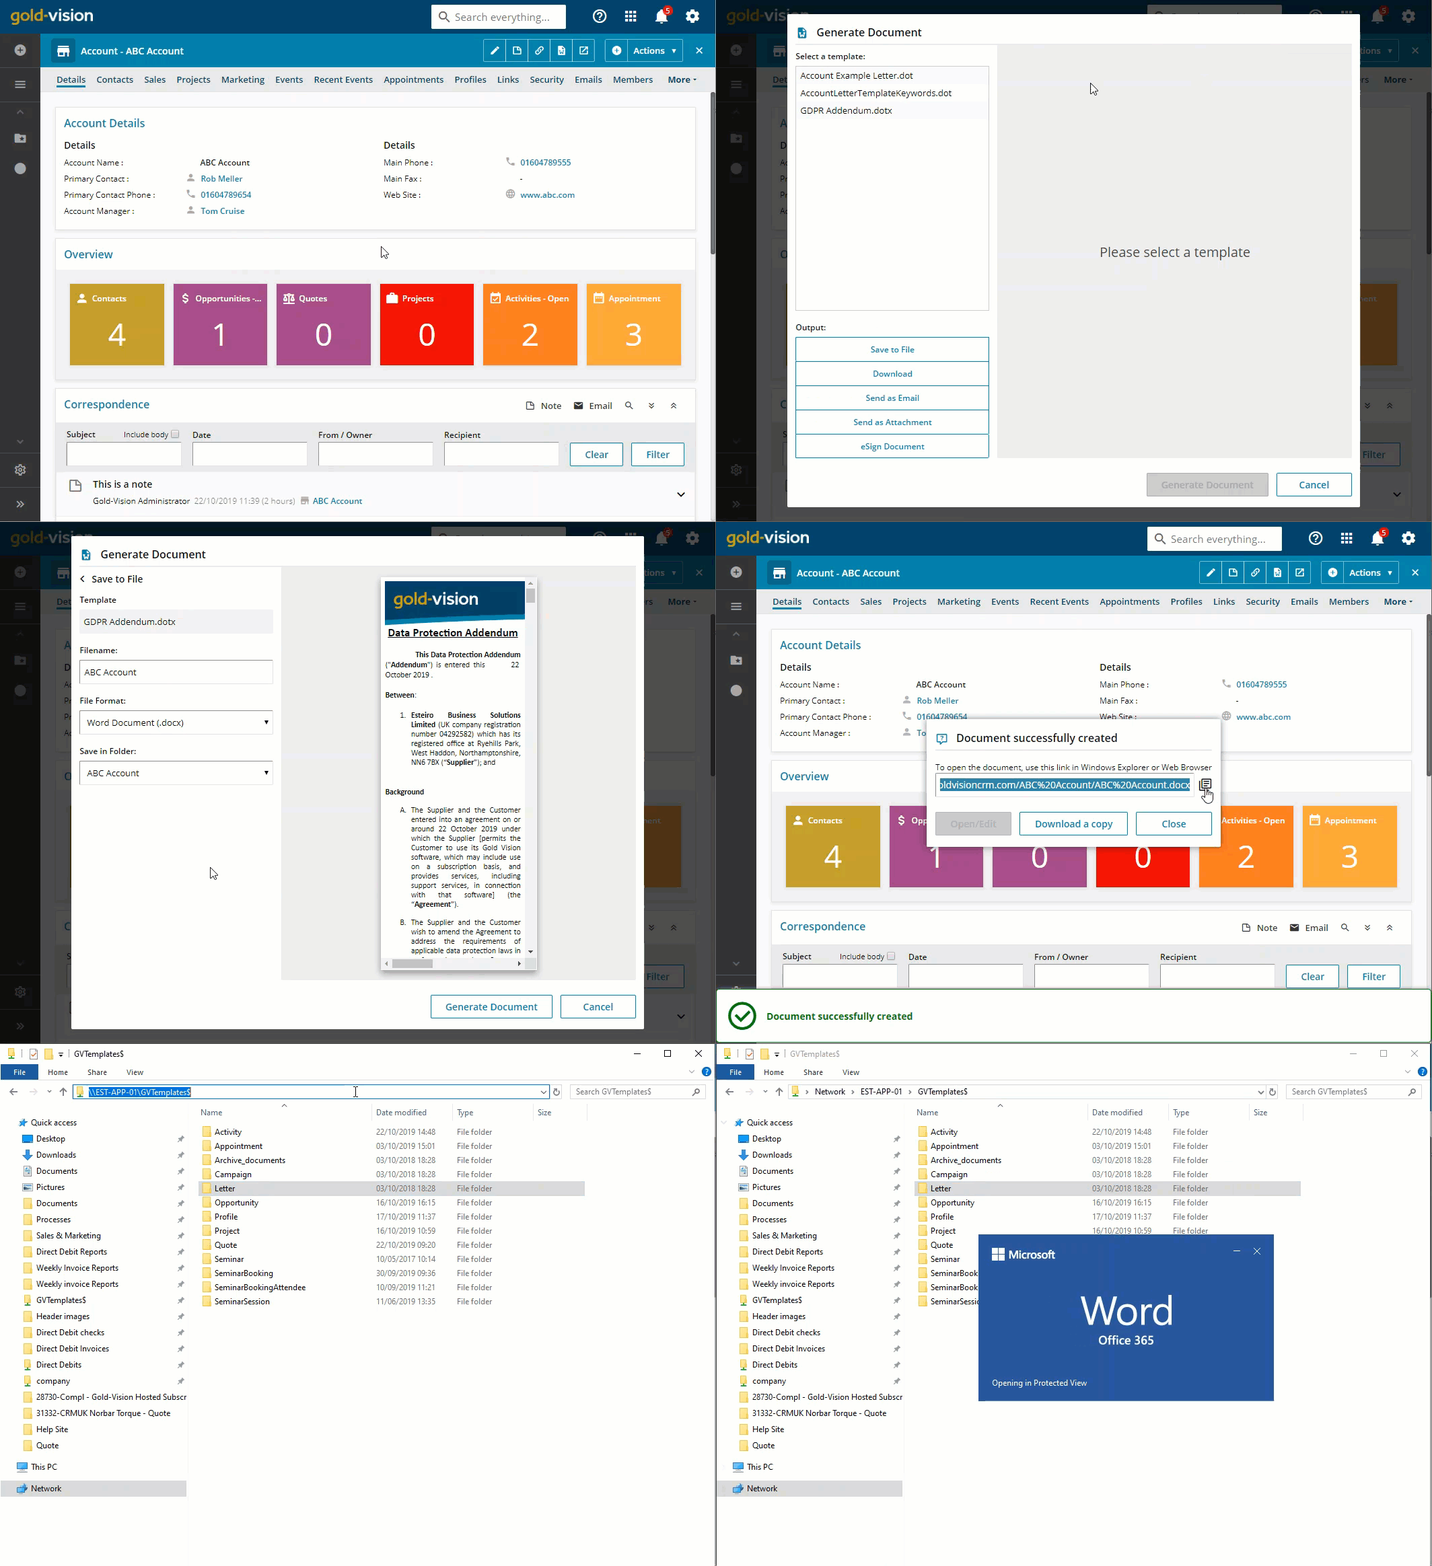
1. Click the Word icon against the required Gold-Vision item
2. Choose Save to file output and click Generate document
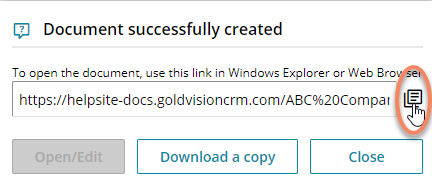
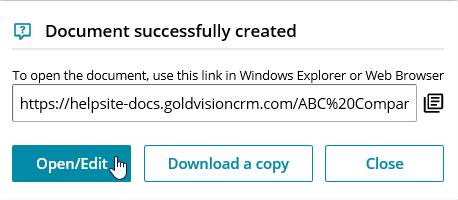
If using Chrome – Click to copy the path and paste it into Windows explorer – this will open the document
If Using IE or Edge – click Open/ Edit Document
3. Make your changes to the document and save it
4. On the eSign Section, click on the + and pick the document you have just created and saved
5. Add the file name – this is the name of the document you are sending
6. Add the recipients – Contacts or Users
7. Add the document name – this appears in the email from Adobe Sign
8. Add any comments
9. Click Generate Document
10. Your document will then be sent to your recipients by Adobe and the file will be saved in your eSign document area
Method 3 – If your document is saved somewhere else…
1. In the documents section against the item you want to send your document from, click on the item folder (not the eSign one!)
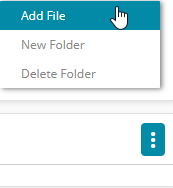
2. Click on the three dots on the right hand side
3. Choose Add File and browse and select the file you want to add
4. On the eSign Section, click on the + and pick the document you have uploaded
5. Add the file name – this is the name of the document you are sending
6. Add the recipients – Contacts or Users
7. Add the document name – this appears in the email from Adobe Sign
8. Add any comments
9. Click Generate Document
10. Your document will then be sent to your recipients by Adobe and the file will be saved in your eSign document area.
 Tip
Tip
Tip: if you need to change the sender details, you will need to edit your Adobe account holder name in account settings.
What happens next
Adobe sign will send the document and when it’s signed, this updates the eSign section on your item| Submitted | Sent to the signatories |
| In progress | Signed by at least one signatory |
| Signed | Signed by all signatories |
| Cancelled | Cancelled (by clicking the cross next to the document) |
 Tip
Tip
Tip: If the document is sent to multiple contacts Complete in order tick box will ensure the document is signed in the same order as the contacts/ users have been added.
View eSign Documents
eSign documents can be viewed in the eSign section. Click here to find out how to add the section to the screen design.
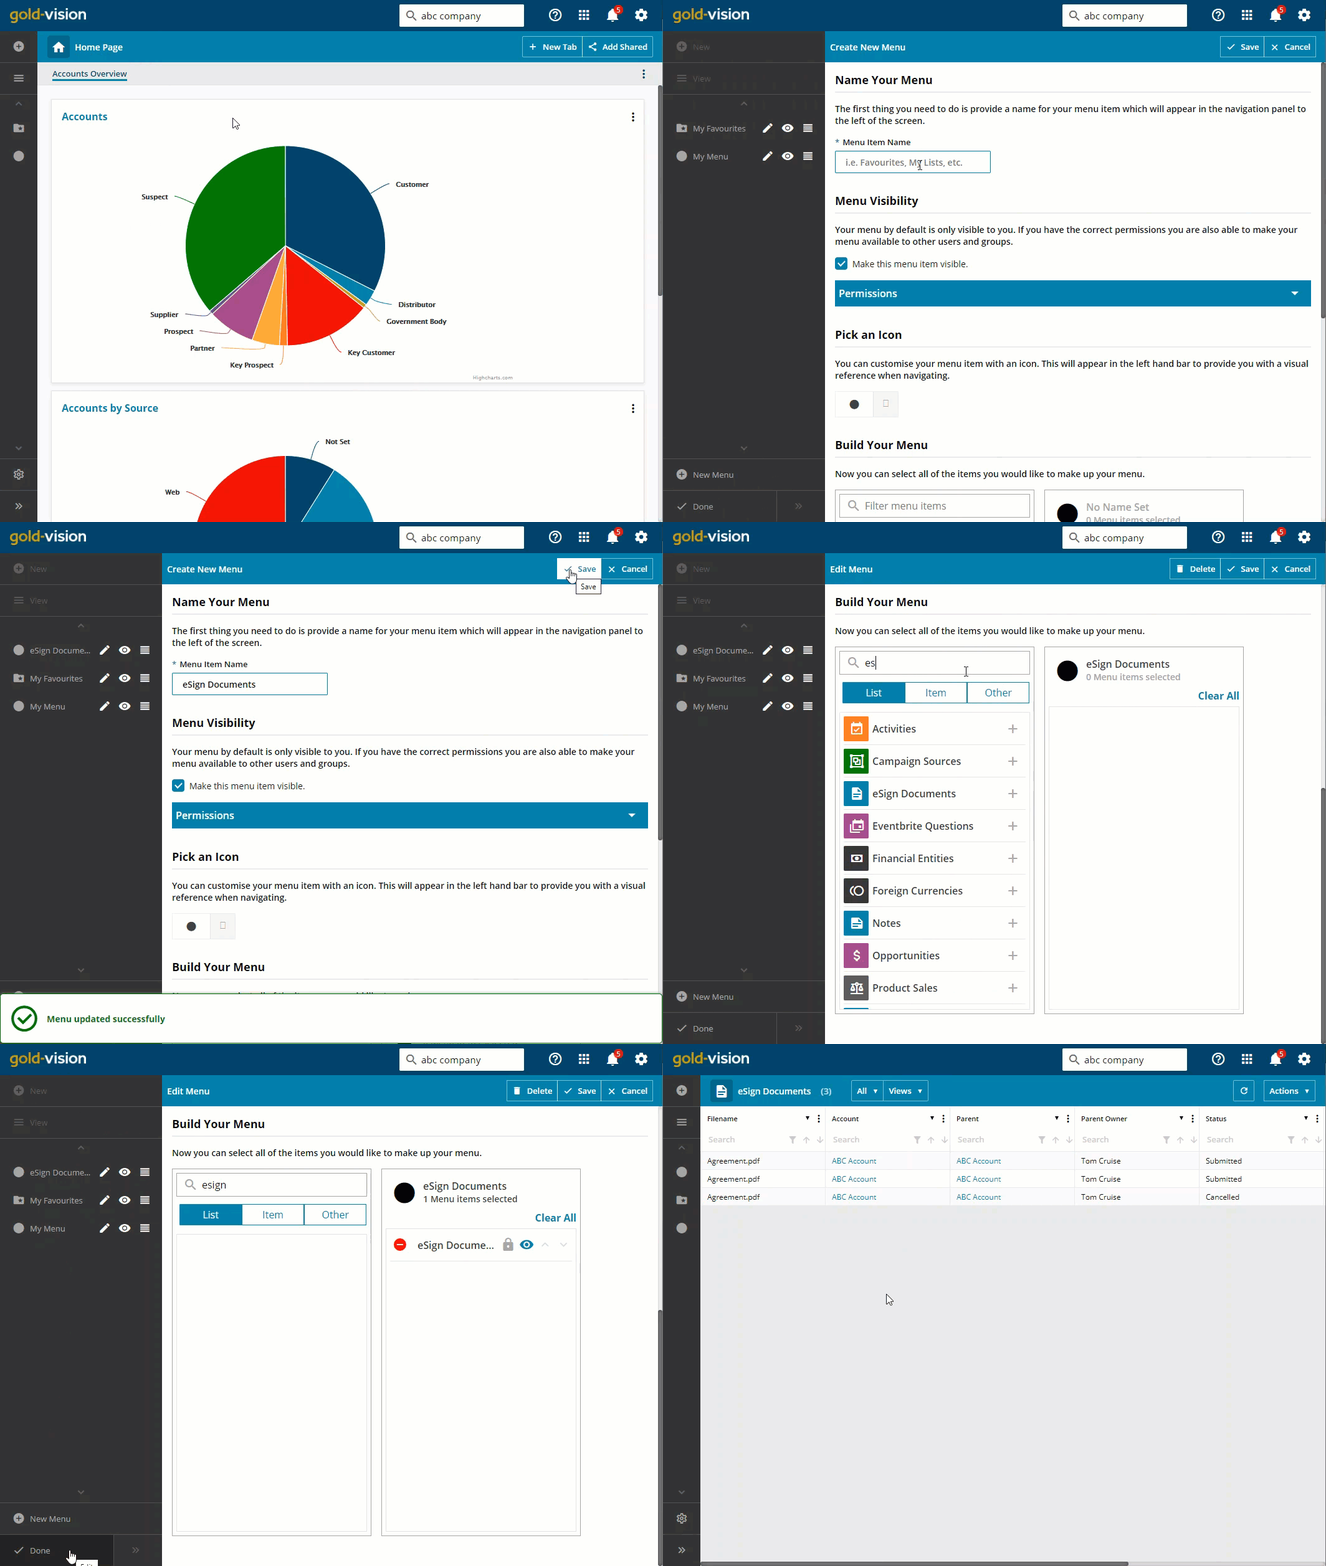
There is also main list called eSign Documents that you can add to a menu or favourites.






 Related articles