Using Office 365 Contact Synchronization
Using Office 365 Contact Sync
Your Gold-Vision Administrator will need to follow the instructions to Enabling the 365 synchronisation before you can use this functionality.
To use the Office 365 Synchronisation you will need to view the field “Synced with Office 365” as a column in the contacts list. Please ask your Administrator to make this visible if you cannot see it as a user.
Against your contacts you will see a column which shows the contact is either synchronized or not via a tick or cross.
Tip: You can use the “Synced with Office 365” field to filter your contacts throughout Gold-Vision.
To synchronize a single contact with Office 365
Open the Contact record and click the Sync Contact icon displayed below. This is also available from the Action button also.
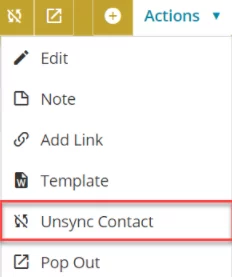
To unsynchronize a Contact with Office 365
Use the icon or the Action menu as shown
To Synchronise a Contact from the Contacts List
View Contacts from the Contact List.
To Synchronise a contact simply select from the Inline Edit menu the Sync Contact option. This will synchronise the contact and tick the contact in the “Synced with Office 365” column.
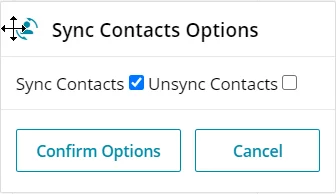
You can sync or unsync up to 50 contacts at one using the multi-select feature. Click “Select” to select multiple contacts to be synchronized at once, once you have selected contacts use the “Sync With O365” button to synchronise.
Data that can by synced from Office 365
The following data that is present in Office 365 against a contact can be synced over into Gold-Vision:
- Name (includes first name and last name)
- Email Address
- Mobile Number
- Site where they are located
- Postcode of the site


