Configuring the SharePoint Online Integration
Introduction
Gold-Vision document storage allows users to view and store documents in an external repository. The Sharepoint Online integration allows for your Gold-Vision documents to be stored in a Sharepoint Online “site” and accessed through the product. The integration is capable of the following:-
- Automatically create folders in your Sharepoint Online site and link them to Gold-Vision items
- Allow users to upload, view, edit and delete files stored in Sharepoint Online
- Allow users to create and delete sub-folders from Sharepoint Online
- Access templates for document production
- Seamless document production and document editing
 Warning
Important: Please note that Gold-Vision can only integrate with a single document storage system and therefore if you have already integrated with another document storage system you must first consider migrating your documents into Sharepoint Online before configuring the integration or you will lose the existing links to your documents.
Prerequisites
You will require the below in order to set up the Sharepoint Online integration.
- A “site” within your Sharepoint Online implementation dedicated to Gold-Vision documents
- A “site” or subfolder of the above for storing template documents
- A login to Sharepoint Online with access rights to the above site
 Tip
Tip
We recommend creating a new “site” in Sharepoint Online dedicated to storing Gold-Vision documents to avoid confusion or conflicts arising from mixed usage
Setup
There are five steps involved in setting up a Sharepoint Online integration, summarised below.
- Enabling Sharepoint Online Integration
- Authenticating with Sharepoint Online
- Configuring the Integration
- Document Storage Sections
- Test the Integration
Enable SharePoint Online Integration
The first step is to install and enable the Sharepoint Online integration through the storefront.
- Open the Settings menu
- Click on Integrations
- The integrations store front will load
- Find and click on Sharepoint Online
- Click the Install button
- Follow the on-screen install instructions until install is complete
- Next you will need to enable the integration
- Select the “Manage” tab under the integration area
- Click Configure next to the Sharepoint Online integration
- Check the Enabled box
- Save
Tip
If you later need to check or change the integration you can do so by under the ‘Manage’ tab of the integrations store front.
Authenticate with SharePoint Online
You will now need to authenticate with Sharepoint Online in order for Gold-Vision to communicate. To authenticate you will need to create a new Azure AD social authentication token.
- Open the Settings menu
- Click on Social Authentication
- The Social Authentication tokens list will load
- Click Actions then New
- Select Azure AD from the list of providers (if Sharepoint Online does not appear you either have not enabled the integration above or you already have a valid token)
- You will be taken to Sharepoint Online / O365 to log in and authorise Gold-Vision
- Once you have authorised Gold-Vision you will see a token in the Social Authentication list from above
Tip
Each user that accesses documents through Gold-Vision will first be asked to authenticate through Sharepoint Online (Azure AD) – this step is guided so users should not be inhibited.
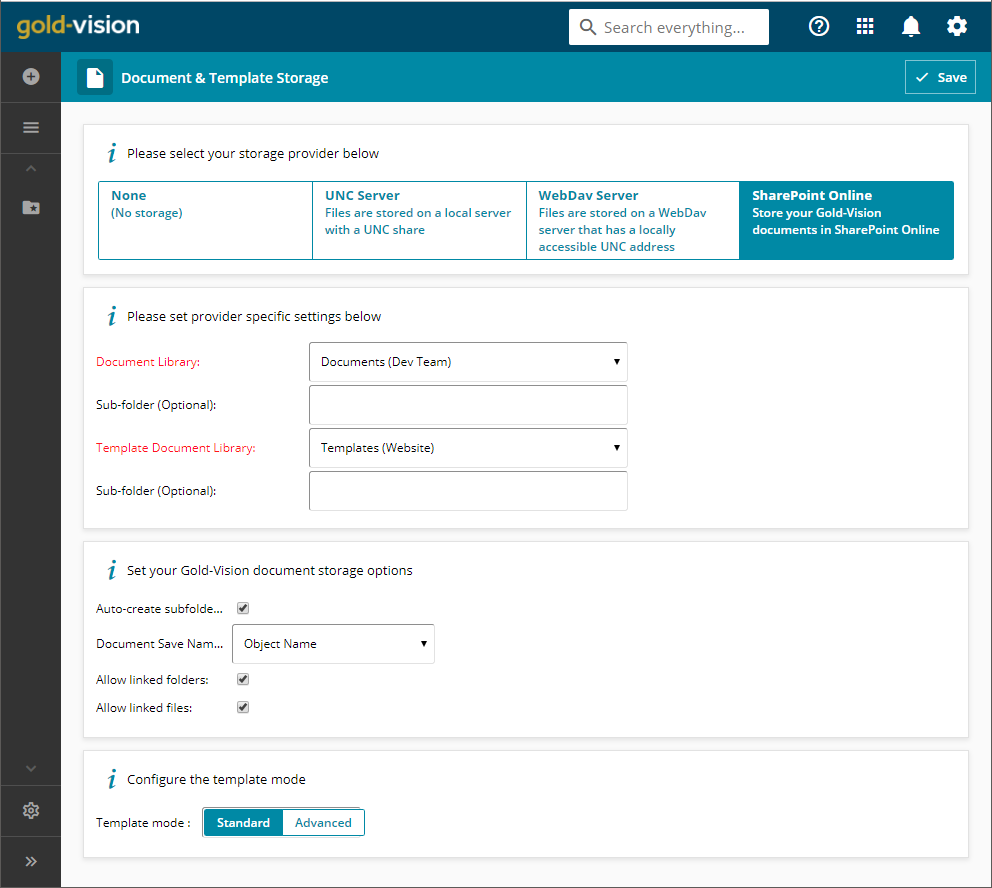
Configure the Integration
The final setup to set up the Sharepoint Online integration is to configure it.
- Open the Settings menu
- Select Document Storage
- Select the Sharepoint Online option that is now visible.
- Select a Document Library (click Load to load a list of options)
- Select a Template Library
- Optional: You may enter a sub-folder in you don’t wish to store your Gold-Vision documents in the root of the document library selected above.
- Click ‘Save‘.
Tip
If you cannot see “Sharepoint Online” as an option please check the integration is “Enabled” under the “Manage” tab of the Integrations area.
Warning
Warning: Changing the library location at a later date does not automatically move the folders and files already linked. Be sure to agree on the correct location to store documents in Sharepoint Online before setting it live with users.
Document Storage Sections
You will also need to ensure a “Documents” section has been designed onto the screens where you would like to see and store documents.
- Open Settings
- Select Screen Designer
- Select the item type / screen design to add Document storage to
- Locate the page you wish to add a document section to
- Click Add Section
- Select Document Storage section
- Save the screen design
Tip
We strongly recommend adding the document storage section to the “Account” screen design (sometimes call Company or Organisation)
Test the Integration
It is a good idea to test the integration is working as expected. Follow the steps below.
Please ensure a Document Storage section is present on the Account screen design (see above for how to do this)
- Open the New menu
- Select New Account
- Enter a Name and Save
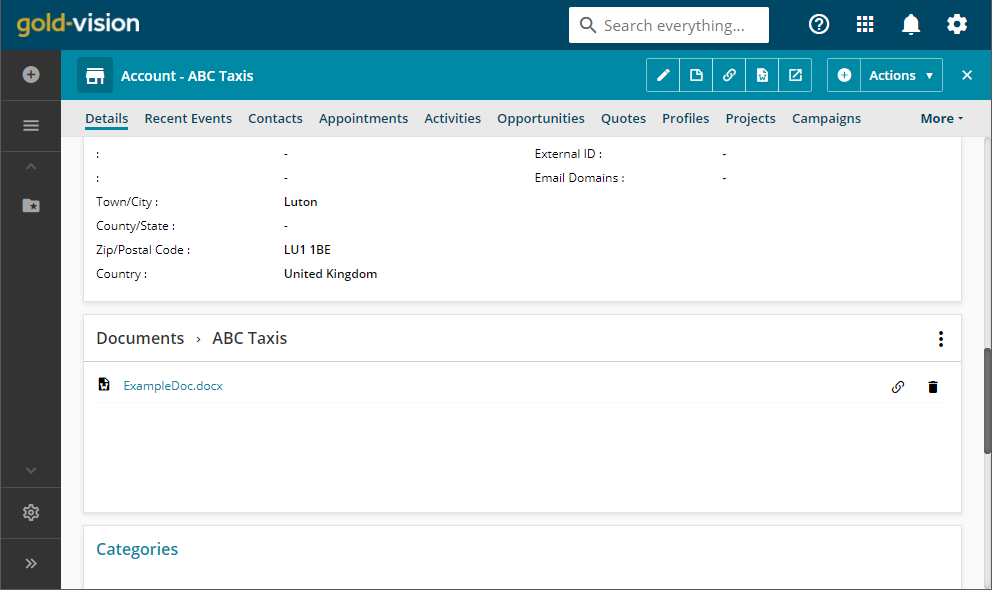
- Locate the Document Storage section
- There should be a folder matching the account name present
- Click on the folder to open it
- Click Upload File (under three dots menu)
- Select a file (recommend a Word document)
- Check the file is uploaded to the folder
- Click on the file name
- You should be taken to the file in Sharepoint Online in a new window
Done
You’ve completed the Sharepoint Online integration setup and can now access your linked folder documents from Gold-Vision.
Tip
Important: Whilst it is possible to directly access files from Sharepoint Online do not manually change the folder structure created for items in Sharepoint Online or your Gold-Vision links will fail.
 Related articles