How to send an email with Connect
Now that you’ve followed all of the steps of setting up a Campaign, Campaign Stage and Sources and have Run your stage through to Connect, it’s time to send your email.
Click the grid icon in the top right corner of your screen on Gold-Vision, and select Connect.
 Tip
Tip
Email whitelisting is an important process to improve email marketing efficiency and deliverability. See more information about: Gold-Vision Connect Whitelisting and the IP address range which Gold-Vision Connect uses.
Applying a template to your mail shot
When you have run a campaign stage, it will be available in Connect. You can find the mailer either on the homepage under Recent Mail Shots, or by clicking on Mail Shots, then My Mail Shots.
Once the mail shot has opened, you can load a template you have been working on by selecting Apply template or copy another design, and choosing the relevant option.
From this area you can continue to make any final tweaks and edits to your template by using the drag and drop designer as normal. For more information on how to use the drag and drop designer, please visit this help page.
Now that your template is applied to your mail shot, and any final edits are complete, it’s time to complete the tabs along the top of the mail shot to prepare for sending.
Design tab
As well as giving you access to make final edits to your template, the Design tab lets you create your From email address, subject line(s) and add any attachments.
From: Enter the new address that you would like the email to be sent from, and if applicable, select the correct domain from the dropdown options. You can then add a name that will be visible to your recipients in their inbox.

Subject: Here you can choose to enter a single subject line, or multiple subjects by selecting the relevant tab option. When you create multiple subject lines, you will be able to analyse and compare the opening success rate once your mail shot is delivered to help you decide the best line for engagement in the future.
You can also personalise your subject lines by using data tags. Simply select your option(s) from the dropdown list available.
Attachments: You can send attachments to your recipients by selecting Attachments and uploading the relevant file.
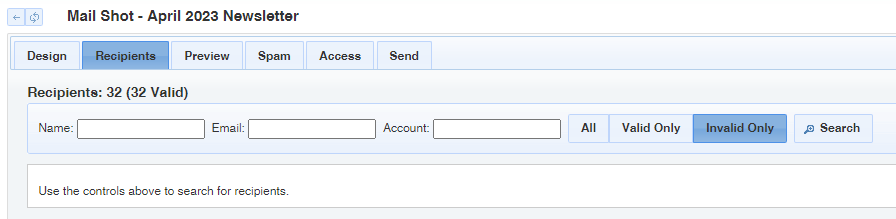
Recipients tab
This tab gives you a final overview of your recipients. This is really useful for things like last minute double checks to make sure someone important isn’t missing from the list:
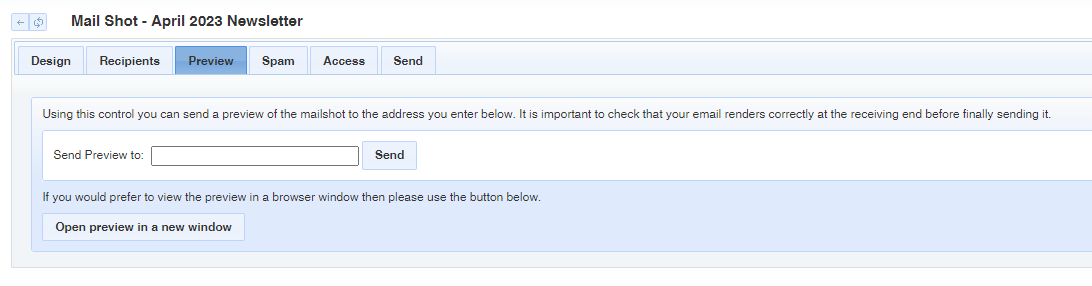
Preview tab
After checking your recipients, you can send yourself or other members of your team a preview of the mail shot by entering their email into the Send Preview to text box.
Alternatively you can select the Open preview in a new window option to view the mail shot within your browser.
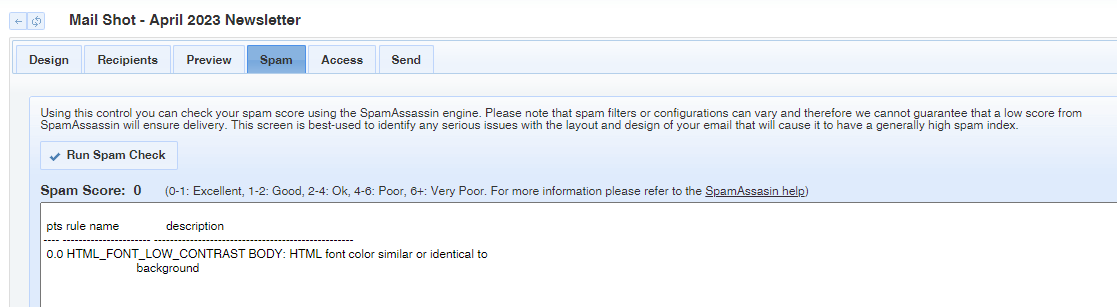
Spam tab
Once you have checked your email through the preview options, you can run a Spam check to make sure that your email will have the best chance of being delivered to your recipients.
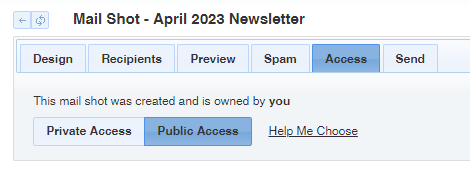
Access tab
Before sending your mail shot, you can control the Access options. This is helpful for larger business who need to restrict the view of specific mail shots.
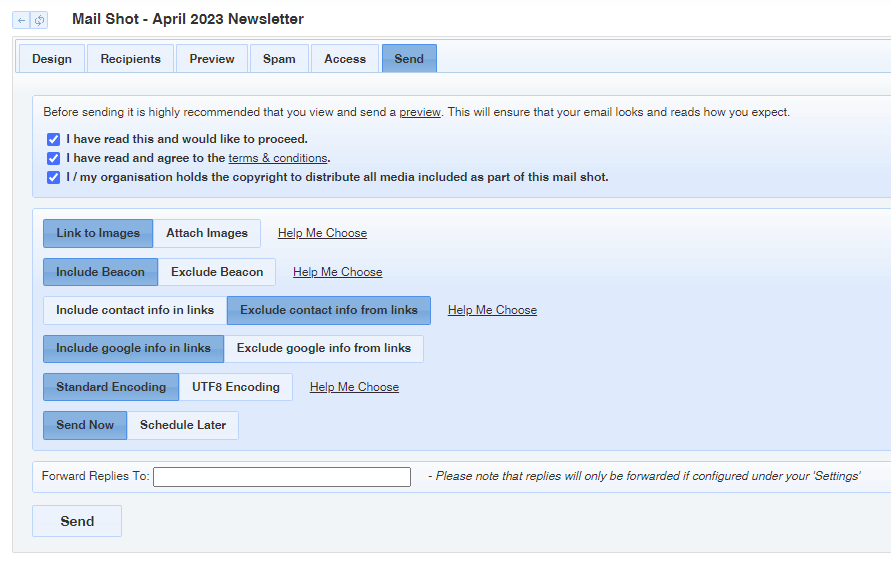
Send tab
From the Send tab there are some final checks and settings that need to be reviewed:
- Tick the three boxes at the top to confirm that you have read the T&Cs
- Apply the relevant settings for image links and image attachments
- Enter an email address that you would like any replies to this mail shot to be sent to
If you are unsure about which settings to choose, click on Help Me Choose for further information.
Once all of this is complete, click Send Now or Schedule Later to determine when your mail shot will be sent, and enter an email address for replies to be forwarded to.
After your mail shot has been sent you will get access to the Tracking, Reporting, Bounce and Export tabs. These will help you track the progress and responses to your mail shot. You will also be able to see key data in Gold-Vision against the Campaign Stage, such as open rates and click-through rates. You can find out more about these areas and how to use the data here.
 Related articles