Create a ‘Cherry Picked’ source
You can approach developing a ‘Cherry Picked’ source in a few different ways.
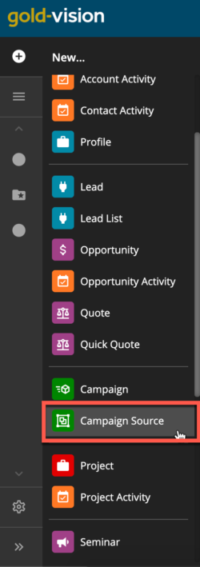
First, you could create an empty Source from the New item list, fill in the relevant fields, and then press save:
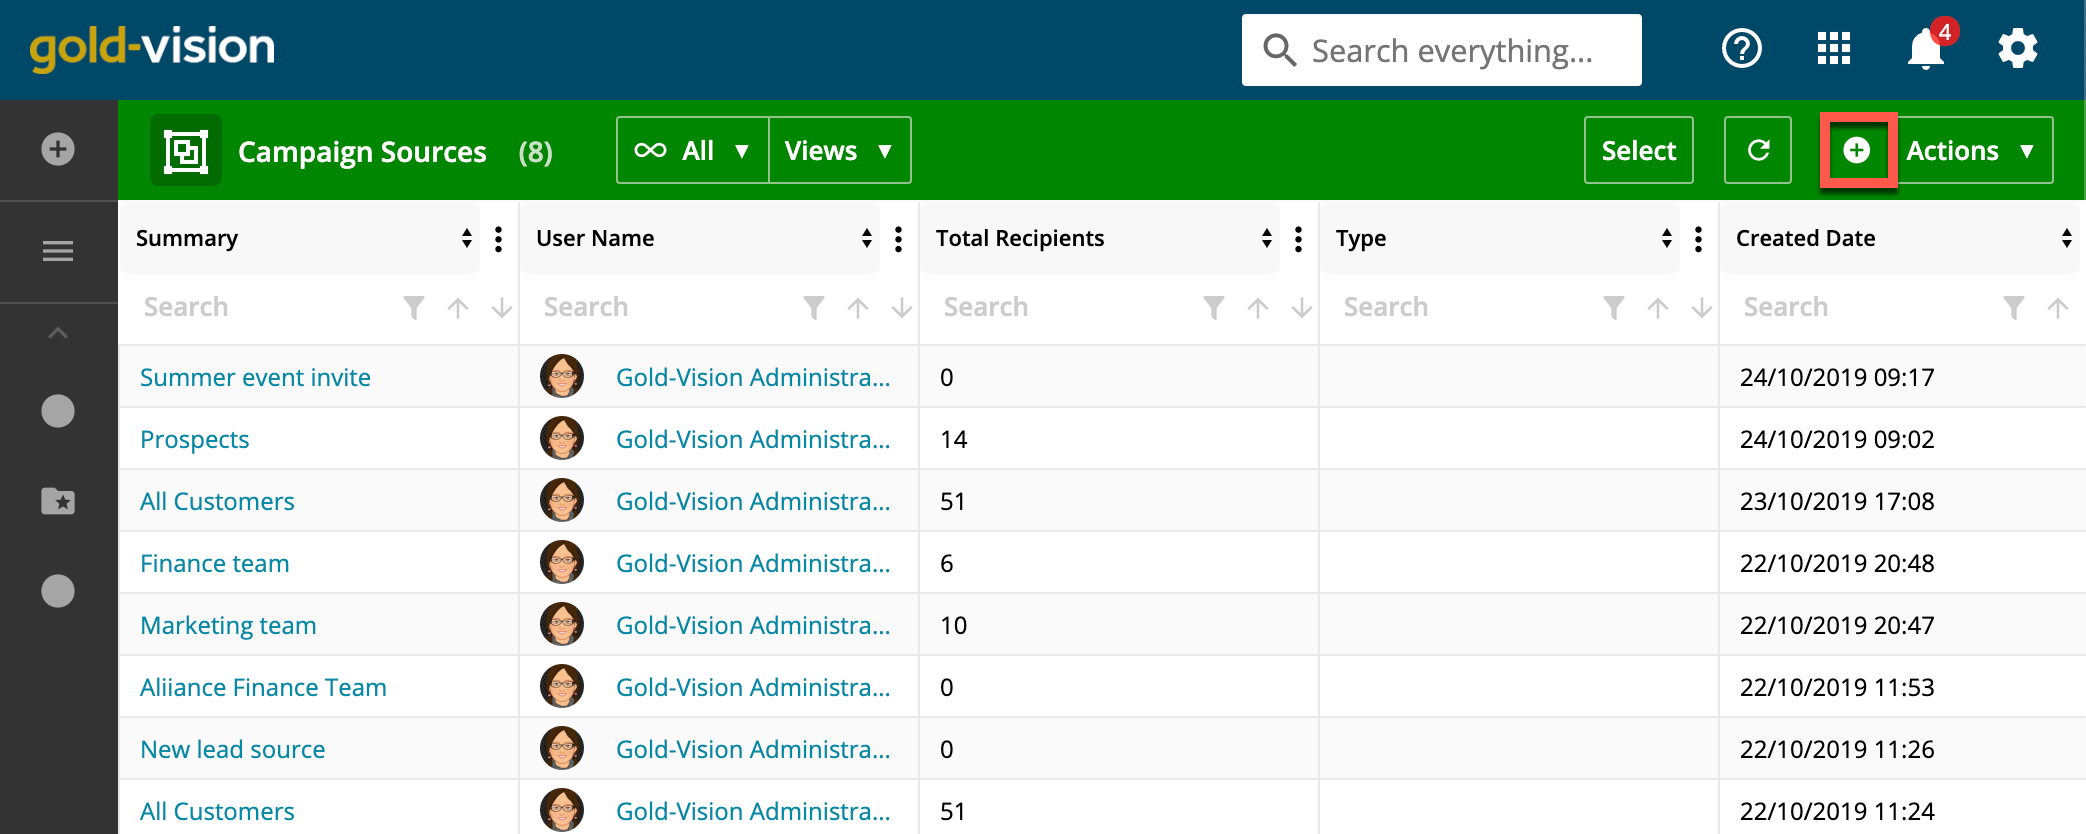
Alternatively, you can click the New icon on your Sources list and then follow the steps above:
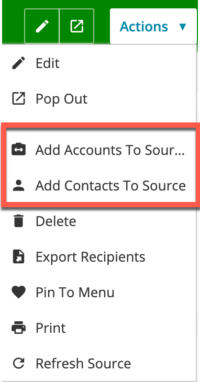
You can also add individual Contacts or Accounts to the source from either the Action menu on the Campaign Source:
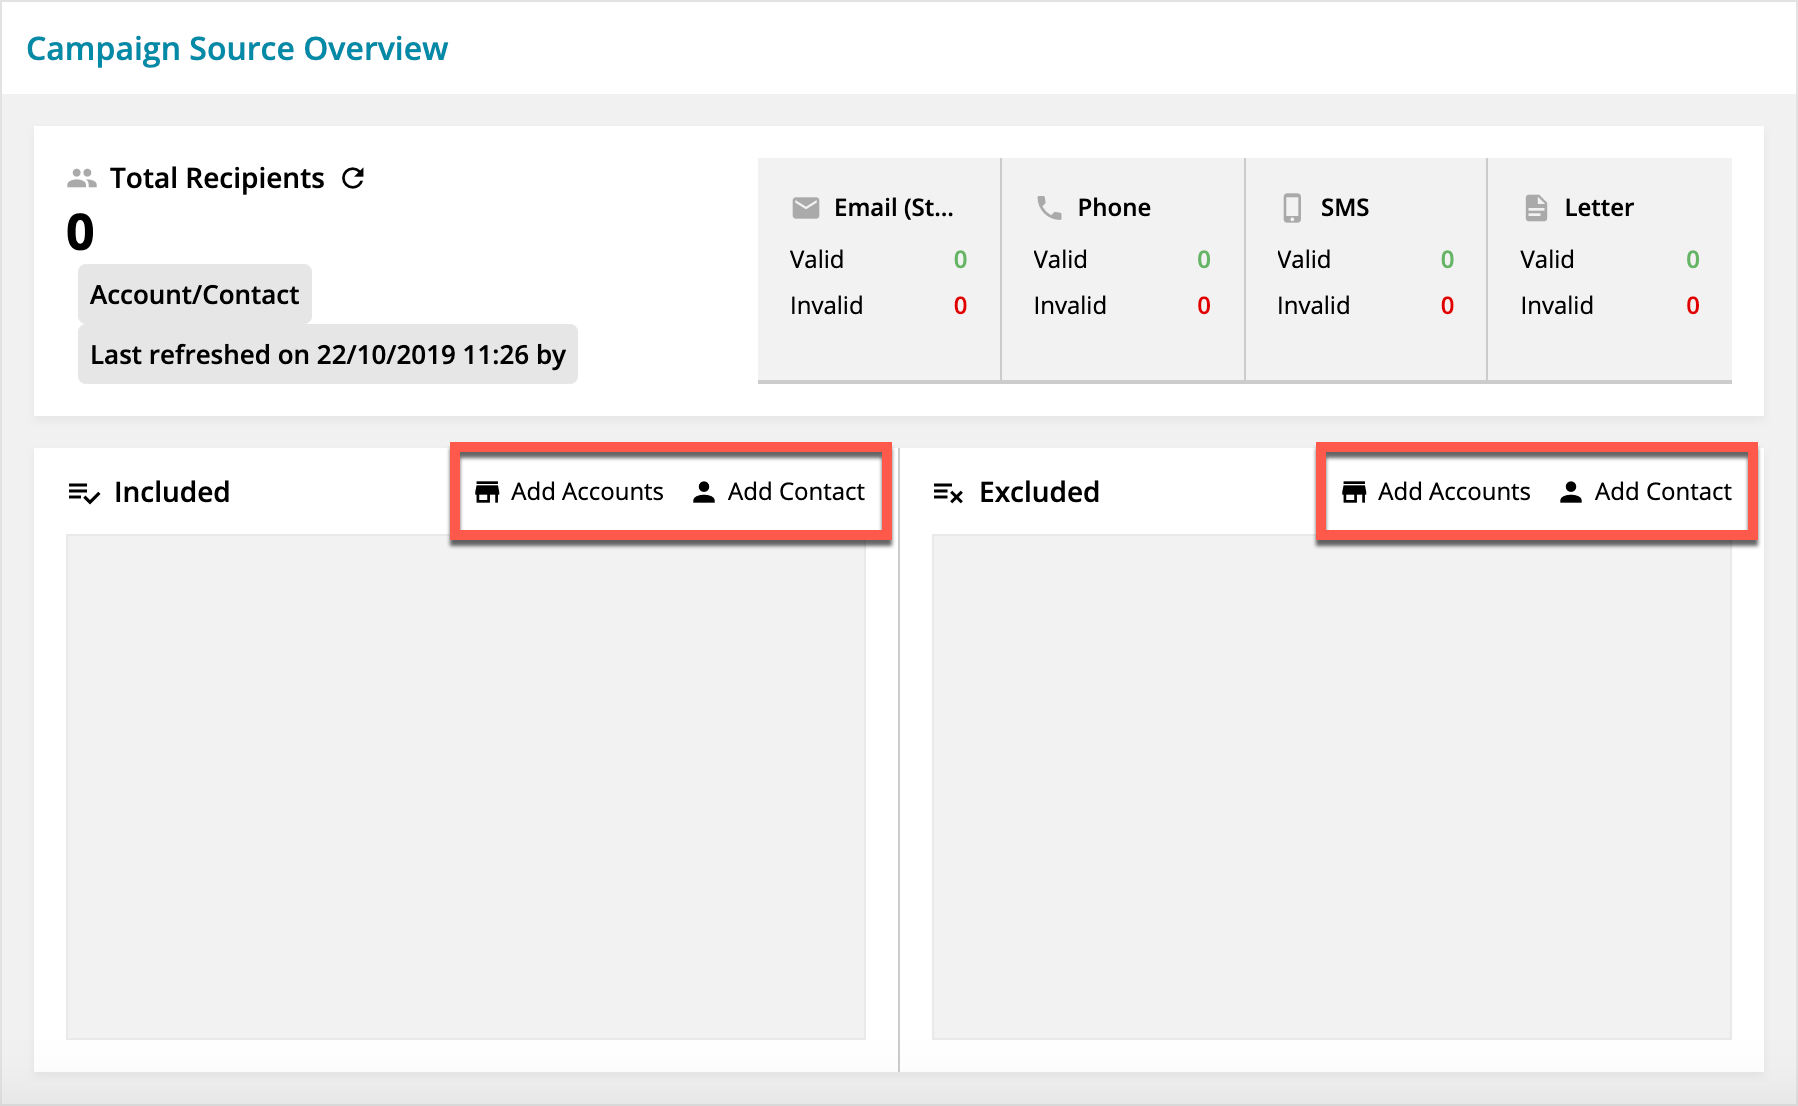
Or by clicking on the Add Accounts or Add Contact options in the Included and Excluded areas on the source.
Your source can now be added to a Campaign stage or exported to a CSV file.
 Tip
Tip
Refreshing your Source updates it based on your filters or added Accounts and Contacts.
 Info
Info
You can open your source to review any invalid recipients e.g. missing email addresses or contact preferences.
 Related articles